With every shovel of dirt came rocks and my future pints of raspberries went up another 10 cents. “That will be $50 please…” My revelation for the week was a reminder of just how hard farming is and how much it should really be worth.

In a backwards fashion we are adding to our symphony with a second 100 raspberry canes for our Carpe Diem berry farm. Last year we planted Encore raspberries, this year Prelude. Our Encores are doing great and establishing well. We will get a medium-sized harvest this year and a much bigger one next year as they mature.


We chose Prelude and Encore raspberries to offer our customers early and late season berries while our competitors have the more commonly harvested supply. Prelude and Encore were developed by Cornell University at the New York State Experiment Station in Geneva, New York. Prelude matures a high percentage of its fruit in late June and early July while Encore is harvested from late July to early August. Like picking paint colours, I have to admit I was also swayed by the musical names.
Raspberry cane planting primer
- Site selection is key. Pick a sunny and sheltered location with well-drained soil with no chance of waterlogging or flooding, as on a slope or in raised rows. Our location is on gentle slope. Raspberries don’t like wet feet but they also have a shallow root system so must not be allowed to dry out either.
- Prepare your planting holes about two feet apart in rows about six feet apart.
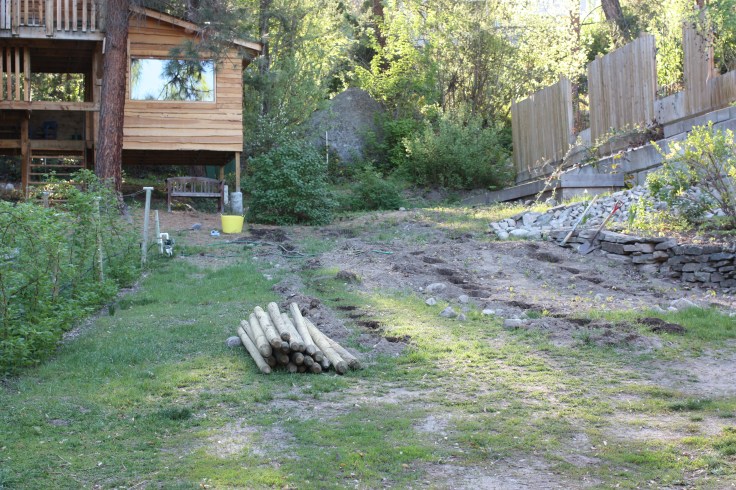
- Plant certified disease-free stock in early spring. Ours came from Strawberry Thyme Farm in Ontario and was sent to us by refrigerated courier. I tried to find a British Columbia source that could beat their price but was unable to. Prelude came early. Last year Strawberry Thyme had let us know that they were shipping the Encores but being Prelude I guess they had to come before we were ready. We had hoped to have the posts, cross bracing, wires and drip irrigation installed but…they will have to follow as the plants must go in the ground as soon as possible after they arrive as their dormancy will break and the roots could dry out.
- Add a shovel-full of compost to the planting hole and water in well.

- Plant the crowns at the same depth as in the nursery.
- Add more compost mixed in with the soil you have dug out of the hole and water in very well.

The Handyman supplies me with lots of mulch from his chipper.
- Add a layer of mulch to keep the weeds at bay and to help conserve moisture. I watered again once the mulch was in place.
- In a week or so I will add some Alaska Fish Fertilizer and will continue hand-watering until the canes are well established and showing signs of life or The Handyman has had time to install all the posts, wires and drip irrigation. This should wait until he runs his marathon next week as post pounding does not equal taper.


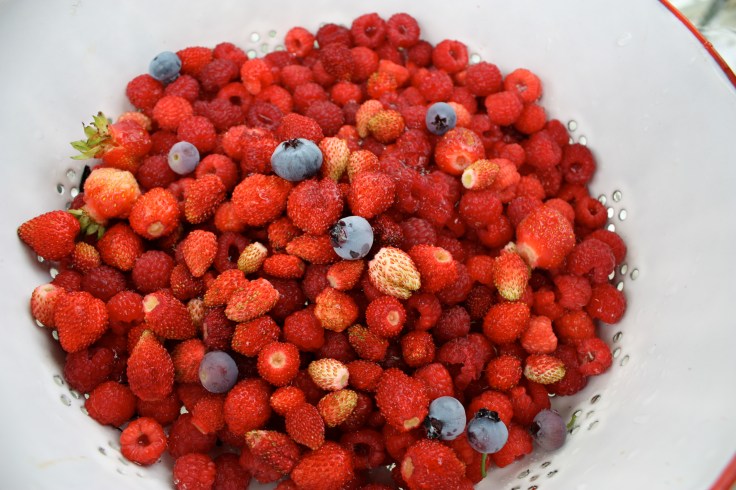
Prelude produces attractive, high quality, firm fruit that will taste amazing. I can’t wait although now that all the canes are in I’m starting to think about the hours of picking ahead and price of those pints.
 Next up is the addition of 50 more blueberry bushes and a netting structure to protect the blueberries from the birds.

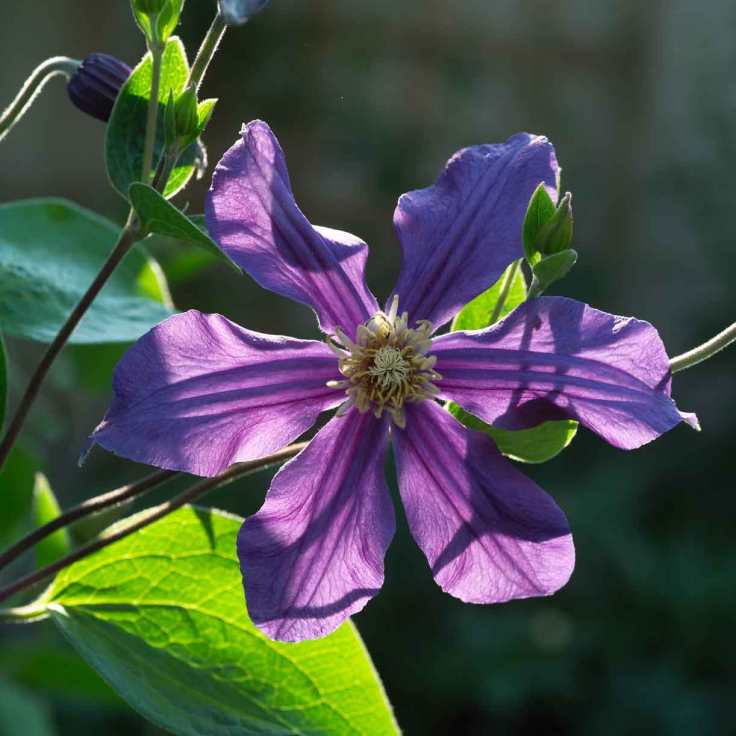
 “Forgiveness is the smell that lavender gives out when you tread on it.” Mark Twain.
 1. Using secateurs, a sharp knife, or scissors, snip off a piece of lavender from the parent plant just below a leaf node (place along the stem where the joints of the leaves grow out of).
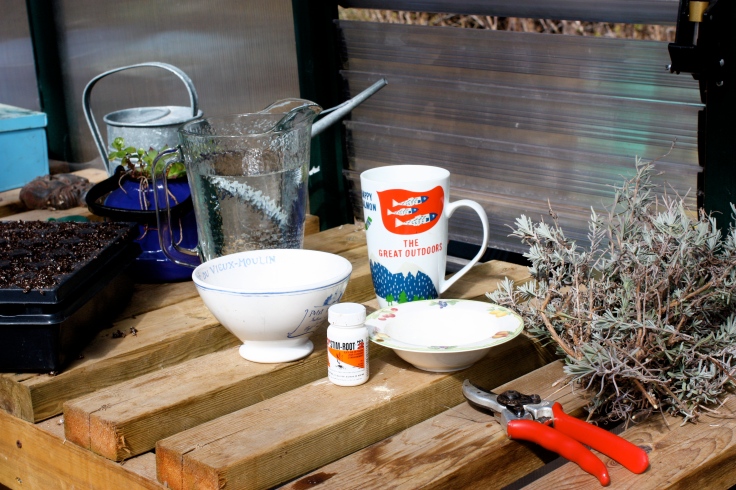 2. Prepare your pot, or seed tray with free-draining compost.
 4. I stripped the lower leaves off each of my cuttings and nipped some of the top growth off with my fingers. The leaves will use a lot of the water in your potting soil better used for the new root production and will likely die off anyway. I inserted a pen (you could use any appropriate object) to poke a hole in the planting medium. You don’t want to use just insert the cutting without making a hole first as all your honey or rooting hormone powder will come off the tip.
 5. Scrape the bottom of your cutting with your thumb on an angle to expose more of the rooting area.

 7. Plant up your tray or pots with the prepared cuttings.
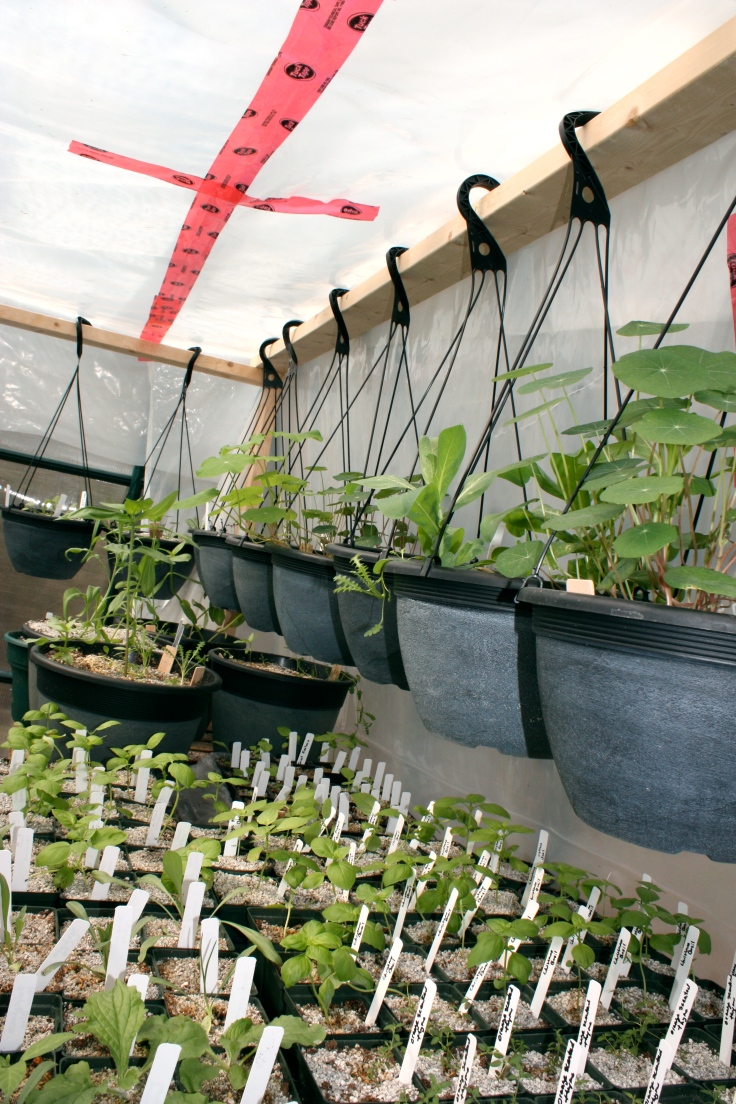
 8. Add a dome or plastic bag. Make sure to keep moist but not waterlogged and clean the condensation off the dome or bag periodically. Lavender doesn’t like it to be too wet. I placed mine on a heat mat but a greenhouse or window sill will work. Rooting will take place over the next two weeks to a month after which the plants can be potted up in larger pots or hardened off and planted directly into the garden. Only about half of the cuttings will produce roots. Check for new growth or wiggle the plant around a bit to feel for rooting. Look for mouldy or obviously dead plants and remove from your tray.
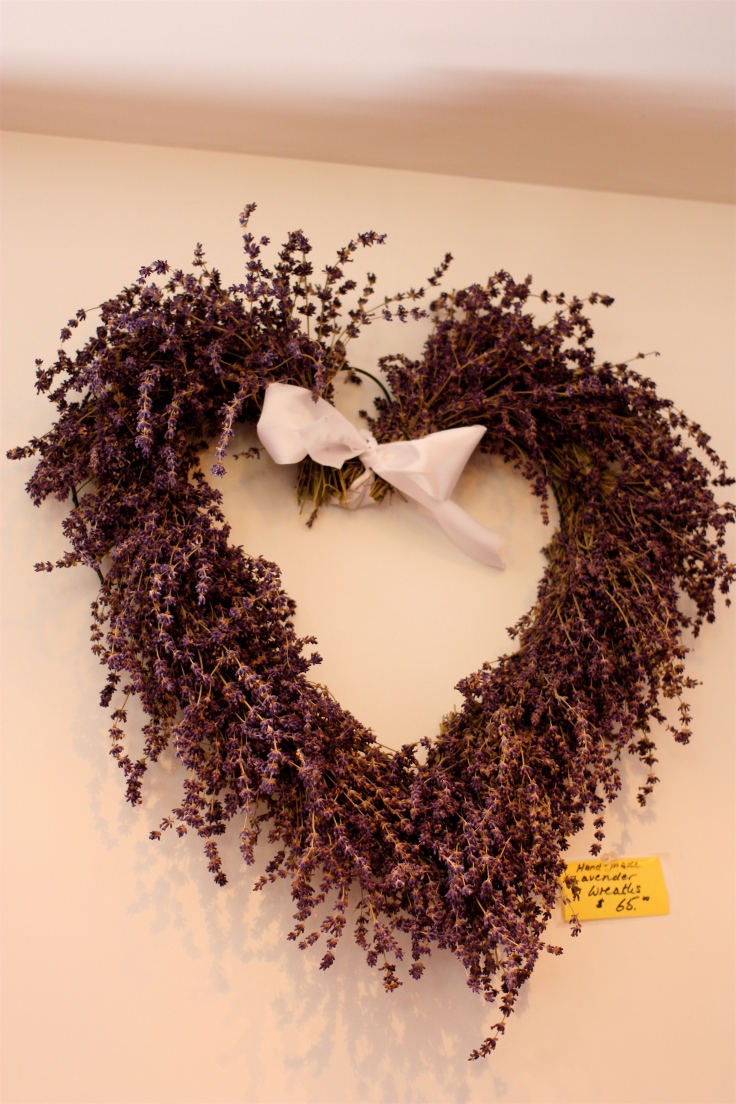


 Undaunted by our
  What could go wrong?
 The included 2016 raspberry calendar seemed at first glance to be a handy planting, care and maintenance guide. It in fact detailed what pesticide or herbicide to apply when for what. Malathion, Capture 240EC, Black Label Zn, Ignite OR, Dipel WP… were to help me with hard to control weeds, crown borer, bacterial blight, weevils, caterpillars, leaf rollers, two-spotted mites, botrytis, rust, root rot, fruit worm, spur blight and the new scourge of spotted wing Drosophilia. The chart includes this warning (among others): “Some chemicals are toxic to bees.” Nope. My plan is grow my berries organically and herein lies the challenge.
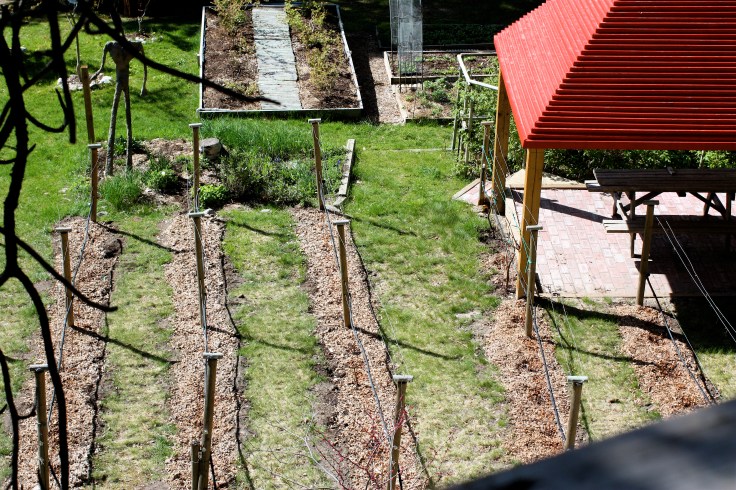

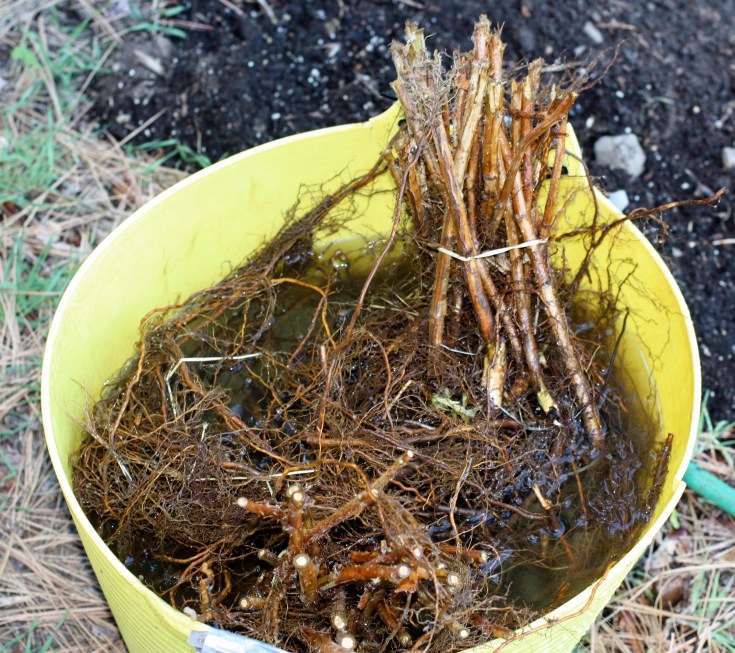
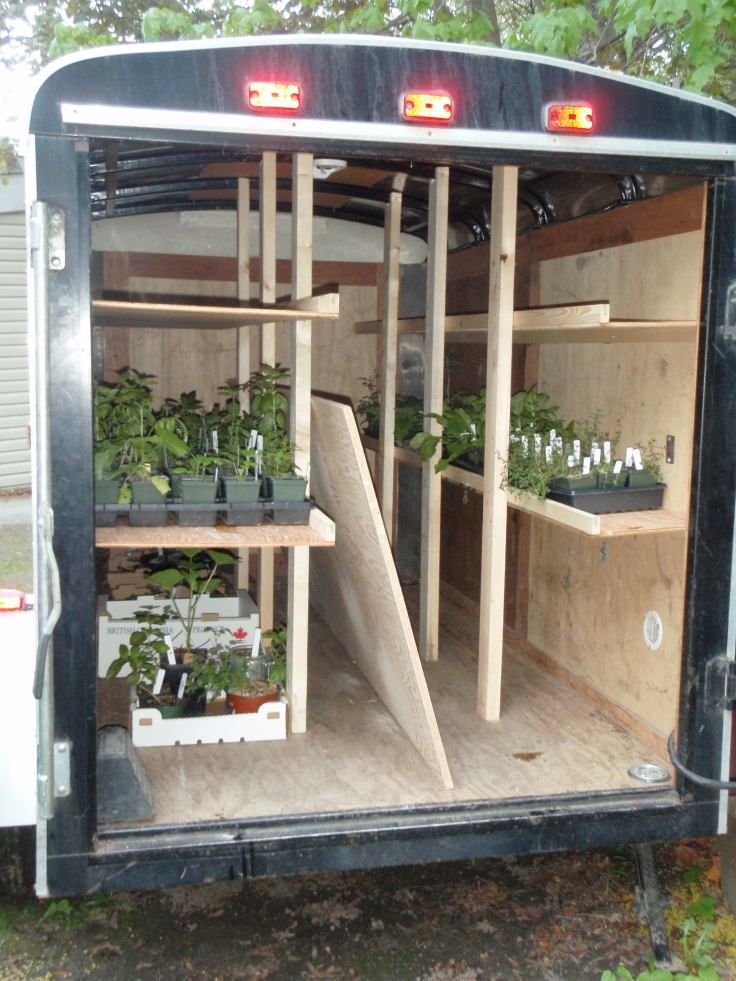
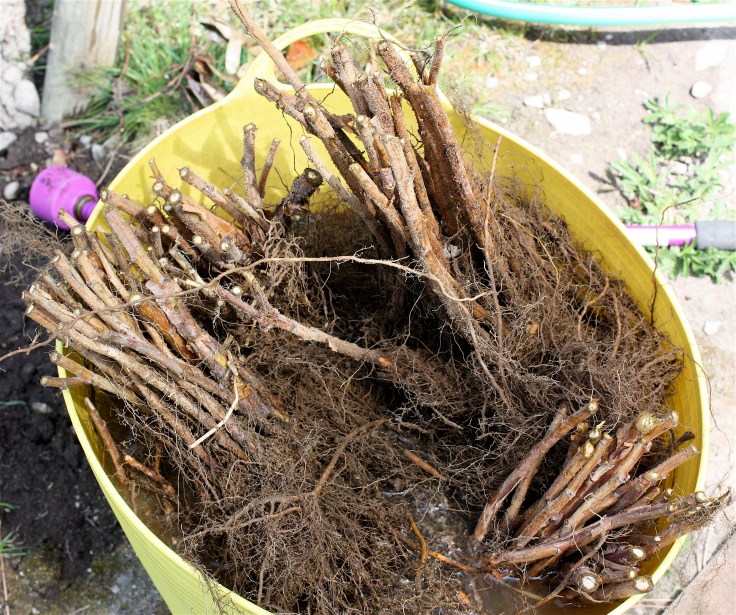 After carefully preparing the rows by digging in lots of compost, we planted these “dead sticks”, watered them in well, turned on the irrigation, mulched the rows and waited. In about two weeks we were rewarded with new growth and happily counted the live ones every day until all 100 showed leaves.

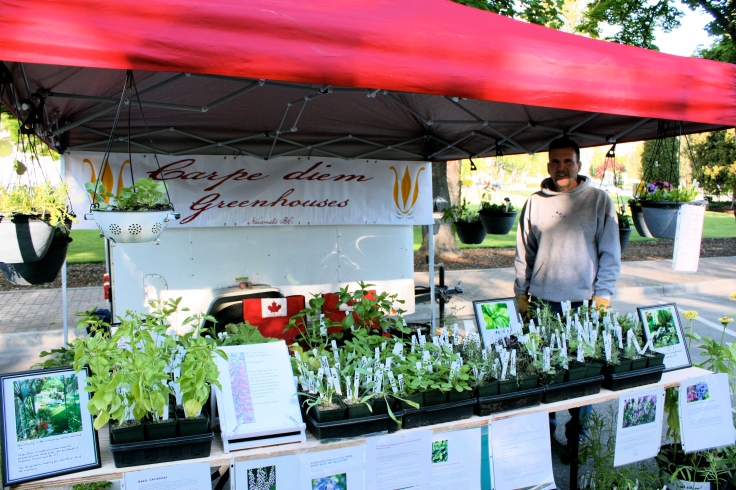
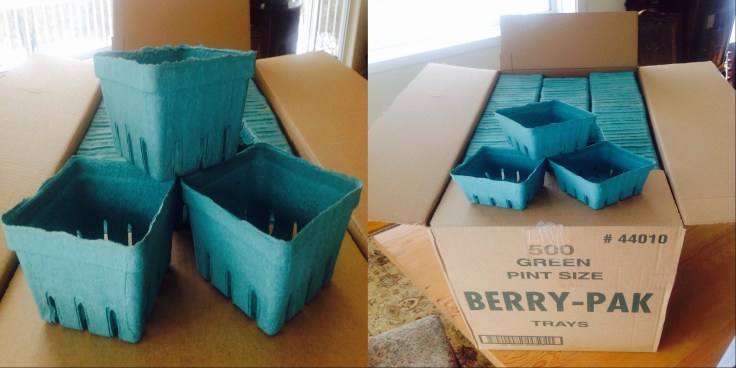 In a ballsy move, I’ve bought a case of berry trays.


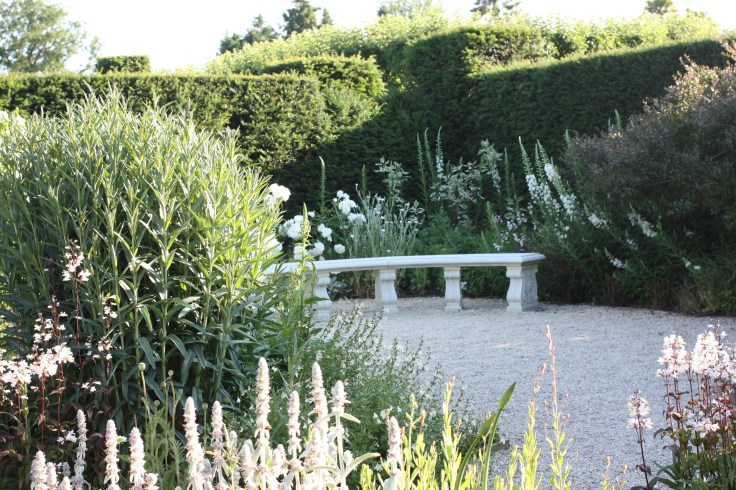
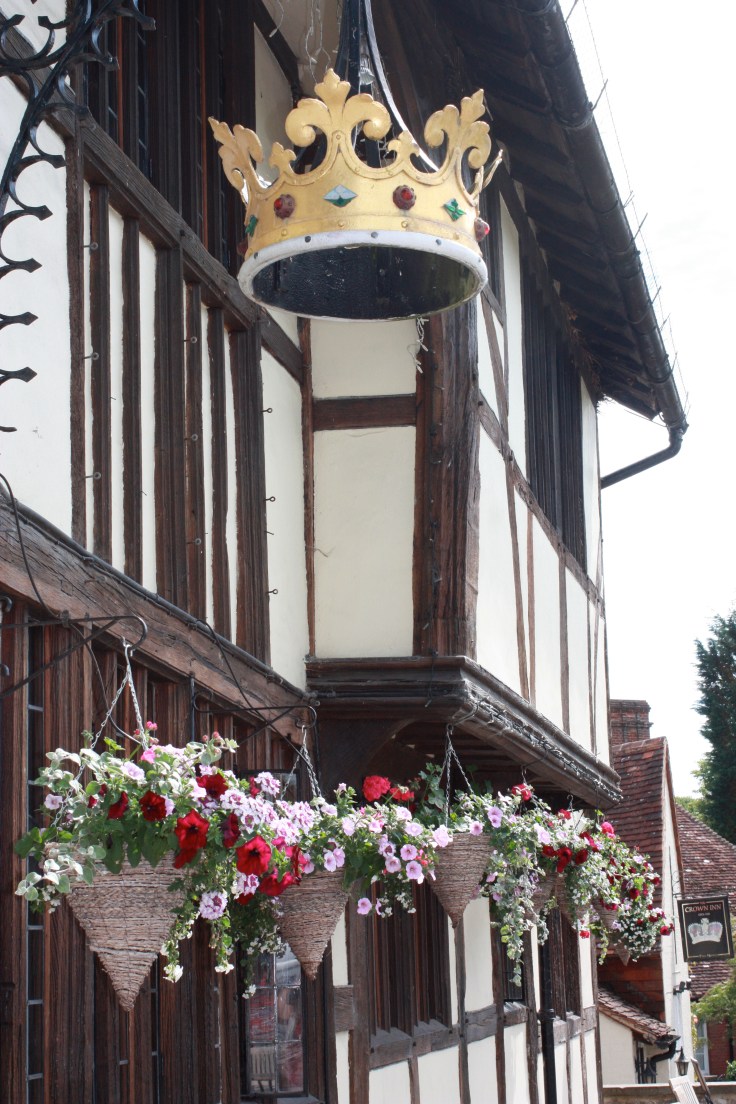
 If it looks like the gardens were deserted, it’s because they pretty much were. We were at Loseley for a piano recital by British pianist Emilie Capulet and the garden was ours for an hour in the early evening sun, perfect for photography.


 …show, don’t gush…
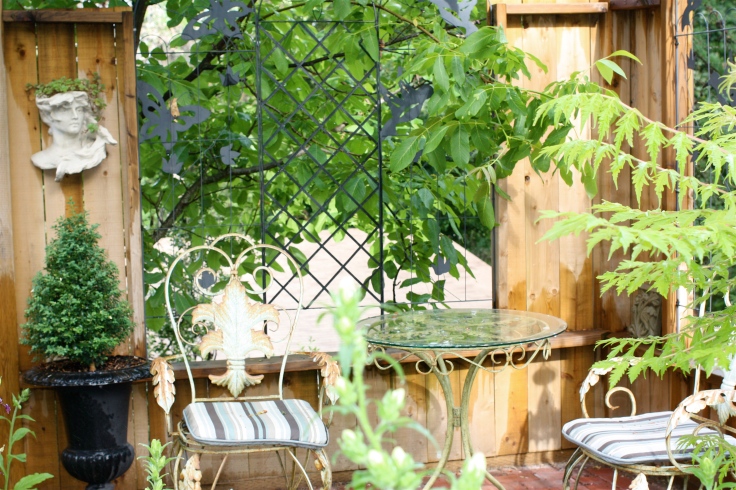
 A labour of love. Lots of labour…lots of love. The Handyman built me an English secret garden over the past five years. I can’t wait for spring so I’m jumping ahead a few months.

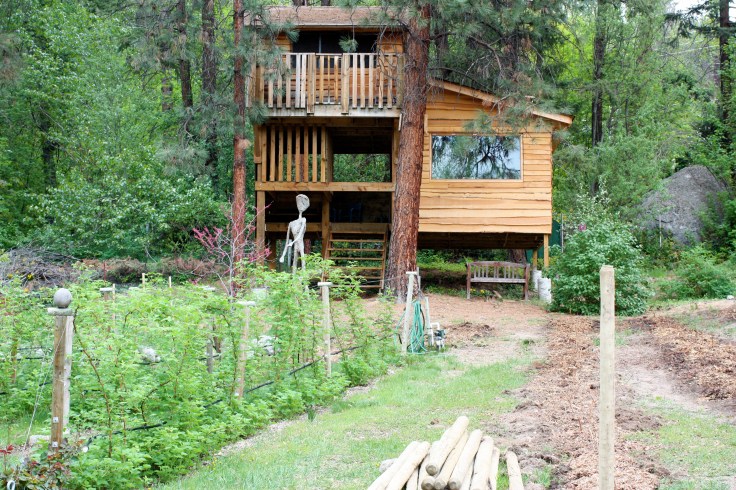
 Handyman can do pretty much anything with some rental equipment. The garden is located on what was a hill. We, well…he raised it even more and levelled it before installing cedar fencing around the perimeter.
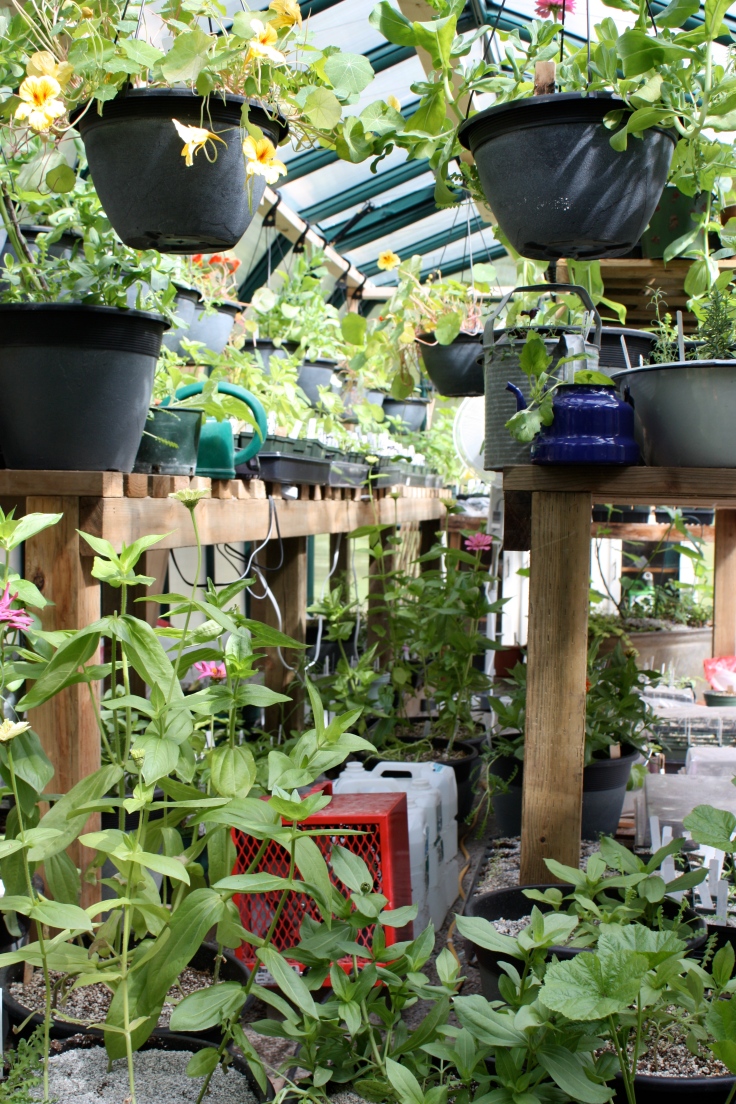
 Stuff grows like Jack’s magic beanstalk with the good soil, proper irrigation and the protection from the wind. I’ve never seen anything like it. After moving from Calgary with its challenging gardening conditions its hard to have any discipline or order. I have a tendency to plant some of everything so it’s an editing work in progress.


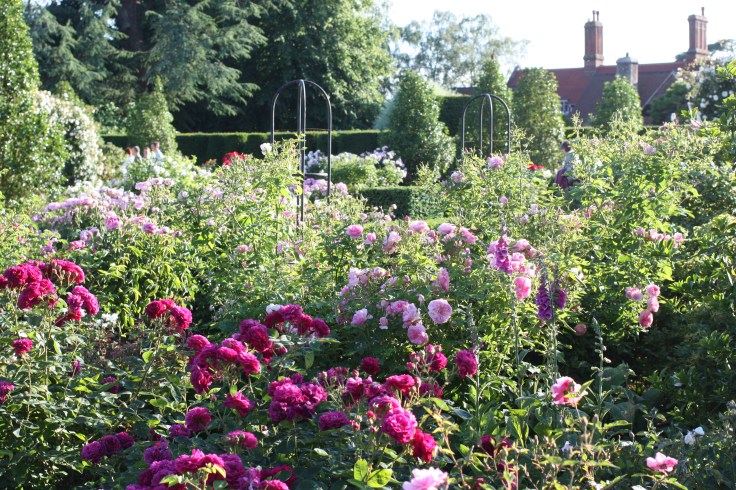
 “The Secret Garden was what Mary called it when she was thinking of it. She liked the name, and she liked still more the feeling that when its beautiful old walls shut her in no one knew where she was. It seemed almost like being shut out of the world in some fairy place.” Frances Hodgson Burnett, The Secret Garden.
 They came in buses, they came in cars, they came on bikes and on foot in numbers so high that they wore a path around the garden. They asked questions and wanted latin names for plants some of which I couldn’t remember common names for. They paid money to see the garden as part of a sold-out garden tour. They even came in the rain. And I loved every minute of it.
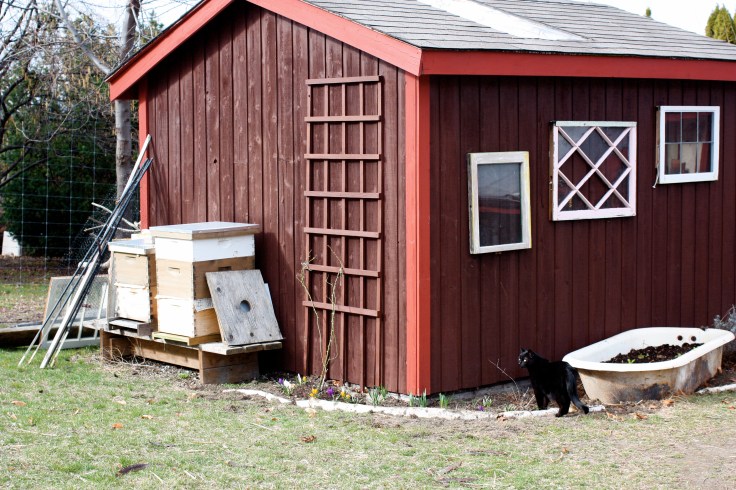
 We were pretty chuffed to learn of the win. I often wonder if it had to do with pervasive smell of chocolate coming from the cocoa hull mulch that was applied on many of the beads. Cheating? The Handyman’s hardscaping might have had something to do with it. My stone potting shed, the tall pergolas, two ponds and curved solar bank were pretty cool.