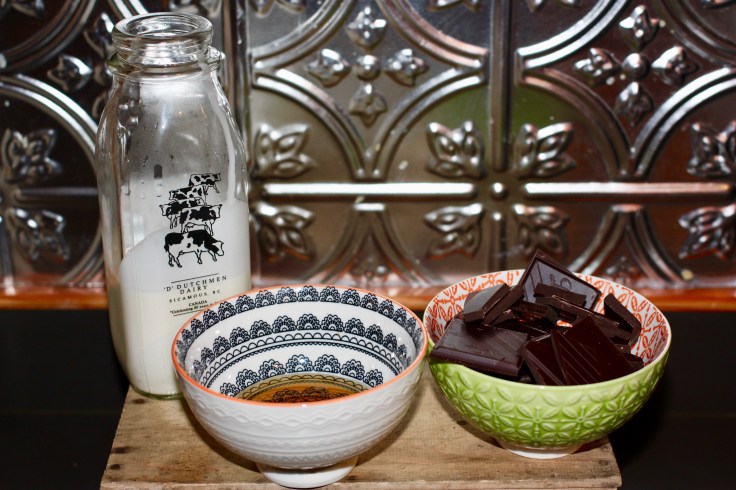
When you combine vast quantities of Swiss chocolate with Dutch cocoa powder, French fleur de sel, fresh Canadian whipping cream and buttermilk there is no possibility on earth that this little gateau is not going to solve your problems.
The combination of rich chocolate cake, velvety frosting and a hidden layer of salted caramel is a perfect antidote to winter’s grey skies.
A single layer of luscious chocolate cake is carefully cut in half, spread with homemade salted caramel, topped with a chocolate ganache frosting and finished with a gorgeous glacage. An added bonus, the cake can be baked, frosted and frozen ahead of time with only the glacage step required before serving.
This recipe was adapted from the amazing Duchess Bake Shop Cookbook by Giselle Courteau. The shop is located in Edmonton if you get a chance to stop in, and this cake is their number one seller.
Step one
Salted Caramel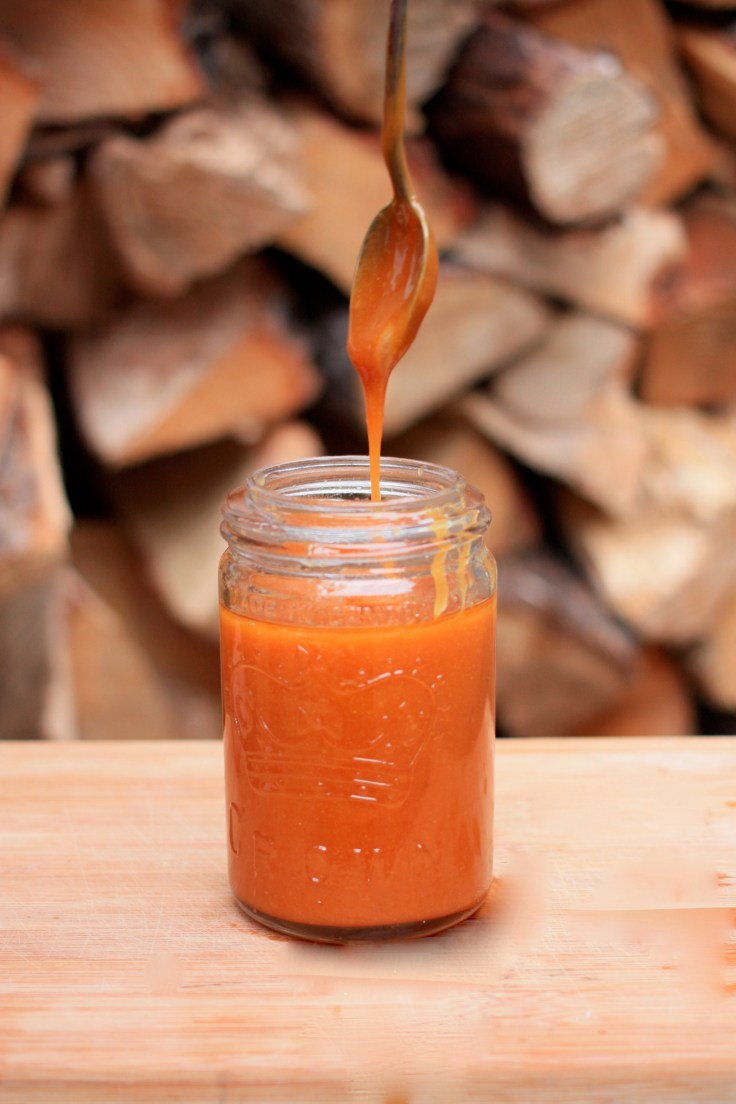
Ingredients
- 1/2 cup whipping cream
- 1 1/3 cups sugar
- 3/4 cup plus 2 Tbsp unsalted butter cubed
- 1/4 cup finely ground almonds
- 3/4 tsp fleur de sel
 Directions
Heat the cream in a small saucepan on the stove until scalding. Set aside and keep hot as you melt the sugar.
Place about a quarter of the sugar in a wide-bottomed saucepan over medium heat. Gently melt the sugar, swirling the saucepan around occasionally. Do not stir. Once the sugar is almost melted, add another quarter and repeat twice more until all the sugar is completely melted and has turned amber coloured.
Remove from heat and slowly pour in the hot whipping cream mixing with a spoon or spatula until the smooth. Using a fine mesh strainer, immediately strain the caramel into a bowl.
Mix in the butter, ground almonds and fleur de sel into the hot caramel until the butter is melted. For extra smooth caramel, use an immersion blender. Transfer the caramel into jars, let cool and refrigerate until set. It will keep in the fridge for up to two weeks and is an amazing ice cream topper.
Step two
Chocolate Cake
 Ingredients
- 1/2 cup hot brewed coffee
- 3 Tbsp dark chocolate
- 1 cup sugar
- 3/4 cup all-purpose flour
- 1/2 cup quality cocoa powder
- 3/4 tsp baking soda
- 1/4 tsp salt
- 1 large egg
- 1/4 cup vegetable oil
- 1/2 cup buttermilk
- 1/2 tsp vanilla extract or paste
 Directions
Preheat your oven to 325F and line an 8-inch cake pan with parchment paper and spray it with vegetable oil.
In a large bowl, pour the hot coffee over the chocolate, whisking until all the coffee is poured in and the chocolate has completely melted. Set aside.
Sift all the dry ingredients together and set aside.
Whisk the egg, oil, buttermilk and vanilla together in a bowl. Slowly whisk the mixture into the melted chocolate and coffee.
Add the sifted dry ingredients and whisk until the batter comes together. The batter will appear a bit lumpy. Don’t be tempted to overmix.
Pour the batter into the prepared pan and bake for about 45 minutes until a toothpick inserted in the centre comes out clean.
Cool completely. Run a knife around the edge of the pan and flip the cake out.
Step three
Ganache Frosting
 Ingredients
- 188 grams of good dark chocolate (I love Lindt)
- 1/2 tsp fleur de sel
- 2/3 cup whipping cream
- 2 Tbsp water
- 1/3 cup plus 1 Tbsp sugar
- 1 Tbsp light corn syrup
- 3/4 cup plus 1 Tbsp unsalted butter, room temperature, cubed
Directions
Slowly melt the chocolate over a double boiler. Once the chocolate is melted, add in the fleur de sel. Set aside.
Heat the whipping cream on the stovetop until scalding. Set aside while keeping hot.
Place the water, sugar and corn syrup in a small saucepan over medium heat and cook until the sugar turns amber coloured. Do not stir. Remove from the heat and slowly pour in the hot cream and stir until combined. Pour this mixture over the chocolate and fleur de sel in three parts, mixing until smooth between additions.
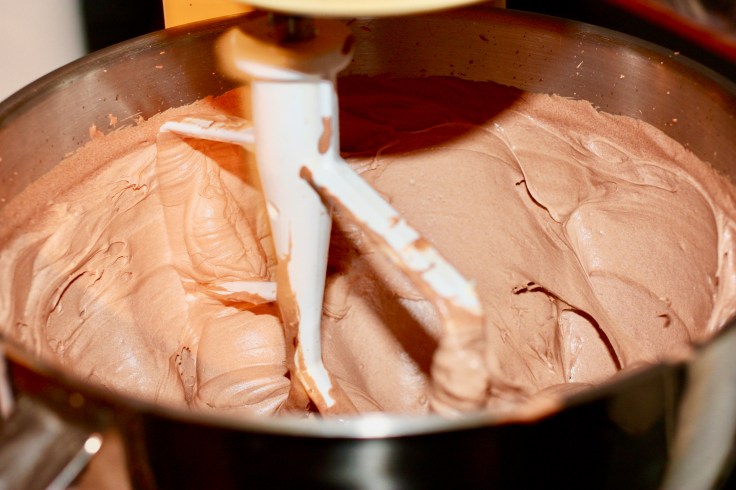
Transfer this ganache into a stand mixer bowl and cool to room temperature Ensure both the ganache and butter cubes are at room temperature.
With the mixer on low speed, add the butter cubes to the ganache a few at time until all incorporated then turn the mixer up to medium and beat until the frosting is light and fluffy.
Step four
Assemble the cake and frost
Using a sharp serrated knife, cut the cake in half horizontally into two layers. Flip the top layer so its cut side is facing up.
If the salted caramel has been in the fridge, warm it in a microwave for a few seconds to soften it slightly. Spread about 1/2 cup of salted caramel over the bottom layer of the cake leaving about 1/2 inch around the edge.
 Spread about 1 cup of the frosting over the caramel, leaving a bit of space around the edges. Place the other cake layer on top, cut side up that your cake will have a flat top and gently press down. Transfer the cake to a turntable and spoon about 2 cups of frosting on top, reserving extra frosting to finish the cake. Spread it evenly over the top and sides of the cake and smooth it out with an offset spatula. The smoother the better as the glacage will show all the imperfections.
Transfer the cake to a flat plate and freeze for at least two hours (or up to a week, if making ahead).
Step five
Glacage
 Ingredients
- 1 cup good dark chocolate
- 3/4 cup plus 1 Tbsp whipping cream
- 2 Tbsp water
- 3 Tbsp light corn syrup
Directions
Slowly melt the dark chocolate over a double boiler. In a saucepan heat the whipping cream, water, and corn syrup until just scalding. Pour the hot cream over the dark chocolate in three parts, mixing in between additions until smooth.
Step six
Final assembly
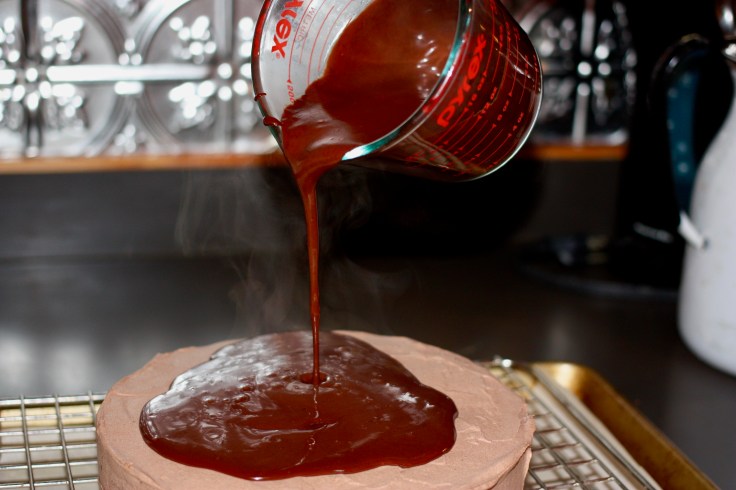
Remove the cake from freezer and place it on a flat cooling rick with a pan or foil underneath to catch the drippings. Using a measuring cup or ladle pour the glacage over the top of the cake. Using an offset spatula spread the glacage over the sides, making sure to cover the whole cake. Immediately move the cake to a serving plate using a long offset spatula.
Decorate the cake with the reserved frosting. Pipe five dots on top and a decorative border around the bottom. The cake will keep at room temperature up to four days.