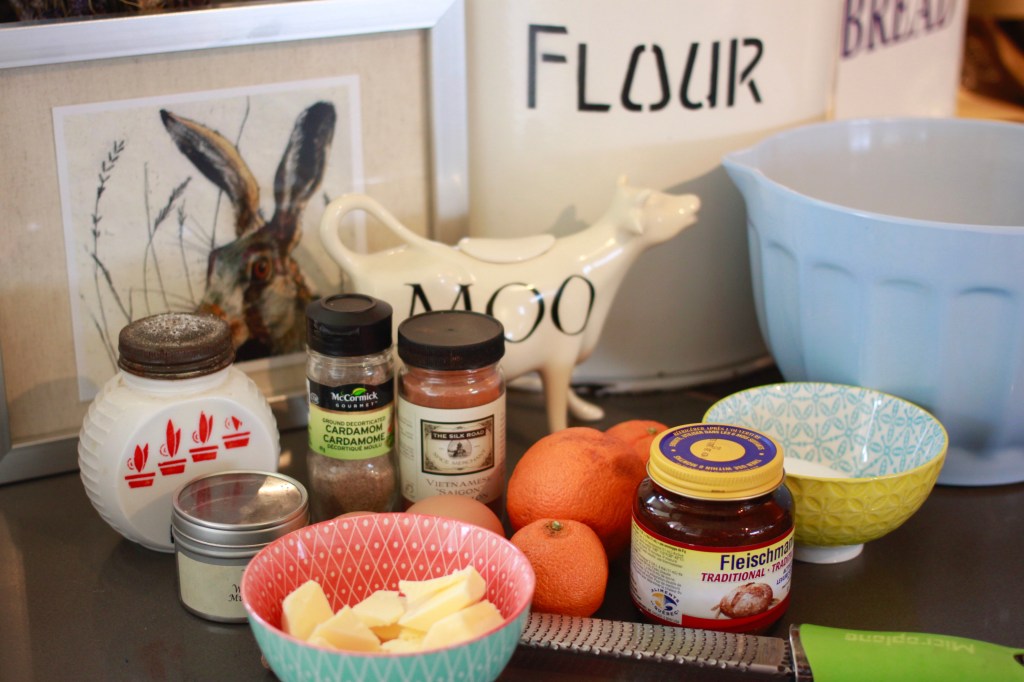
These lovely spiced buns are easy to make in just a few hours.
Traditionally served on Good Friday in the UK, they are a spring treat that will fill you kitchen with yeasty, spicey aromas and are wonderful with a large pat of butter, just out of the oven.
Makes 12
Ingredients
4 cups all-purpose flour
1/4 cup sugar
1 package active dry yeast
2 teaspoons orange zest
2 teaspoons salt
1/2 teaspoon ground cinnamon
1/4 teaspoon ground nutmeg
1/8 teaspoon ground cardamom
1 cup whole milk
1/3 unsalted butter, cubed
1 large egg
1 egg yolk
Topping
1/2 cup all-purpose flour
1/4 cup water
1 tablespoon vegetable oil
Glaze
1/4 water
1/4 cup sugar
A mixer makes this recipe easy but it can be done by hand also.
Directions
Proof the yeast in two tablespoons of warm water.
In the bowl of a stand mixer fitted with the paddle attachment, beat 1 1/2 cups flour, sugar, the proofed yeast, orange zest, salt, cinnamon, nutmeg and cardamom at low speed until combined.
In a small saucepan, heat milk and butter over medium heat until a food thermometer registers 120 to 130 degrees or until the butter is melted and the milk begins to froth. With mixer at low speed, add milk mixture to flour mixture. Increase mixer speed to medium, and beat for 2 minutes. Add egg and egg yolk; beat at high speed for 2 minutes. Gradually add remaining 2 1/2 cups flour, beating until a soft dough forms.
Using the dough hook attachment, beat at medium-low speed until dough is smooth but sticky… about 8 minutes.
Spray a large bowl with cooking spray. Place dough in bowl, turning to grease top. Cover with plastic wrap and let rise in warm, draft-free place until doubled in size, 45 to 60 minutes.
Before rise After rise
Line a large baking sheet with parchment paper. Punch dough down; turn onto a lightly floured surface. Divide dough into 12 pieces. Shape each into a ball and place 2 inches apart of prepared pan.
Preheat oven to 375 degrees.
To make the crosses
For topping, in a small bowl, whisk together flour, 1/4 cup water and oil until smooth. Transfer to a piping bag fitted with a small round pastry tip. Pipe a cross over each bun.
Bake until golden brown, 15 to 20 minutes. While baking prepare the glaze.
Mix 1/4 water and 1/4 sugar in a small pan until just boiling. Brush the glaze on the buns. Serve warm!
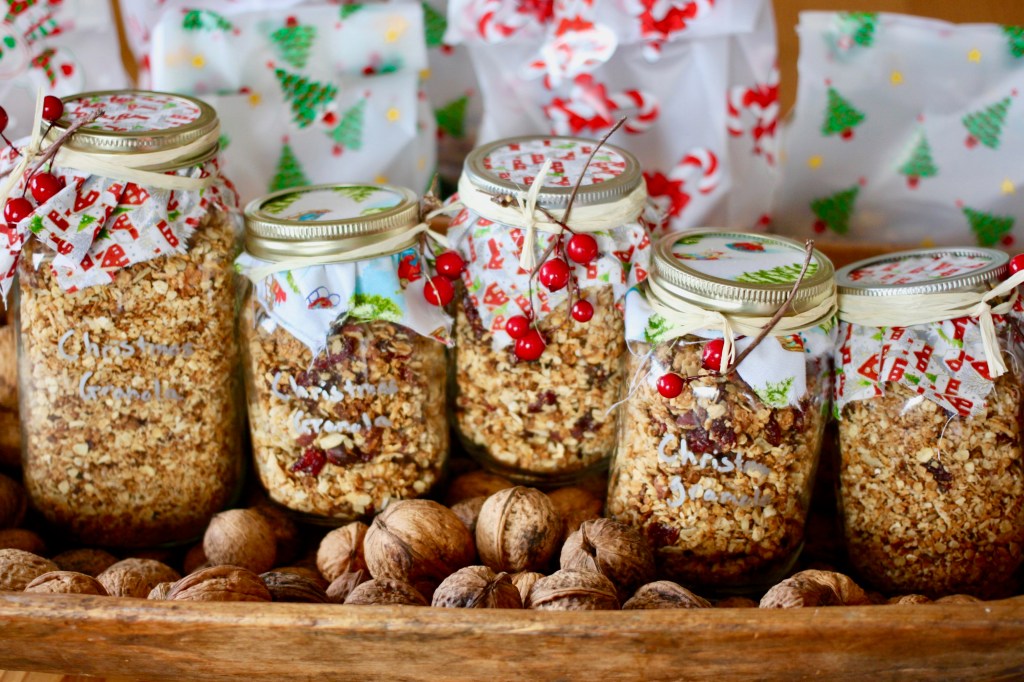
Five good reasons to switch up your traditional homemade holiday gifts from cookies to granola.
It couldn’t be simpler to make and your kitchen will smell like orange, cinnamon and toasted nuts and coconut for days.
It’s the perfect gift to go low- to no-waste by buying ingredients in bulk with your own containers, sourcing local like my neighbour’s walnuts, and packaging in use-again Mason jars labelled with easily washed off http://www.wineglasswriter.com Wine Glass Writers.
Granola has a longer shelf-life than cookies and it’s filled with healthy ingredients like nuts, seeds, grains and dried fruit.
It’s amazing as a breakfast cereal or sprinkled on yoghurt.
Invite over a group of friends and make a really really large batch (like 64 quart jars), put on some Christmas tunes and drink a little wine or cider.
Christmas Granola recipe
Ingredients for six cups of granola (just multiply everything for bigger batches)
Four cups quick or old-fashioned, uncooked oats
1/2 cup shredded coconut
1/2 cup chopped pecans, walnuts or hazelnuts or a combination of all three
1 tablespoon wheat bran
1 tablespoon wheat germ
1/4 raw unsalted sunflower seeds
1/4 cup butter, melted
1/2 cup of local honey
2 teaspoons grated orange peel
1 teaspoon vanilla
1/2 teaspoon ground cinnamon
1/4 teaspoon fresh-ground nutmeg
1/4 teaspoon salt
1 1/3 cups dried cranberries
Ingredients for many batches of this recipe and some of the jar decorating supplies.
Easybaking directions
Pre-heat oven to 350 F. (We also used our wood fired oven. If you are lucky enough to have one… fire it up to pizza-baking temperature or very hot, burn down the coals and then remove and cool to about 180 C… basically the temperature you would use to make bread.)
Use your oven or if you have one, granola bakes well in a wood-fired oven.
Mix all the ingredients together except the dried cranberries, (which are added after the granola is toasted) in a large bowl. Spread the granola onto cookie sheets or other suitable baking pans.
Bake for 40 minutes stirring the granola every 10 minutes so it toasts evenly. The granola should be a nice even toasted brown colour when its done.
Cool and then add the dried cranberries and mix.
Decorate your jars
Cut squares of a Christmas fabric to cover your jar lids, tie on some greenery or berries with raffia and label the jars with handy dandy Wine Glass Writers. Christmas scents will hit you as soon as you open the beautiful re-useable containers.
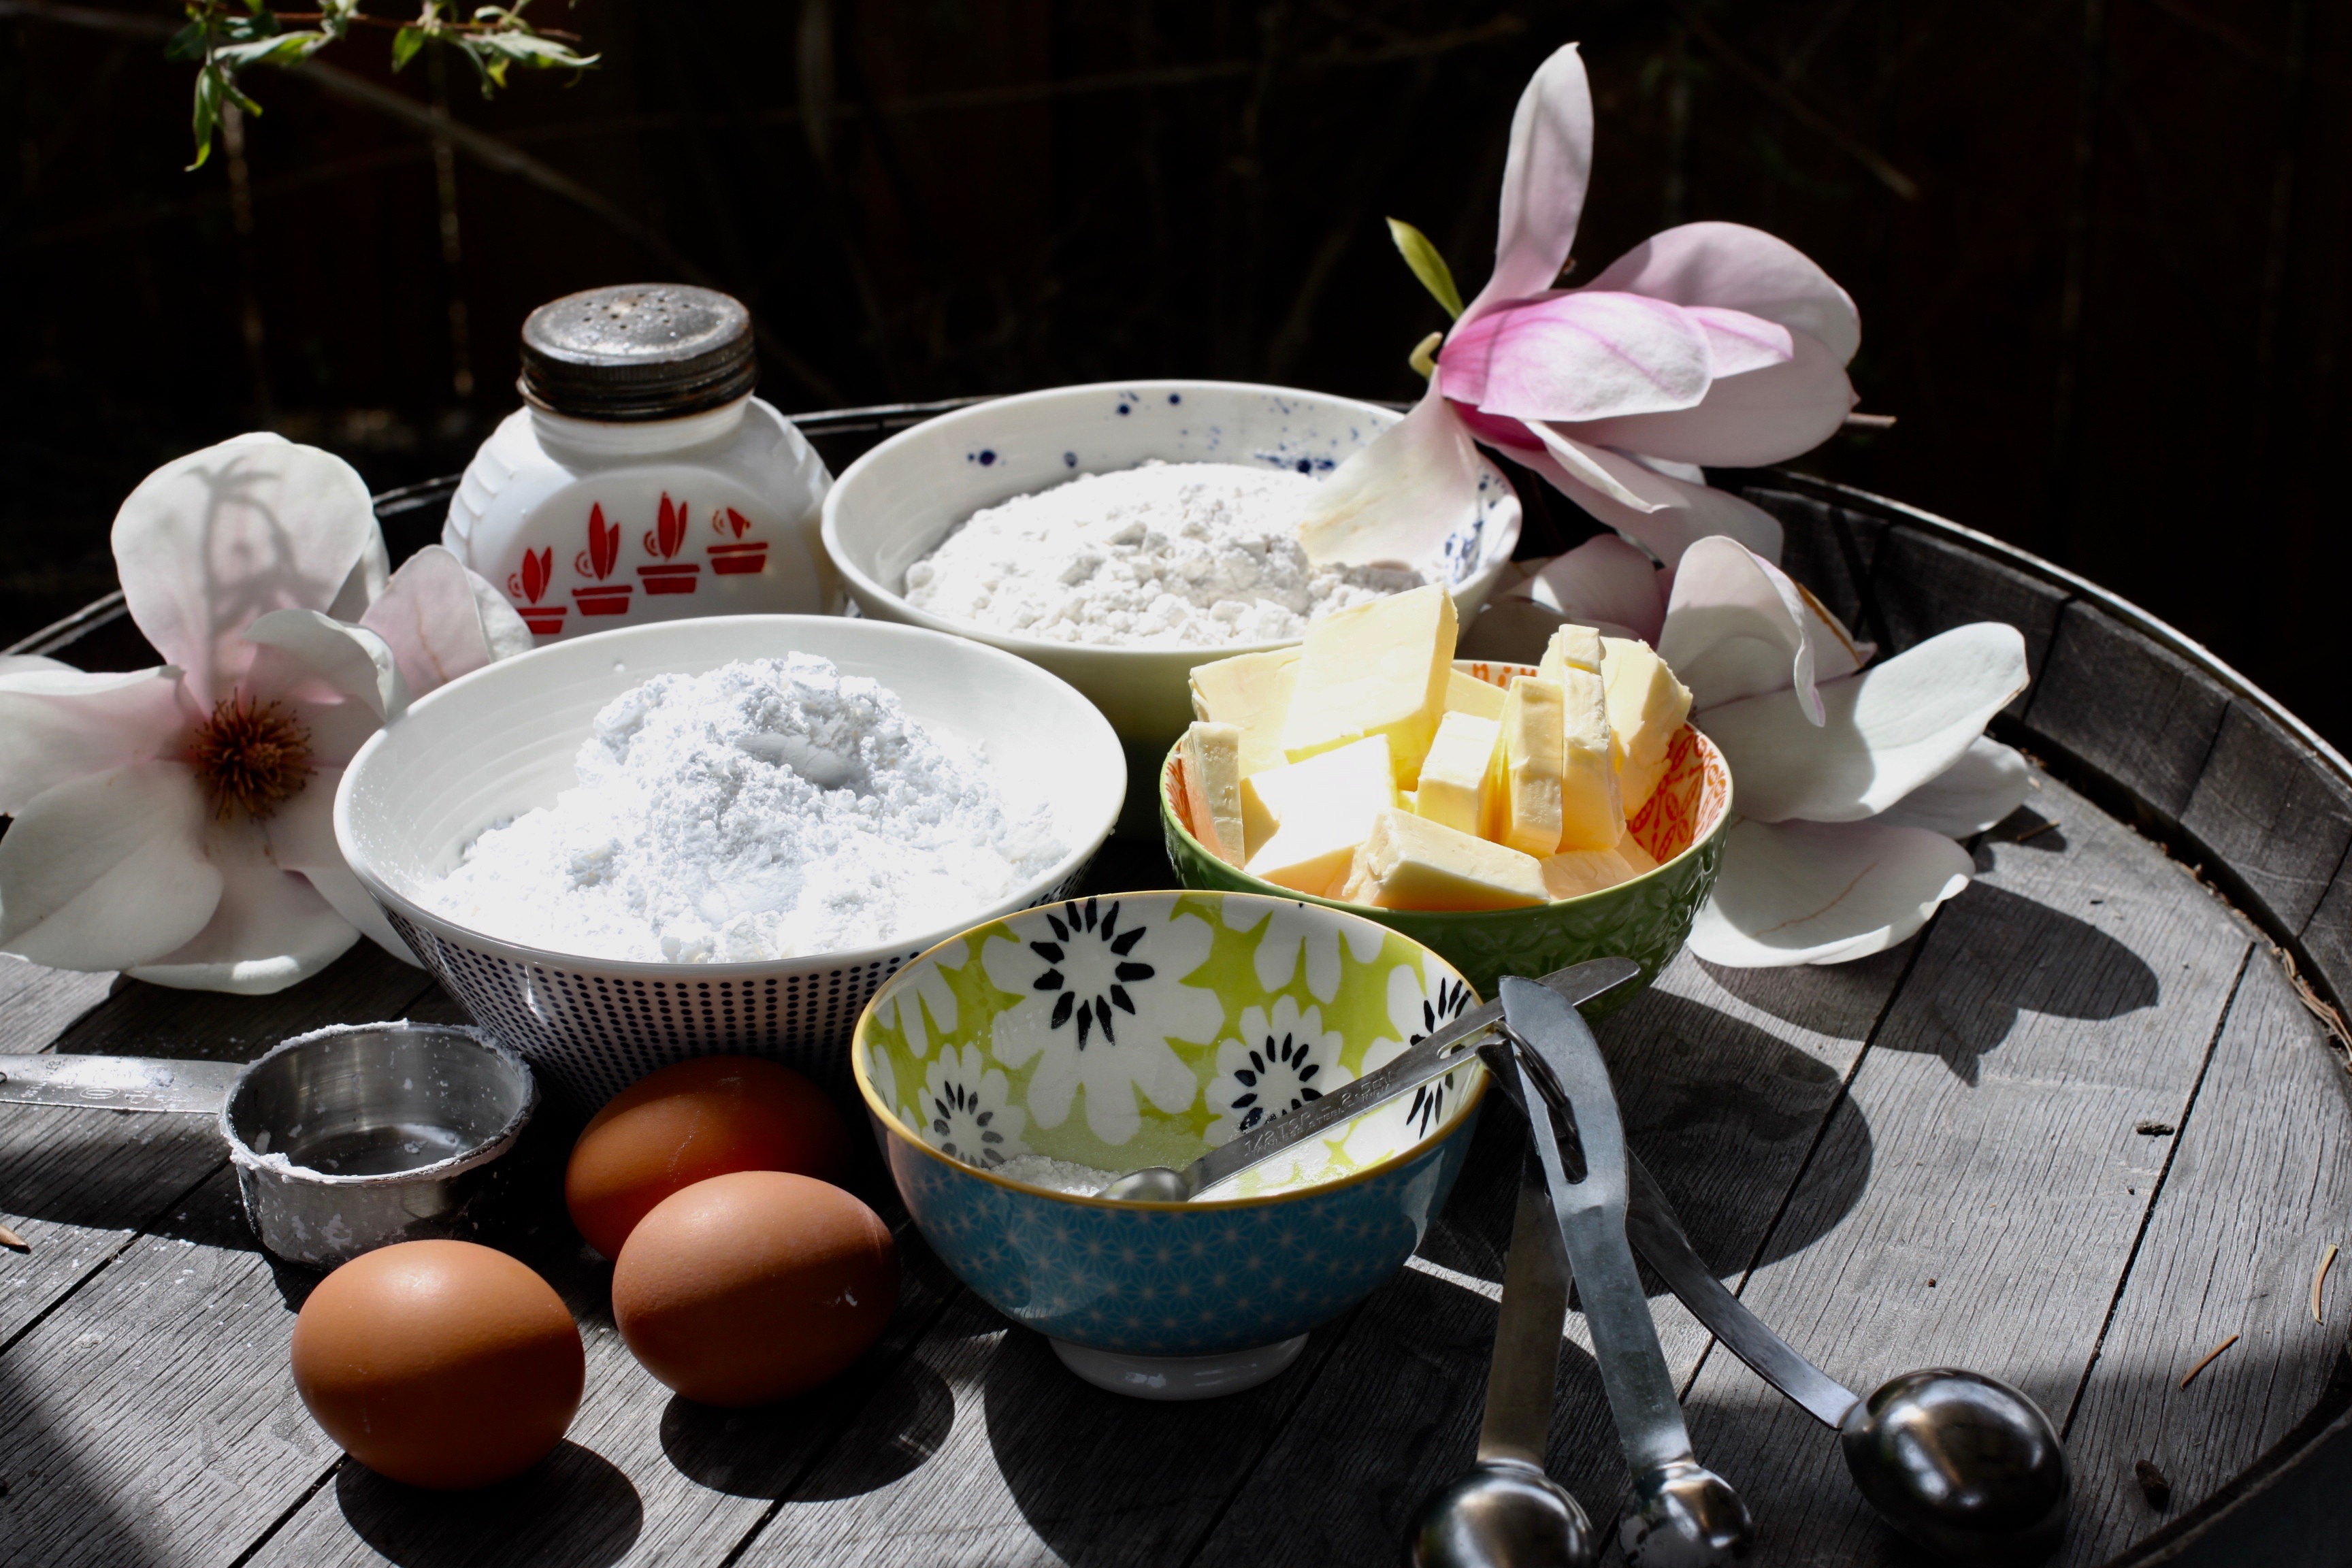
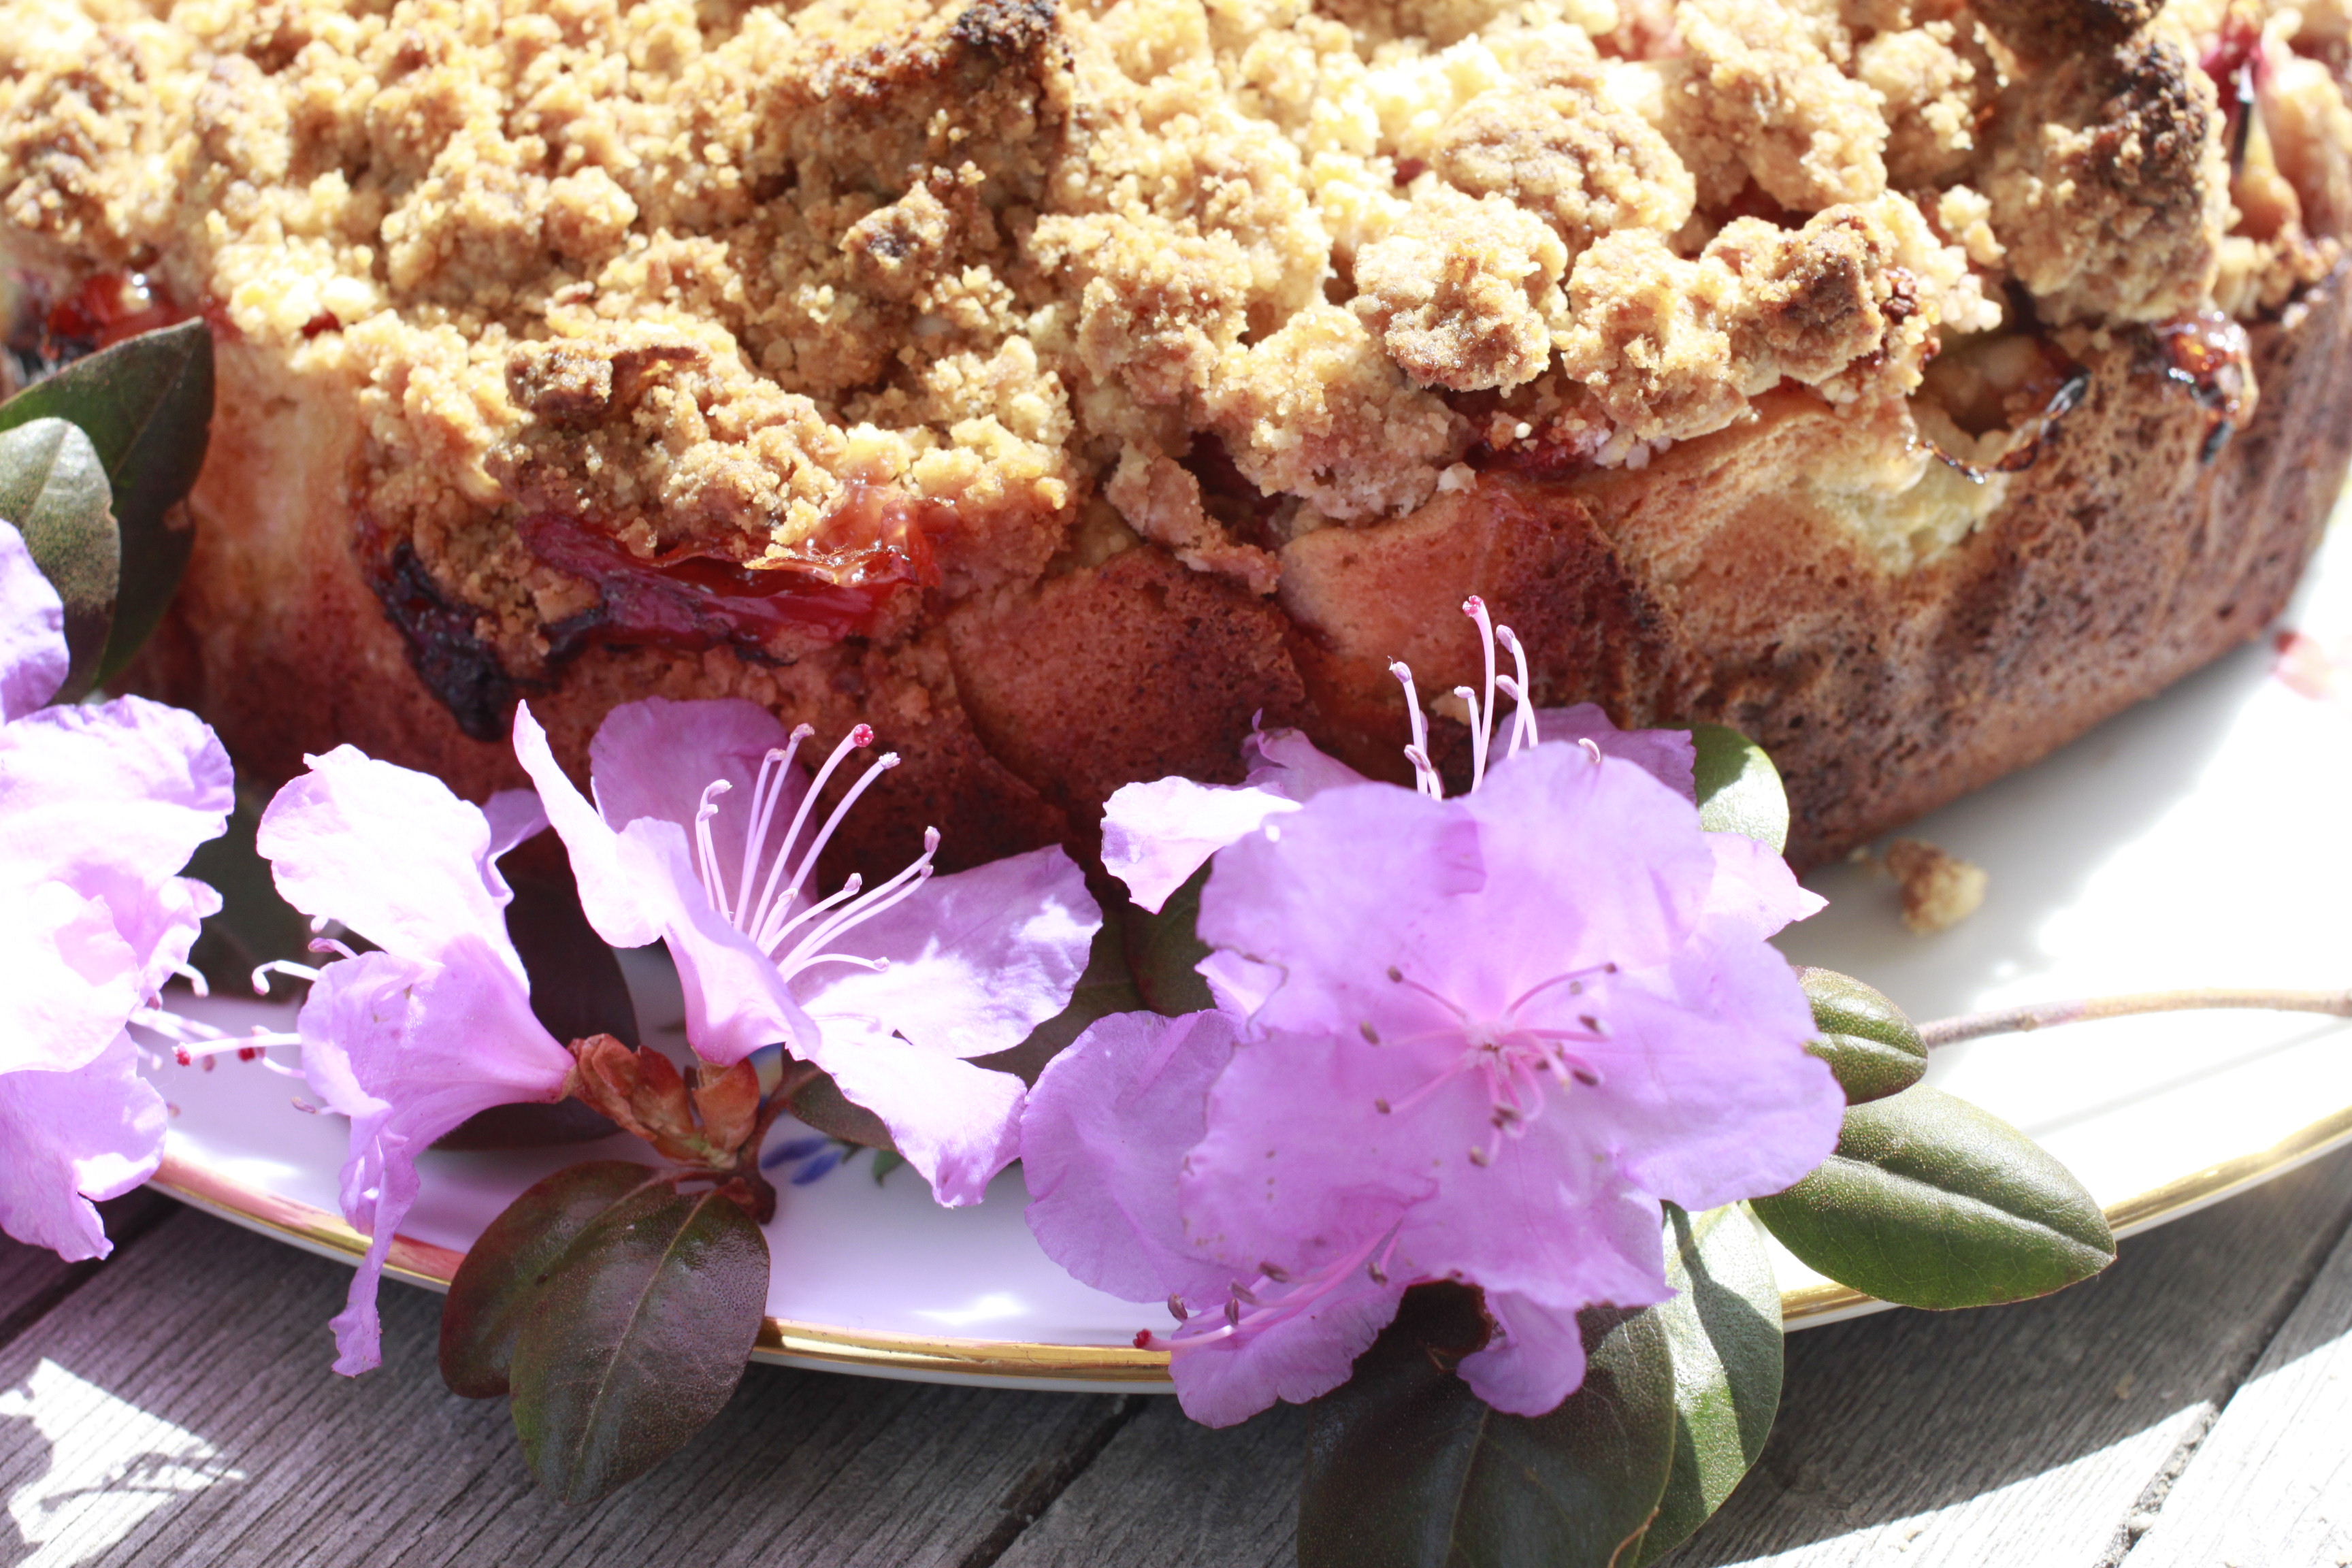
This lovely coffee cake is easy peasy and makes the most of your spring rhubarb bounty. The crumble is elevated with the addition of coconut. The recipe is divided into three parts: the crumble, fruit and the cake. You will need a 9-inch round or square springform pan to ensure your cake will be easy to remove.
Preheat oven to 400F. Lightly grease a 9-inch round springform pan and line with parchment paper.
Crumble
120 grams (8 1/2 tbsp) unsalted butter, melted
3/4 cup packed light brown sugar
1 1/2 cups all-purpose flour
1/4 cup shredded coconut
1/4 tsp salt
Place all the crumble ingredients in a large bowl and use your hands or a wooden spoon to mix. Set aside.
Fruit
260 grams of fresh garden rhubarb (about 2 or 3 medium stalks) cut into 1 cm slices.
260 grams of fresh garden organic strawberries, hulled and sliced 0.5 cm thick
2 packed tbsp light brown sugar
1/4 cup tapioca flour (or cornstarch)
2 tsp fresh lemon juice
1 tsp vanilla bean paste of scraped seeds of 1/2 vanilla pod
1/8 tsp salt
Place all the fruit ingredients in a medium bowl, toss and set aside.
Cake
1 1/2 cups all purpose flour
3/4 tsp baking powder
1/4 tsp salt
3/4 cup unsalted butter at room temperature, cubbed
1 3/4 cup confectioners’ sugar
3 large room temperature eggs
1 tsp vanilla extract
Sift the flour, baking powder and salt together in a bowl and set aside. Place the butter and confectioners’ sugar in the bowl of an electric mixer with the paddle attachment and beat for about 3 minutes until light and fluffy. Add the eggs, one at a time, beating well after each addition. Scrape the bowl when necessary. Add the vanilla extract followed by the dry ingredients and beat just until combined.
Some assembly required
Pour the cake batter into the lined cake pan and smooth out the surface. Spoon over the fruit mixture and then sprinkle evenly with the crumble mixture.
Bake for about 70 minutes, until the cake is golden brown on top and a skewer inserted into the centre comes out with just a few moist crumbs attached. Cover with tin foil for the last 15-20 minutes of baking so the top doesn’t get too dark. Cool completely before removing from pan.
Just a few tropical ingredients are needed to make a delicious treat that although extremely good are a rather poor substitute for being on one of Hawaii’s beautiful islands. I brought the mac nuts, flaky sea salt and Kona honey home with me but your local honey will make a fine substitute and the nuts are readily available at the grocery store.
Love, love coconut. You?
Cream, vanilla bean, macadamia nuts, coconuts, Kona honey, butter, brown sugar, corn syrup and flaky Hawaiian sea salt are the yummy ingredients.
Ingredients
Makes 18 or more if you cut them into smaller pieces
1 cup macadamia nuts
2/3 cup unsweetened flaked coconut
7 Tbsp unsalted butter
1 cup plus 1 Tbsp heavy cream (I use lactose-free for the Handyman and it works just fine)
4 1/2 Tbsp good local honey
1/4 cup plus 1 Tbsp light corn syrup
3/4 cup plus 1 Tbsp light brown sugar
Scraped seeds from 1/2 vanilla pod
1/4 tsp flaky sea salt
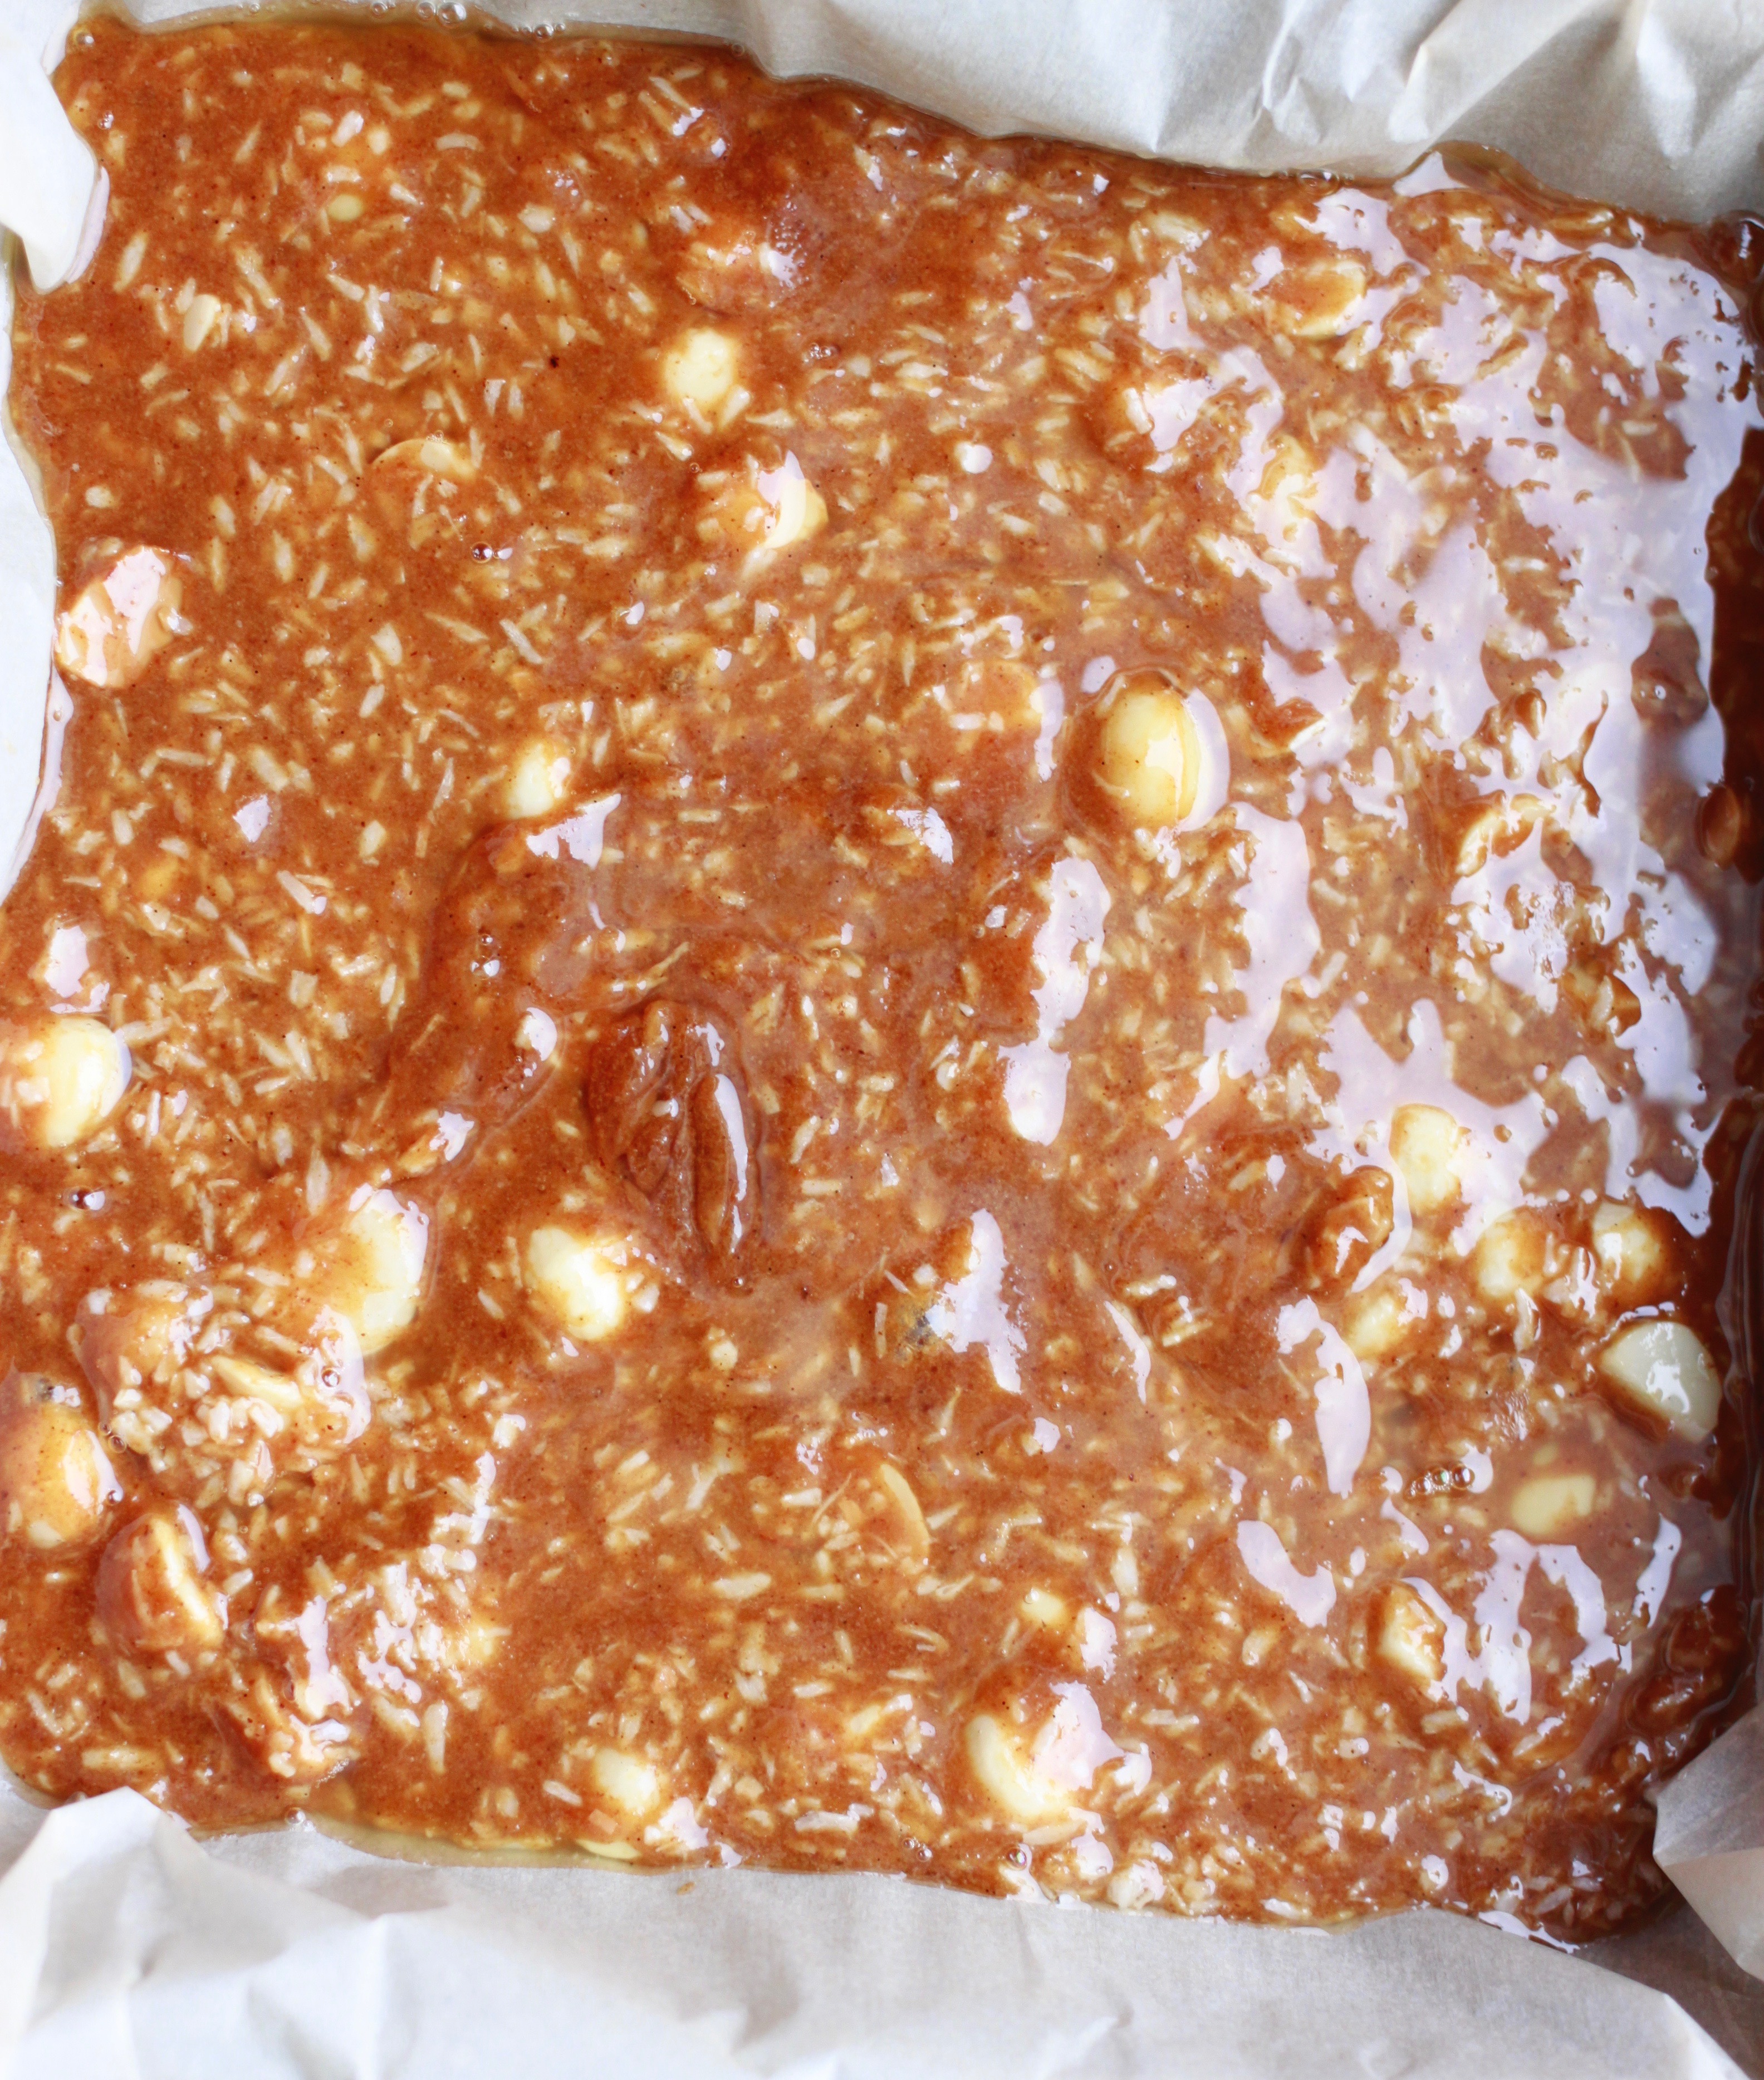
Preheat oven to 350F. Line an 8-inch square pan with parchment paper, making sure the paper rises about 1 1/2 inches over the edges of the pan, set aside.
Spread the nuts out on a baking sheet and roast for 7 minutes. Spread the coconut out on a separate baking sheet and toast for just 2 minutes. Place the nuts and coconut in a medium heatproof bowl and set aside.
Melt the butter in a medium saucepan over low heat, then add the cream, honey, corn syrup, brown sugar, vanilla seeds and salt. Stir until combined, then increase the heat to medium. Bring to a boil. Do not stir. Continue to boil until the temperature reaches 253 to 255 F on a candy thermometer… the top end of firm ball stage. This takes between 12 and 20 minutes. Remove from heat immediately — move fast, as the temperature of the caramel will continue to rise. Pour over the nuts and coconut. Then pour into your lined square pan and flatten with a spatula.
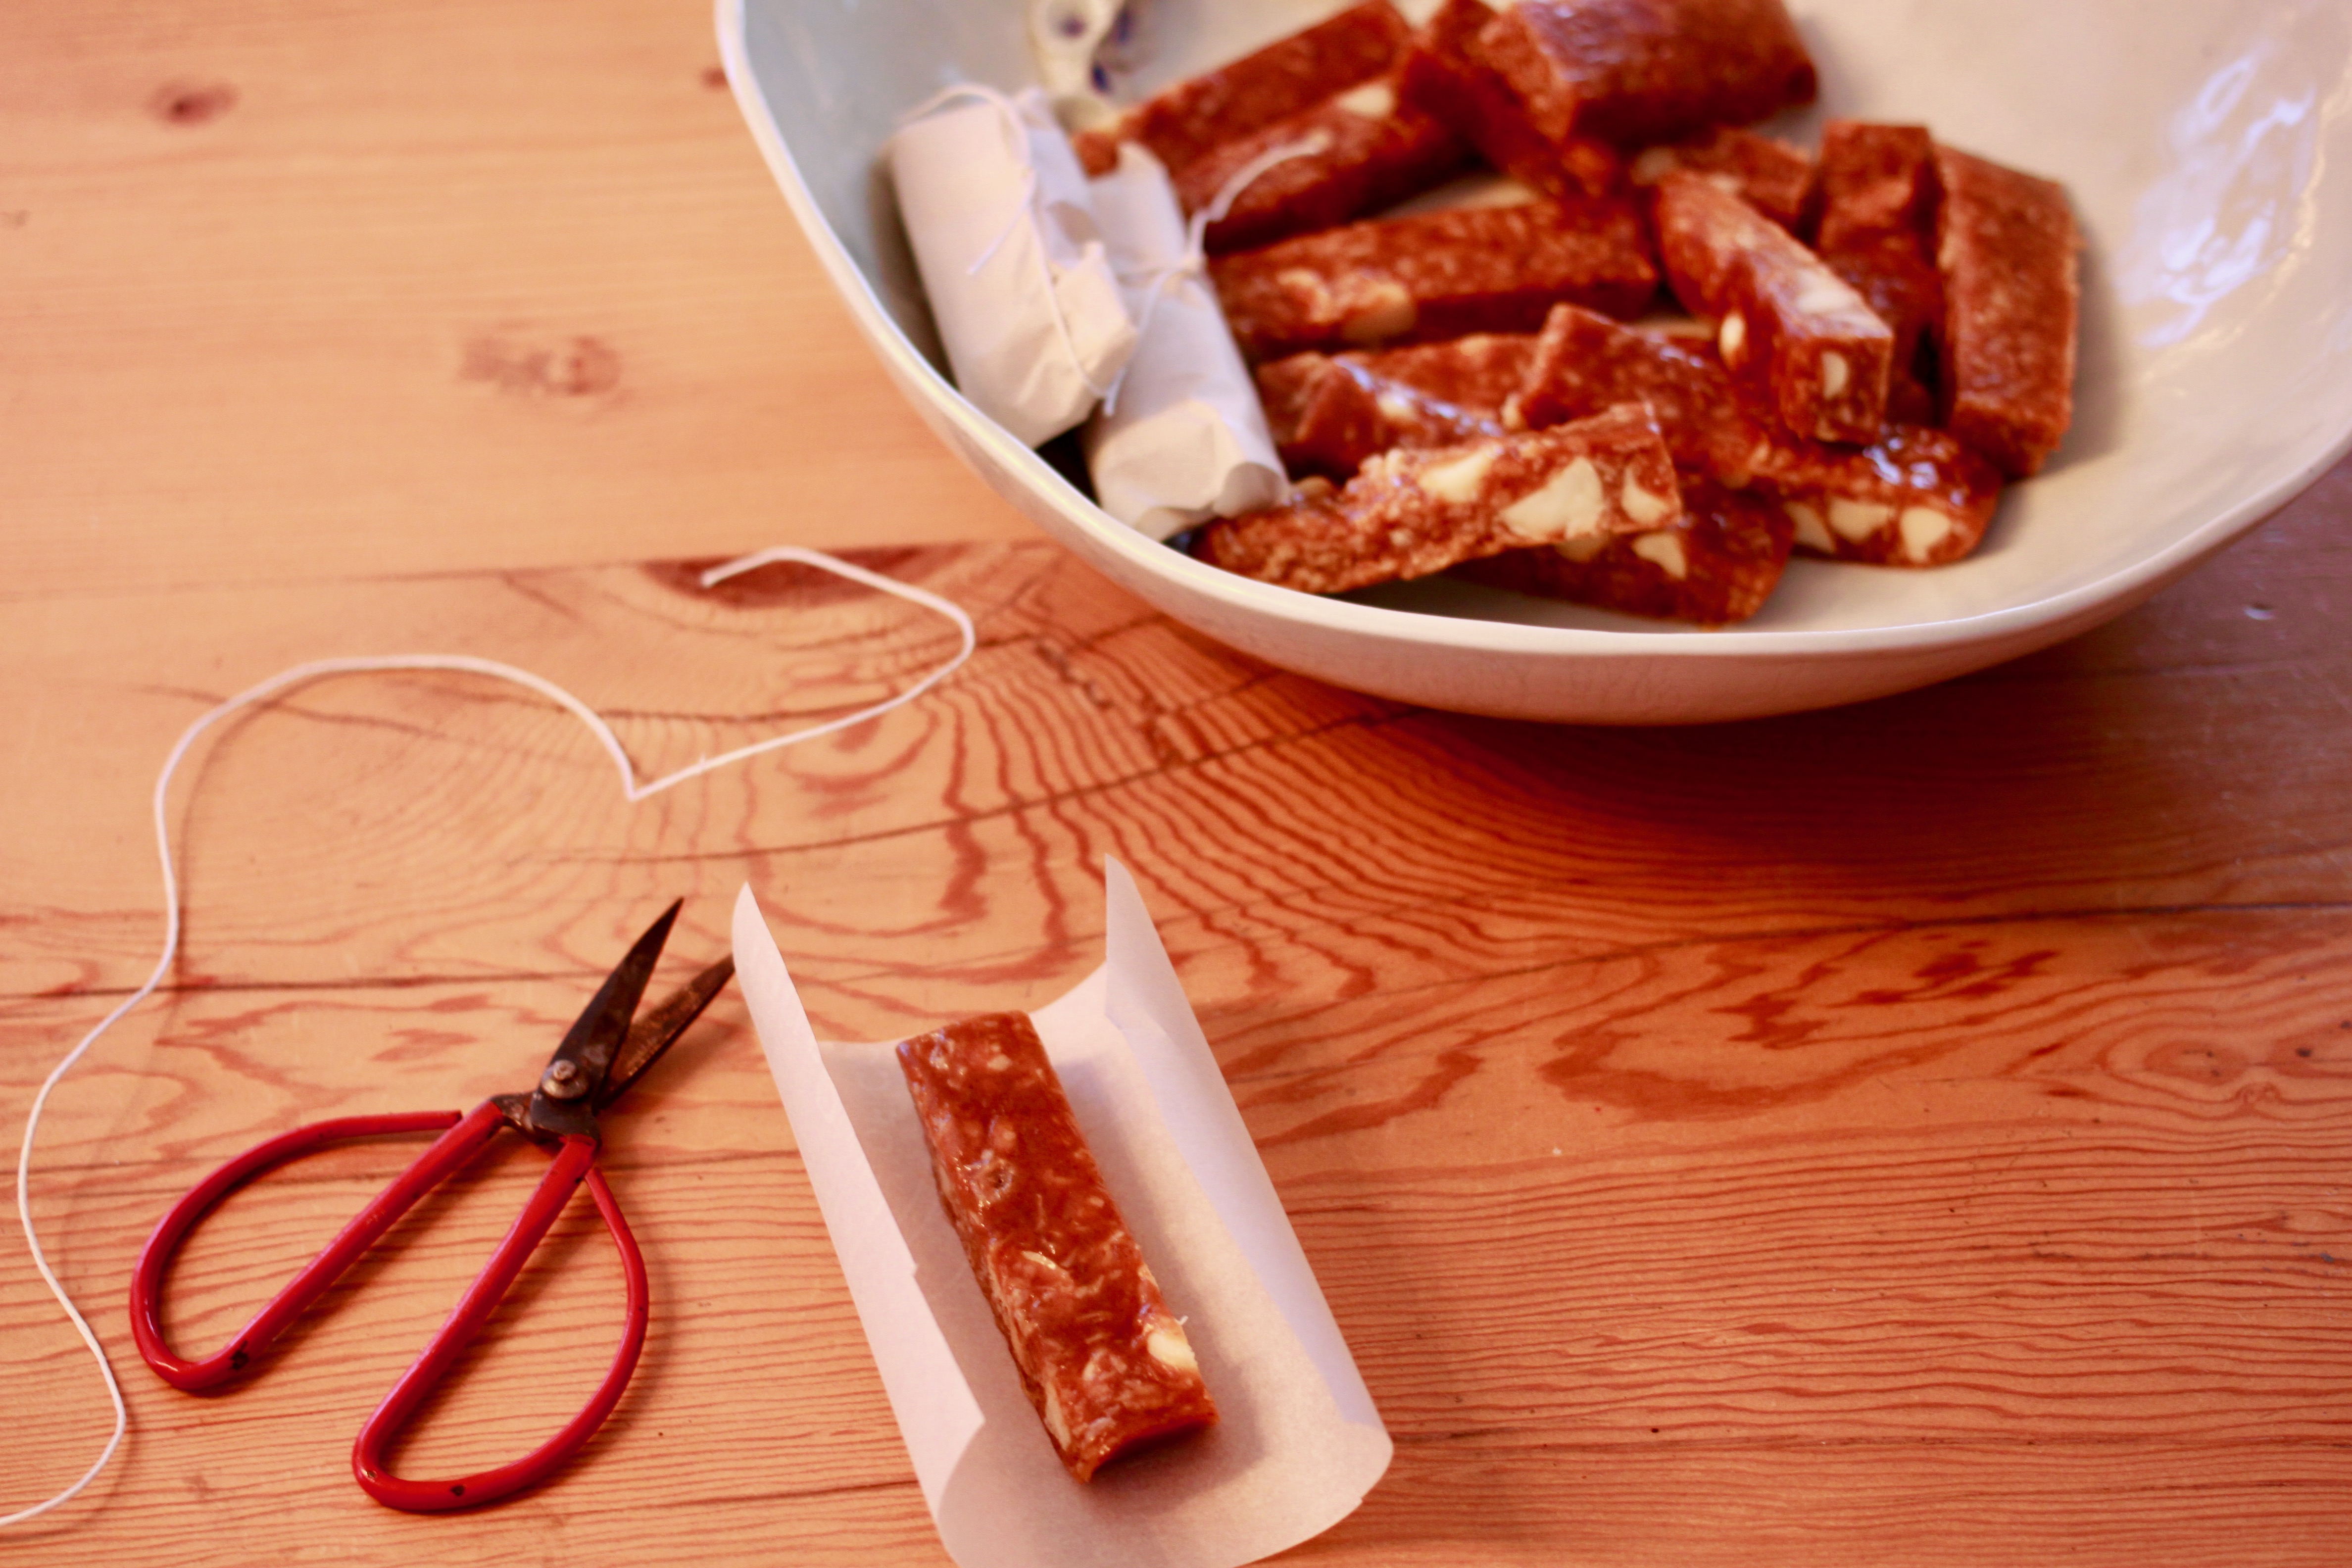
A candy thermometer is a must here. Pour into a parchment-lined 8-inch pan.Wait an hour for it to firm up…catch a sunset?Cut the slab in half and then each half into 8 rectangles. You can then cut the rectangles into three if you want smaller treats.If you are gifting the caramels, wrap them in parchment.These caramels keep well so can be savoured during many sunsets. The caramels will keep for 2 weeks at room temperature or a month in the fridge. Store in an airtight container.
Hawaii or the Big Island is known for a lot of things including the famous Chelsea cookies invented by the chef of that name at the Island Lava Java, the go-to breakfast, lunch and dinner spot on Alii Drive facing the ocean.
It’s all Aloha
Lucky me and now lucky you. With a karma exchange I can share the Island Lava Java’s most popular and uber secret cookie recipe with you. We gave our trusty steads that we had ridden for a month (that we bought from some fellow Canadians who had purchased them new) to some Island Lava Java staff in need of wheels. We got the cookie recipe!
Rather than rent a car we do our bit for the environment and our legs and ride.
These cookies are best served right out of the oven. Island Lava Java will heat yours up for you if you ask…
1 cup room temperature unsalted butter (I used European butter re the superior taste)
1 1/4 cup brown sugar
3/4 cup white sugar
Add:
2 room temperature eggs one at a time
1/2 cup peanut butter
2 teaspoons vanilla
In a separate bowl combine:
2 1/2 cups all purpose flour
2 1/2 cups coconut flakes
2 cups oats
1 teaspoon baking soda
1/2 teaspoon ground cinnamon
1/4 teaspoon ground cloves
Add to butter mixture slowly Add 1 1/2 cups semi sweet chocolate chips last
Scoop the batter onto the prepared cookie sheets using an ice cream scoop. Squish the round cookies a bit flatter and garnish with coconut. Bake in a 350 F degree oven for 8 to 12 minutes. They should be lightly browned. Pour yourself a nice cup of Kona coffee and enjoy right from the oven. For the full meal deal, go to Island Lava Java’s site and click on their webcam and enjoy their view while you munch.
My swimming view from the pier. Swim first, Island Lava Java next.
Inspired by fond memories growing up in Quebec sugaring-off every spring, this salted maple pie is much, much tastier looking than its humble appearance would suggest. It’s like the sugar on snow served up beside a roaring fire outside the sugar shack only better because it is hugged by a flaky all-butter crust.
All-butter crust…because it’s the only way to go
Ingredients for one 9″ crust
1/2 teaspoon kosher salt
1/2 teaspoon sugar
1 1/4 cups all-purpose flour, plus more for surface
1/2 cup (1 stick) chilled unsalted butter, cut into pieces (use European butter if you can find it…it has a higher butterfat percentage which makes for a flakier crust)
1 tablespoon apple cider vinegar
3 tablespoons ice water
In a food processor, pulse the salt, sugar and 1 1/4 cups flour to combine. Add butter and pulse until largest pieces are pea-size. Transfer to a medium bowl and freeze about 5 minutes. (You can of course work by hand if you don’t have a food processor, using a pastry blender.)
In a small bowl, combine vinegar and water and sprinkle over flour mixture; toss with a fork to incorporate. Knead until dough comes together with just a few dry spots remaining. Flatten into a disk and wrap tightly in plastic. Chill at least two hours or overnight if possible.
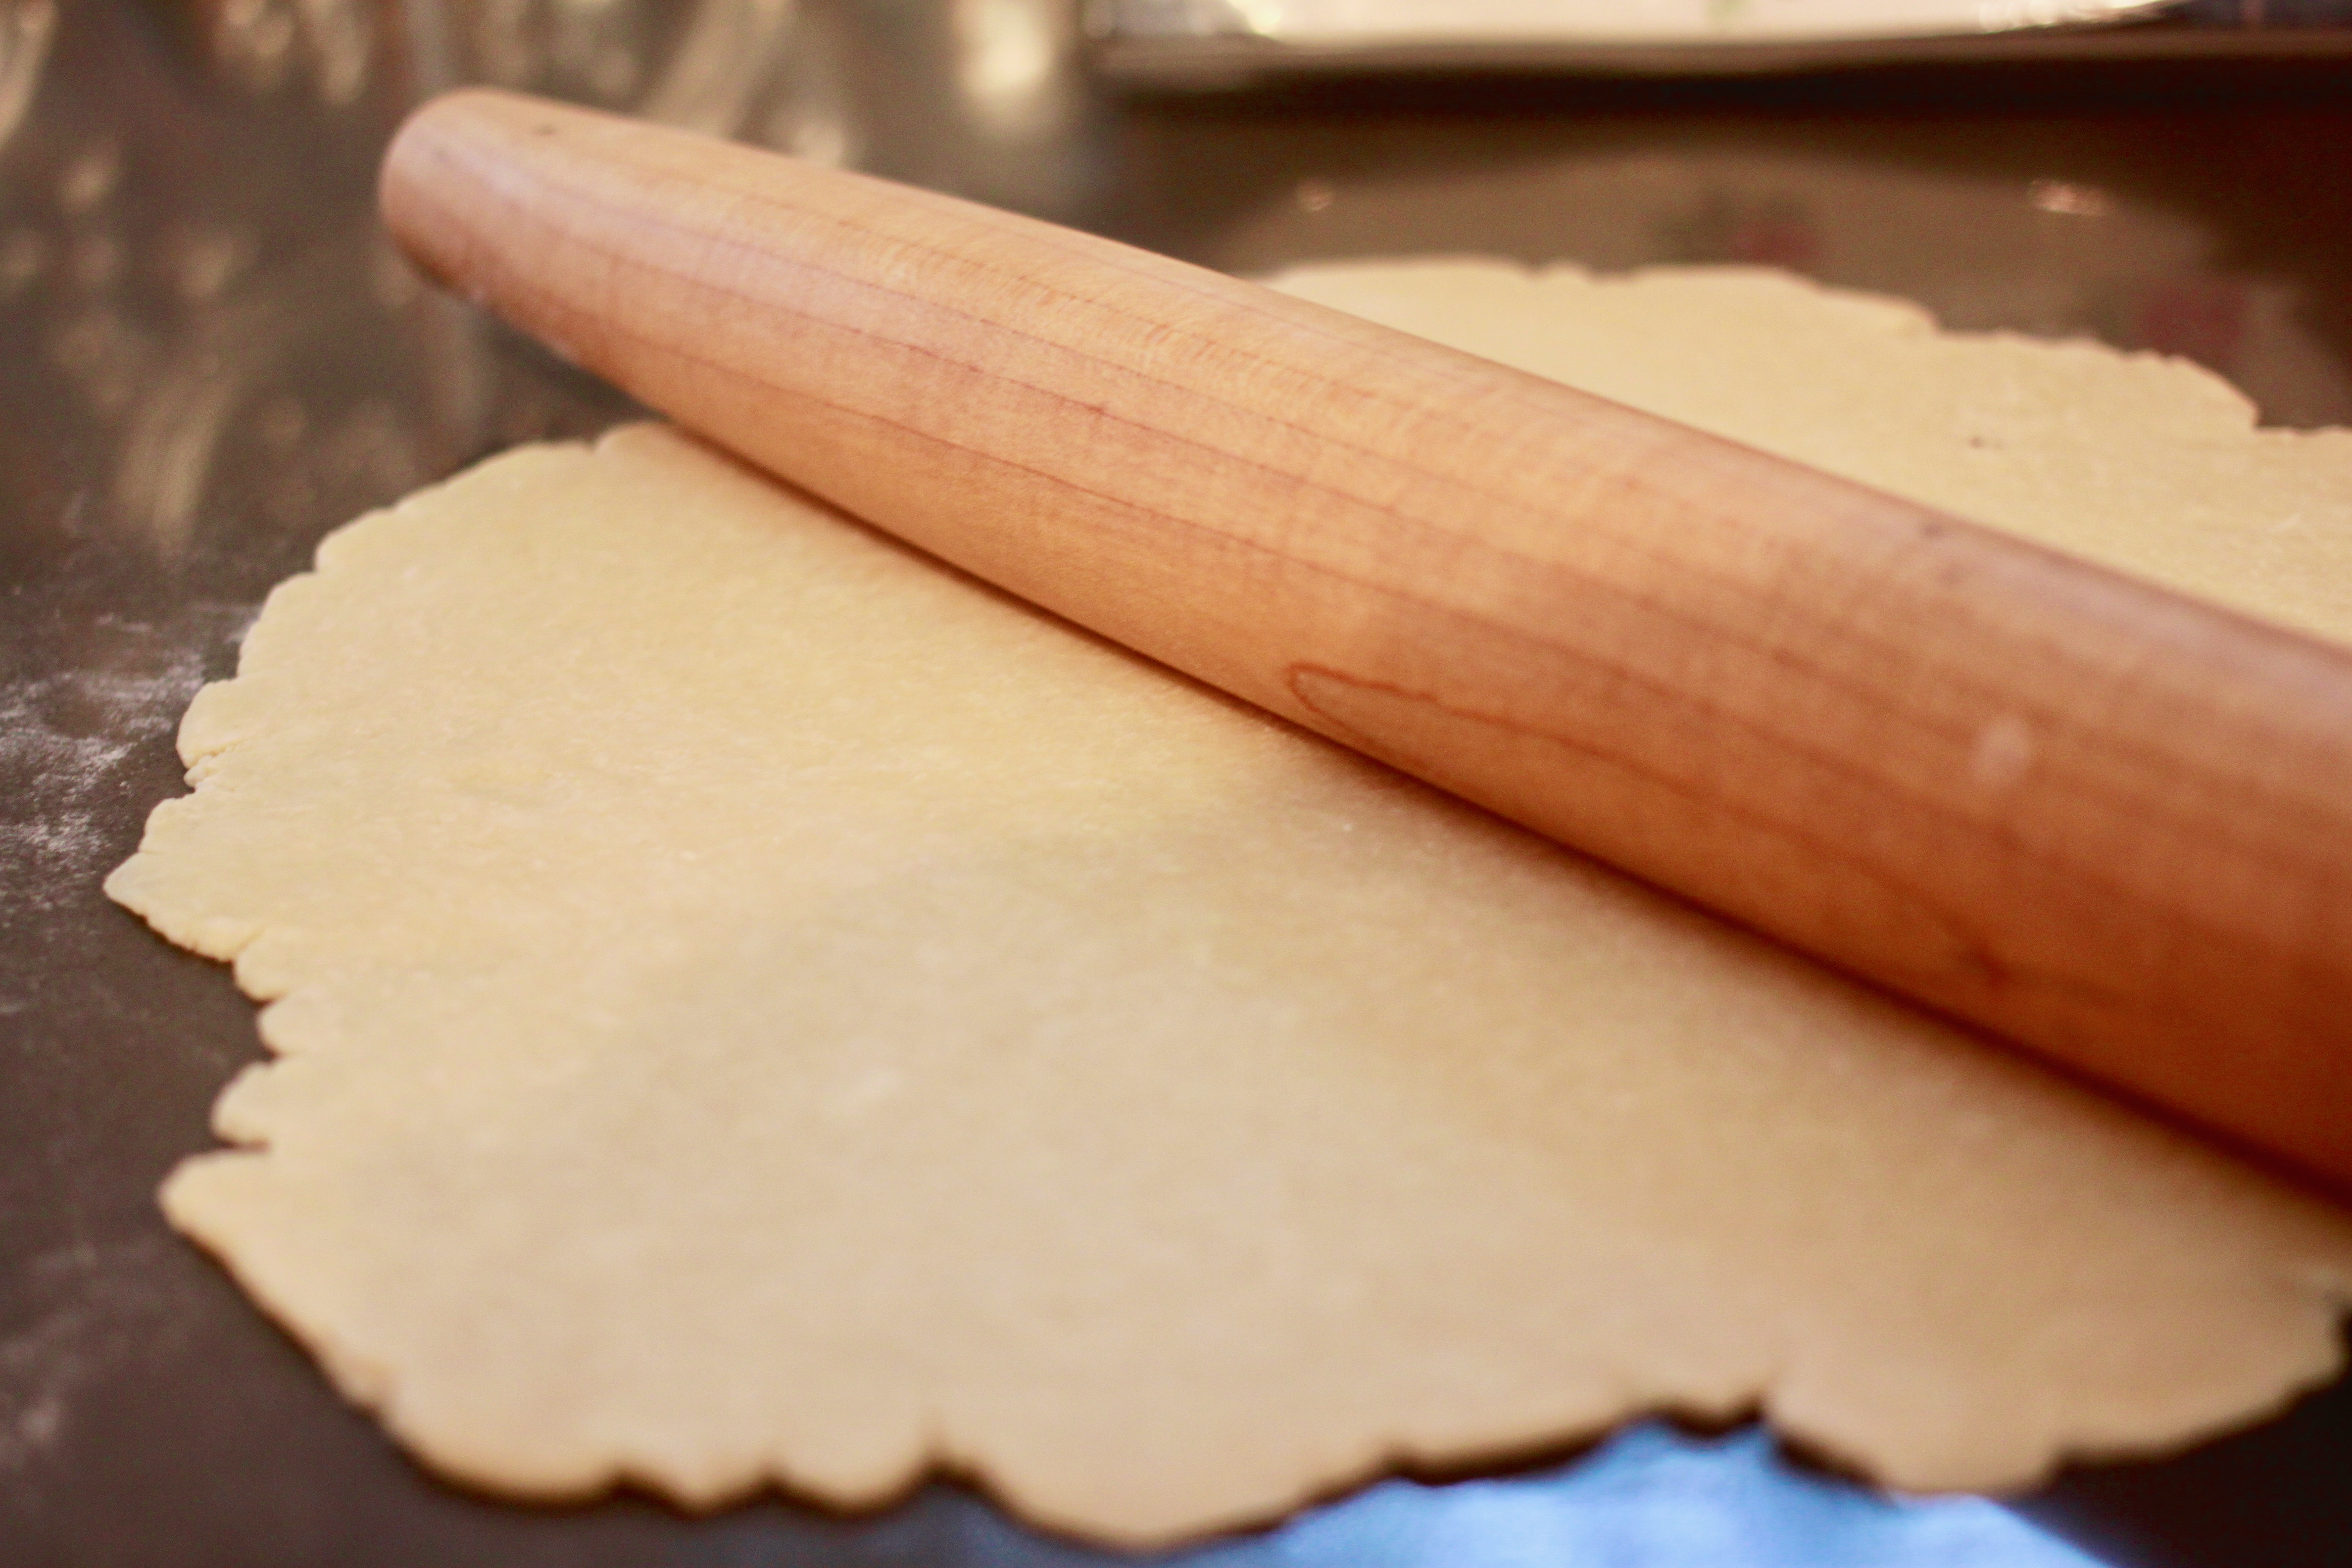
Let dough sit at room temperature 5 minutes to soften. Roll out on a lightly floured surface, rotating often and dusting with more flour as needed to prevent sticking, to a 12-inch round. Fold dough in half and transfer to a pie plate. Lift up edges and allow dough to slump down into dish. You should have about a 1-inch overhang. Fold edges under and crimp. Place pie dish on a foil-lined rimmed baking sheet and freeze 15 minutes. This step is important to preserve your pretty crimps. Full disclosure, as you can see by my finished pie I forgot this step and kind of lost my crimps. Kind of crimped my style.
Meanwhile, preheat oven to 425 degrees. Lightly coat a sheet of foil with nonstick spray and place in pie crust, coated side down, pressing into bottom and sides. Fill with pie weights (or dried beans or rice) and bake until edge is pale golden, about 25 minutes. Let cool for five minutes or so and then carefully remove foil and pie weights and cool on a wire rack.
Maple pie ingredients
1/2 cup plus 2 tablespoons unsalted butter, melted and cooled
1 cup real Canadian maple syrup, buy local if you can…I used Maple Roch from Summerland
3/4 cup packed light brown sugar
1/4 cup fine yellow cornmeal
1/4 teaspoon kosher salt
3 large eggs plus one additional egg yolk at room temperature
3/4 cup heavy cream, at room temperature
1 1/4 teaspoons pure vanilla extra or vanilla bean paste
one 9-inch blind baked and cooled all-butter pie crust
1 large egg, beaten
flaky sea salt for sprinkling
Directions
Pre-heat oven to 350F
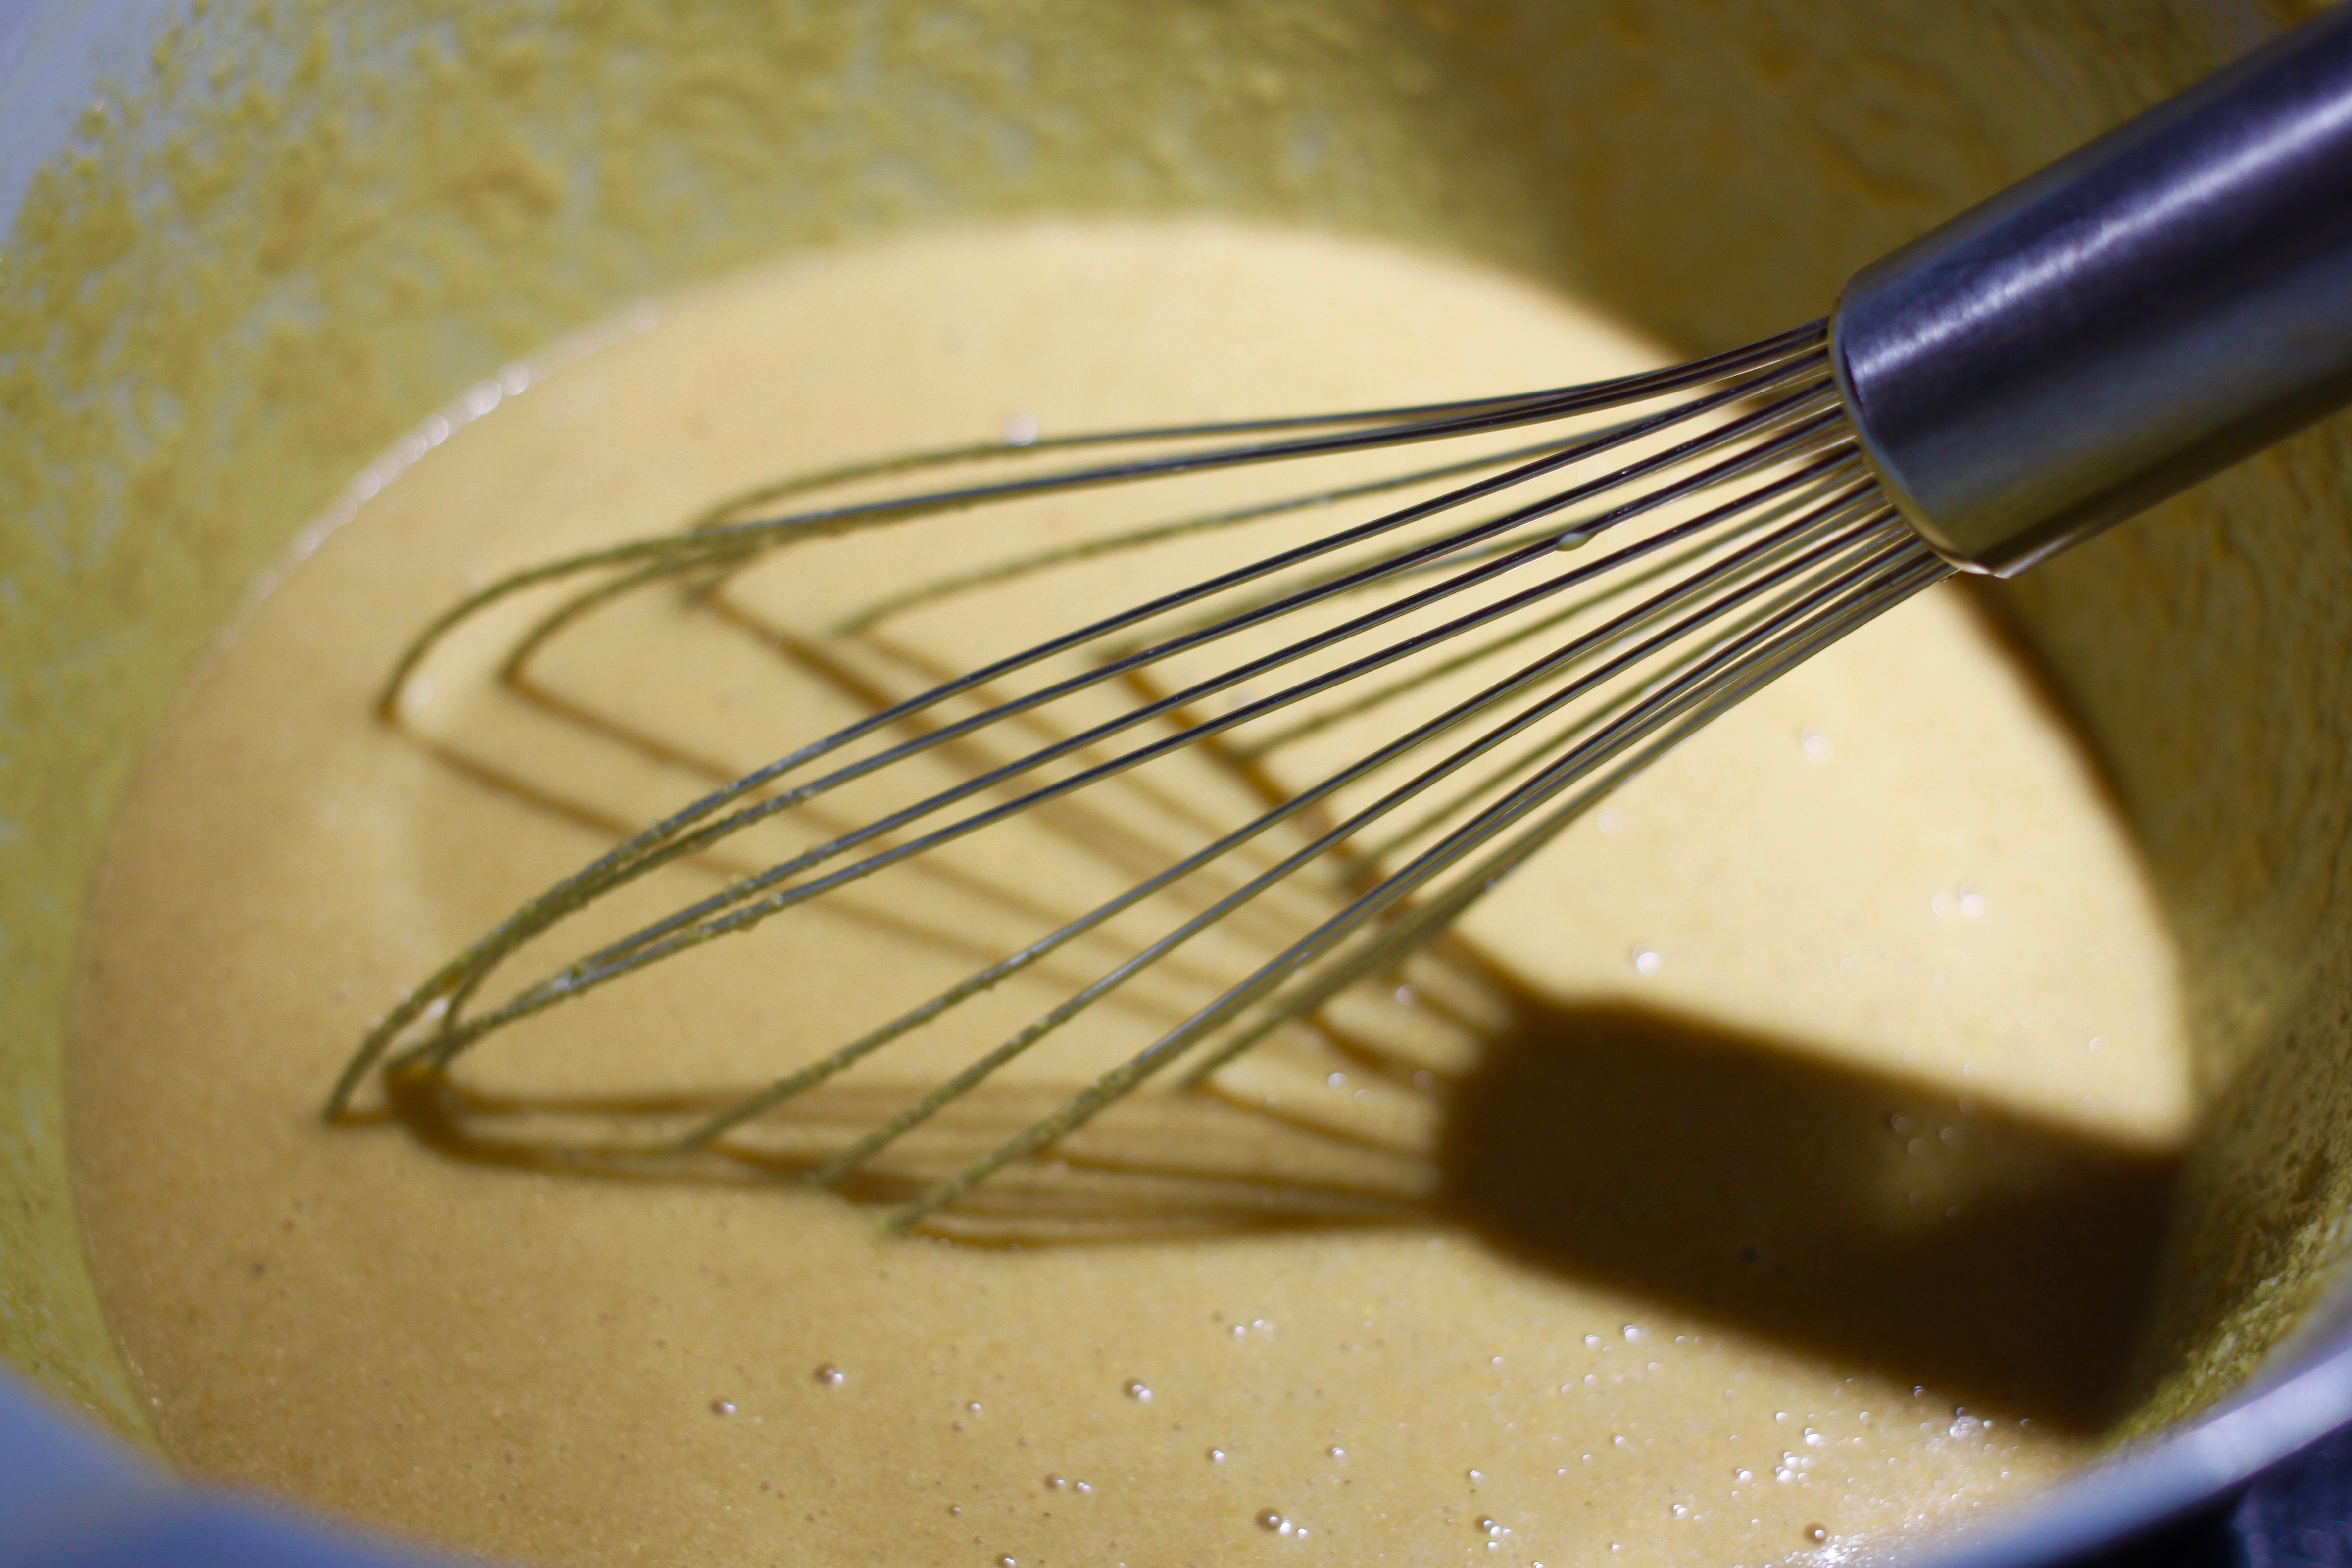
In a medium bowl, combine the melted butter and maple syrup. Whisk in the brown sugar, cornmeal and salt. Crack the eggs and yolk into another bowl and add the cream and vanilla and whisk to combine.
Slowly pour the egg mixture into the maple mixture and whisk to combine.
Place your pre-baked pie shell on a parchment-lined baking sheet and brush the pie edge with the beaten egg. Pour the filling into the pie shell until it reaches the bottom of the crimps.
Bake for 45 minutes to an hour, until the edges are puffed and the centre jiggles only a bit when shaken. It will set more as it cools.
Cool for a good 4 hours and then sprinkle with flaky sea salt.
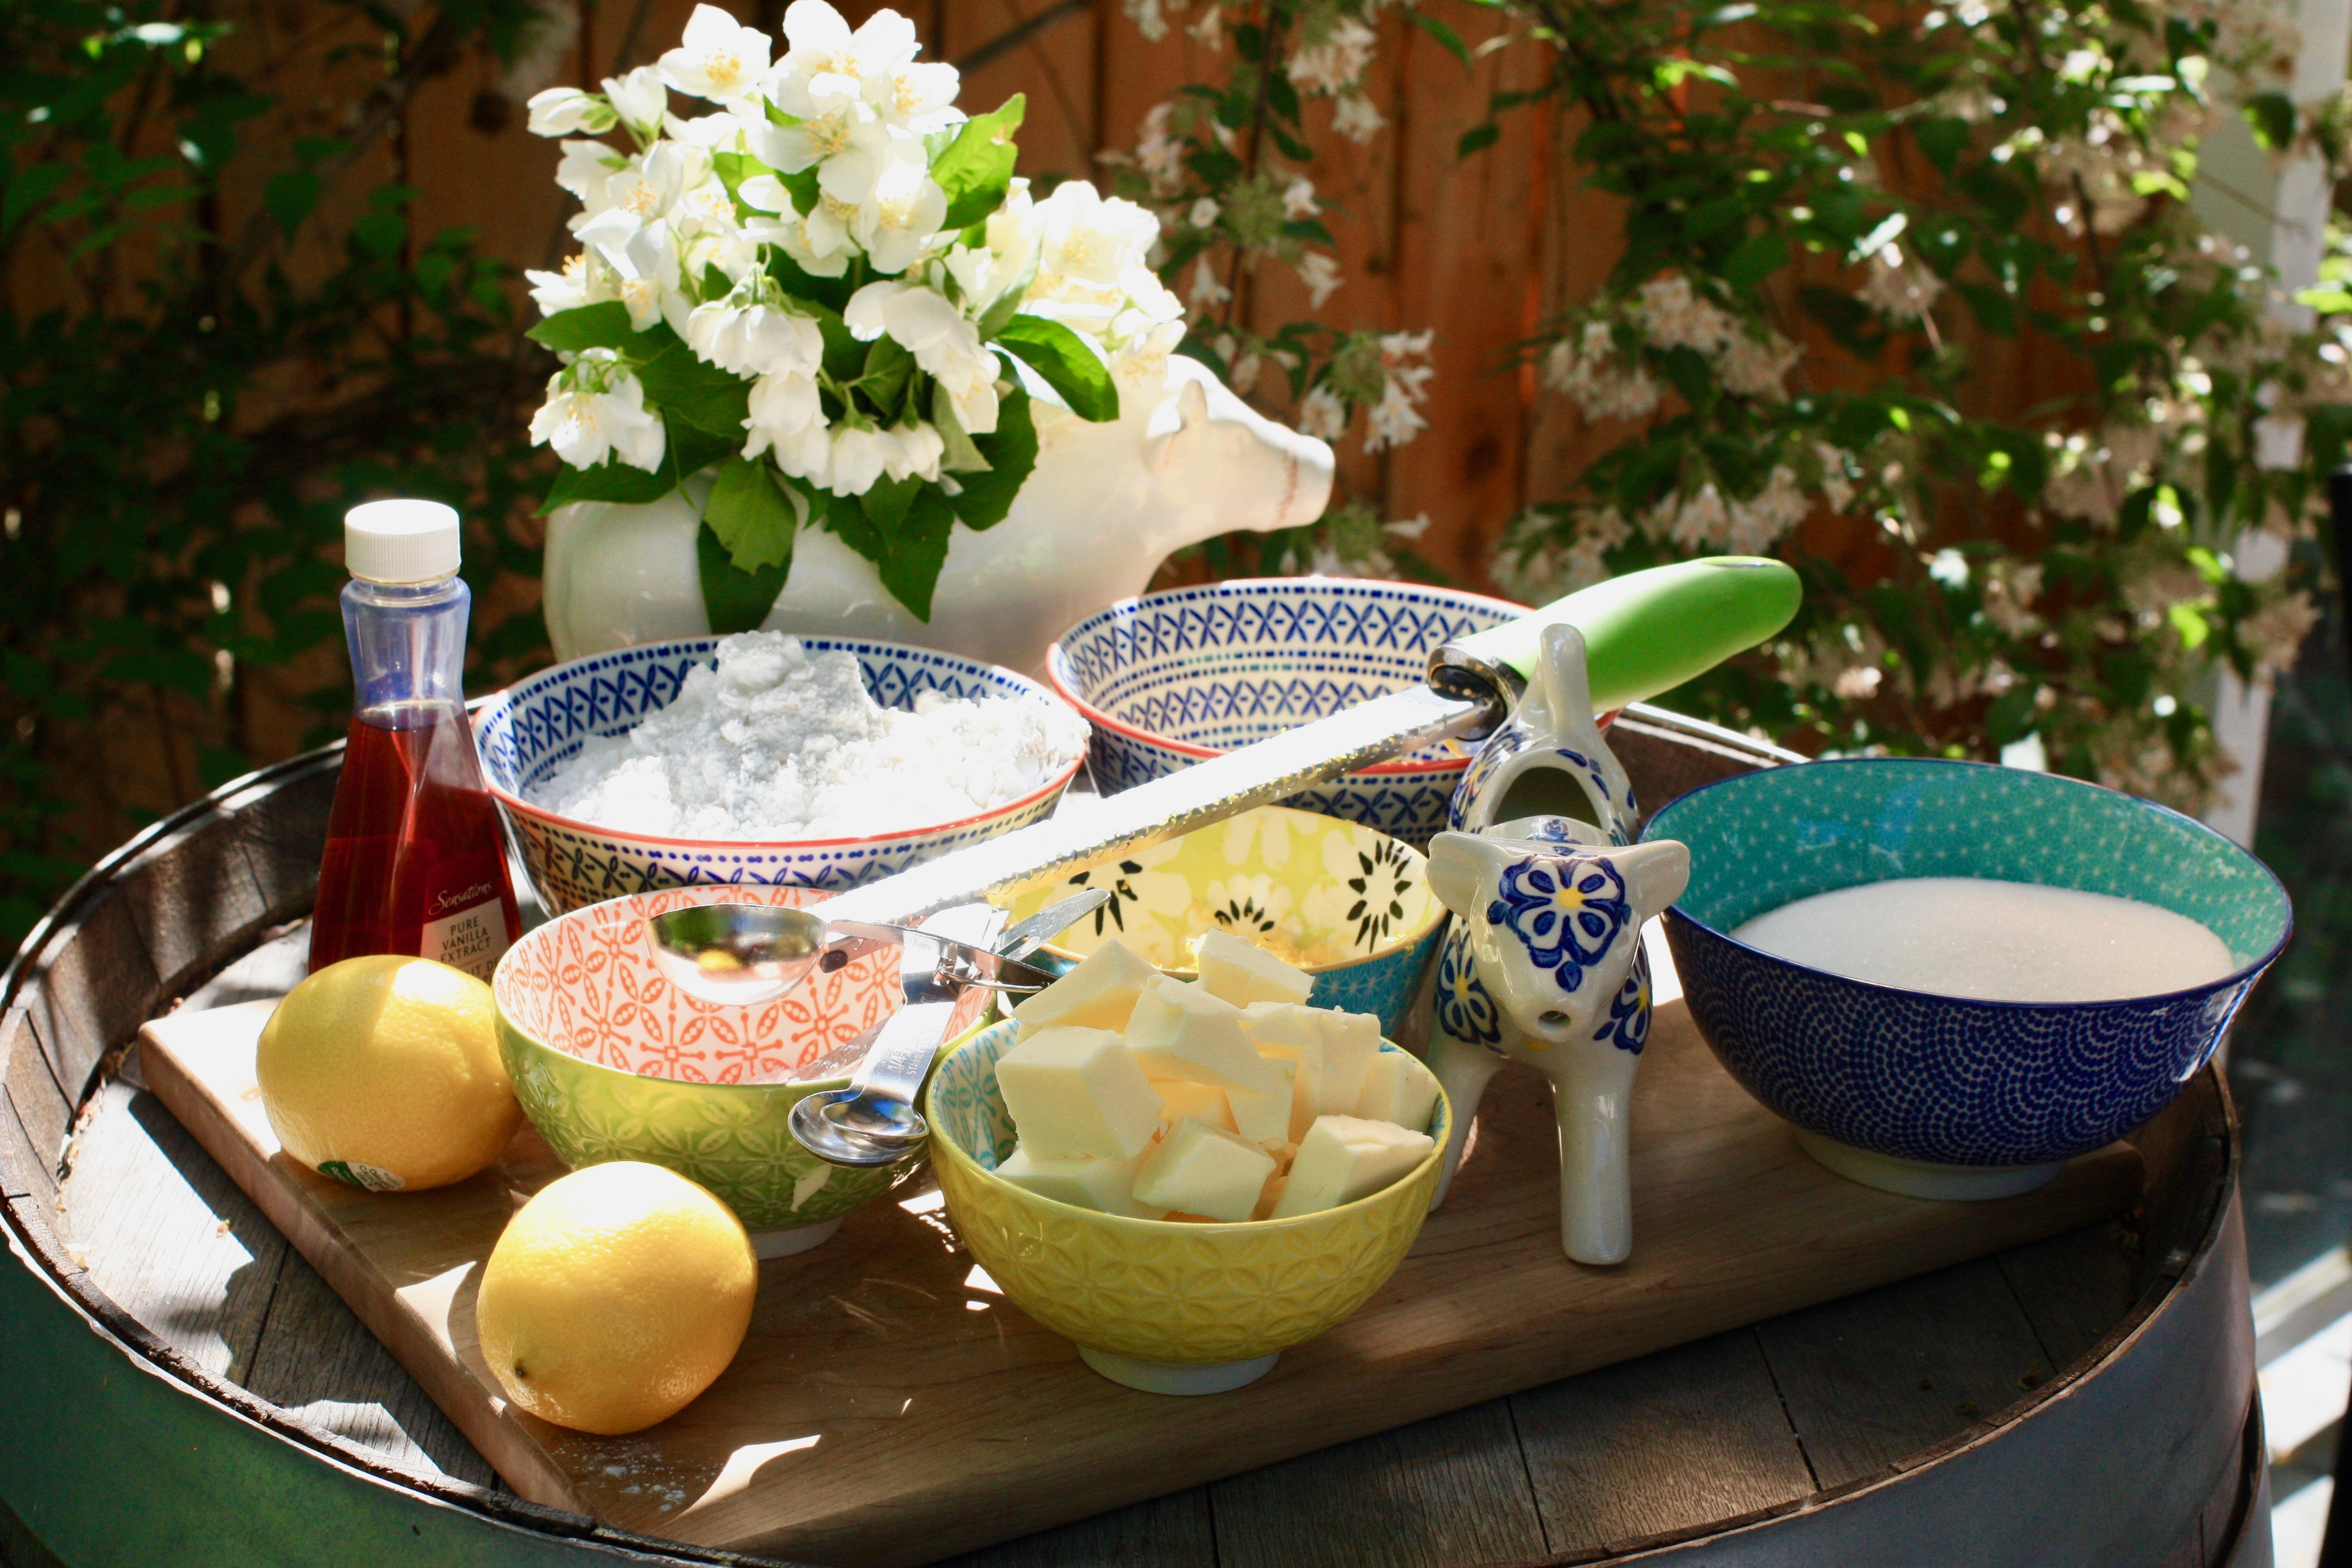
This cake is a sunny little gem to serve on a hot summer day. It’s dressed up for a party with candied lemon, a rich buttercream flecked with vanilla bean and the surprise of a hit of flavour in the black tea buttercream filling. I’ll have an iced black tea with lemon and lots of ice in a frosty glass to go with it please.
There are five steps to making this triple layer six-inch cake: candied lemons, lemon butter cake, Swiss meringue buttercream, black tea buttercream and vanilla bean buttercream.
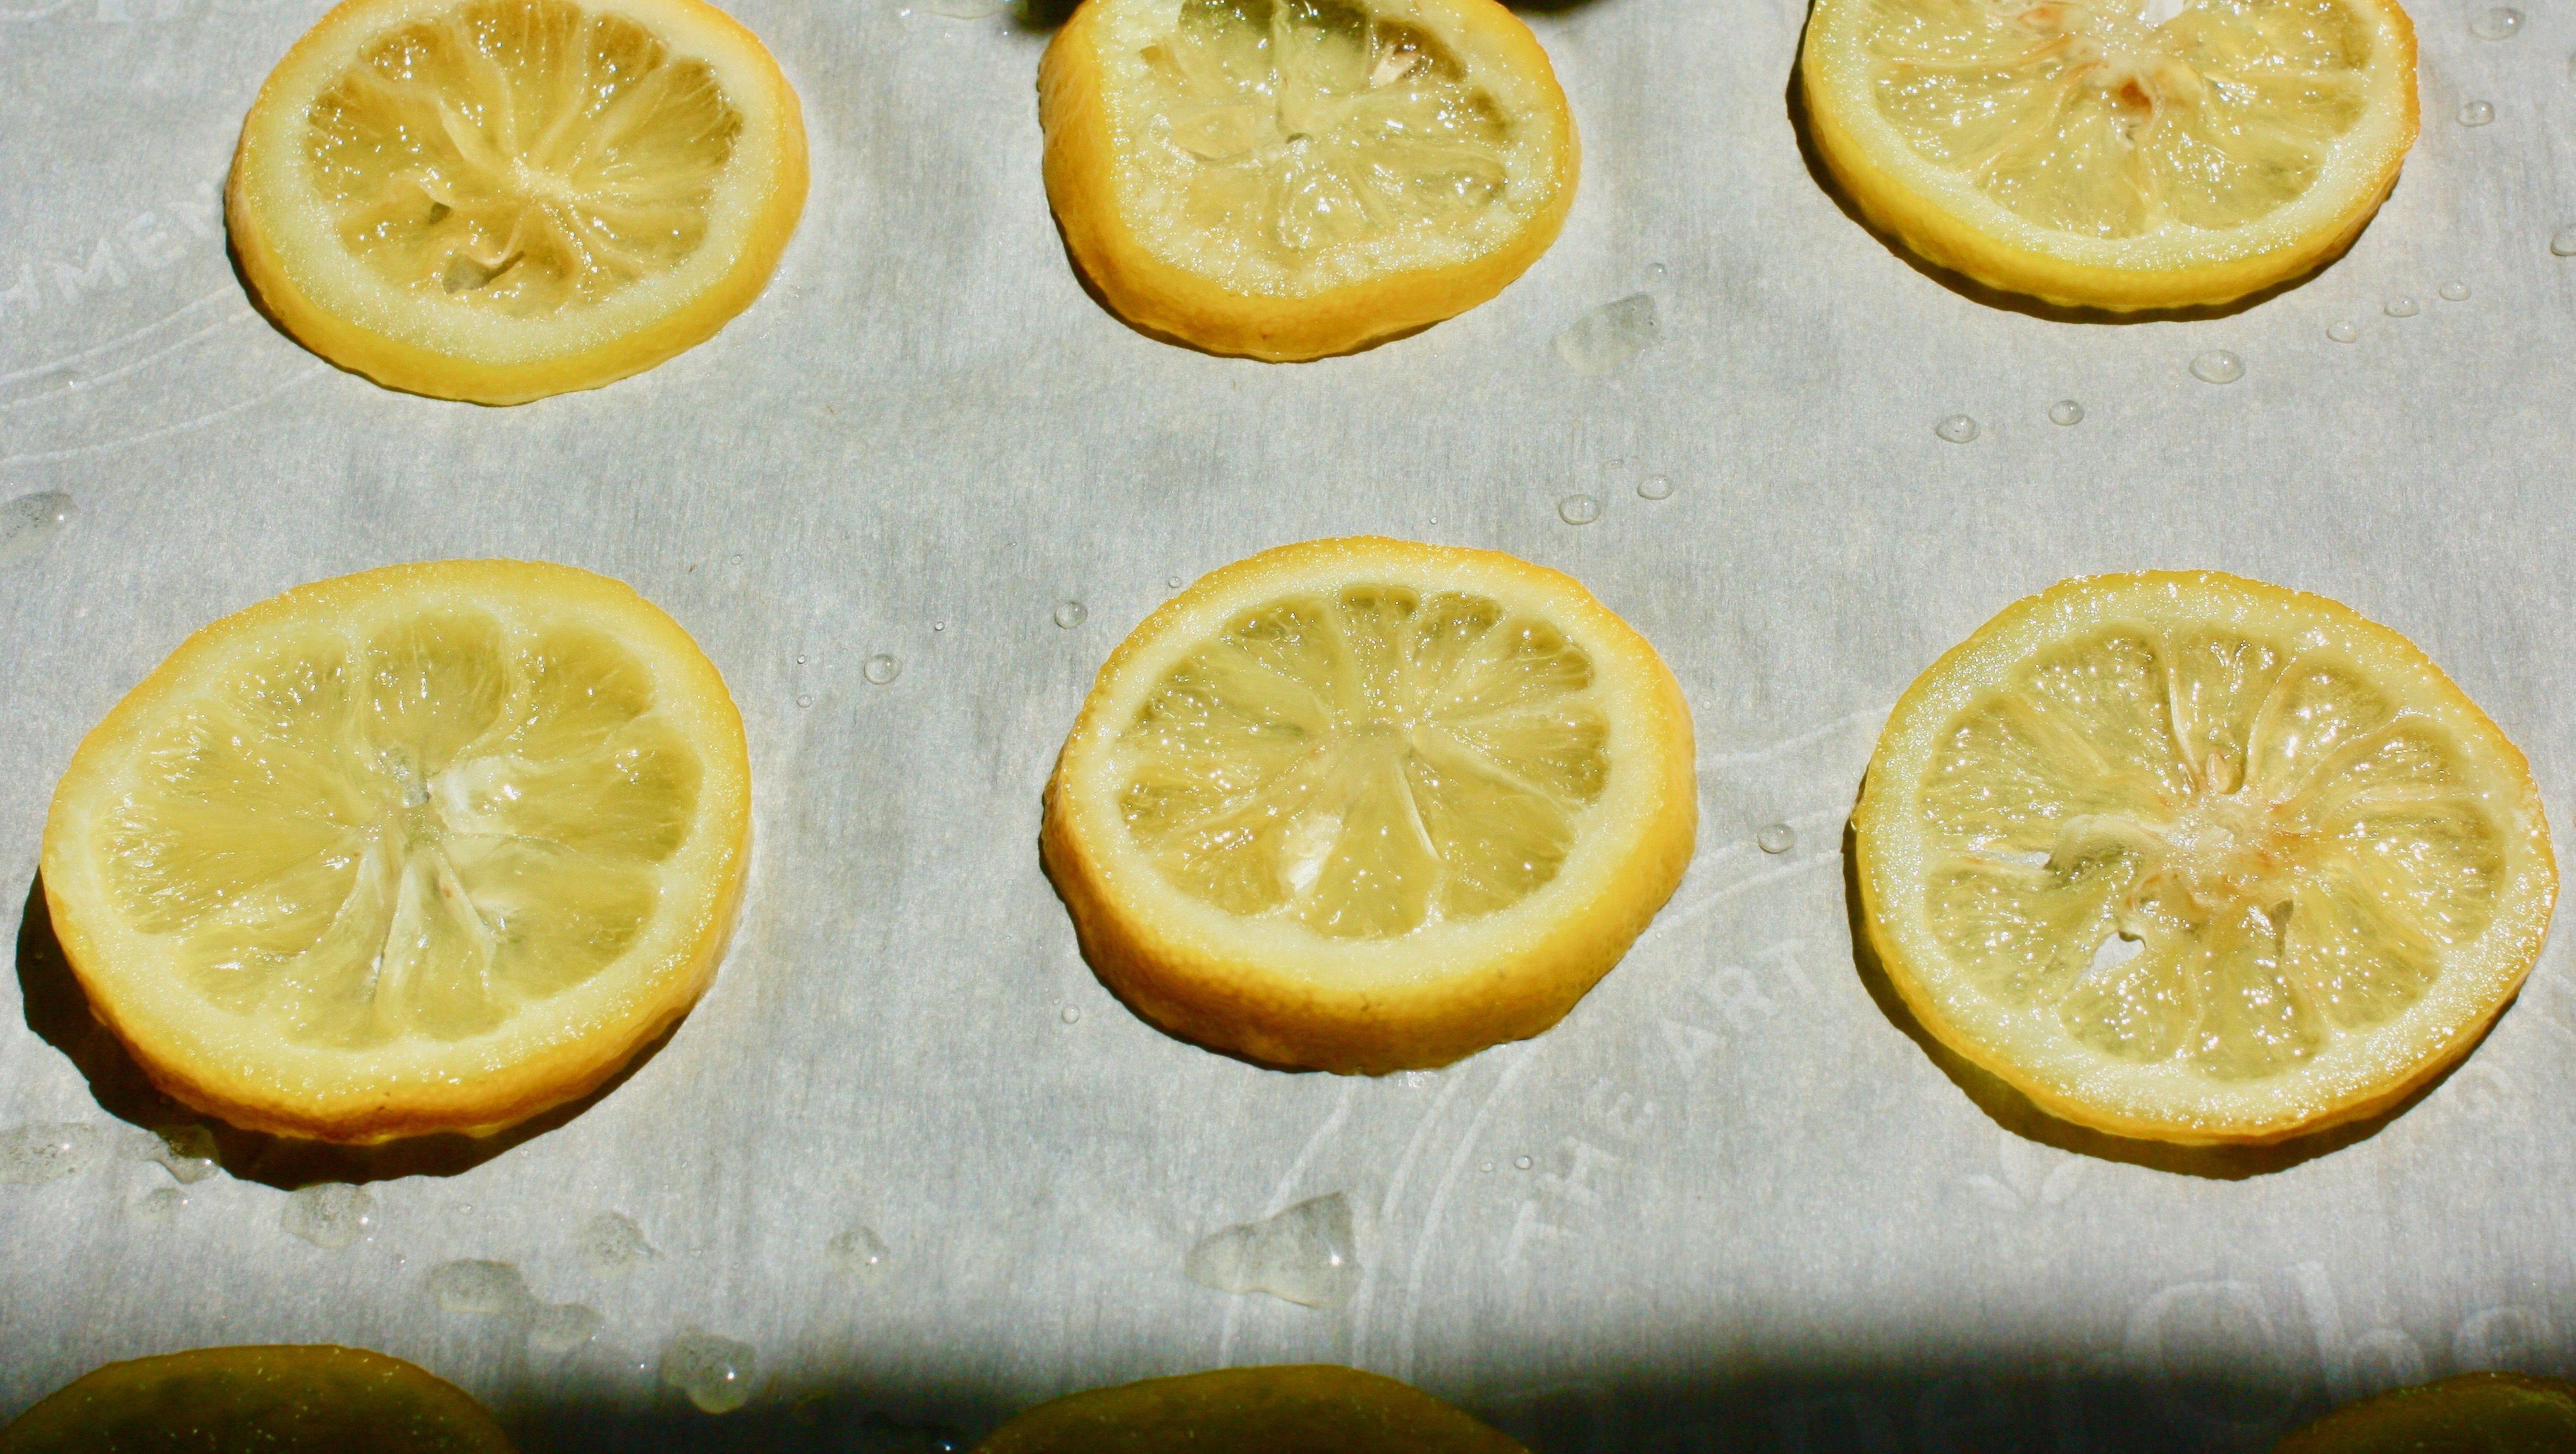
Candied lemon ingredients
2 lemons, thinly sliced and seeded
1 1/2 cup sugar
Directions
Prepare an ice bath and set it aside.
Place 1 1/2 cups of water in a saucepan and bring to a boil. Blanch the lemon slices in the boiling water for about a minute, then use a slotted spoon to transfer them to the ice bath.
Reduce the heat to bring the water to a simmer. Add the sugar and stir to dissolved. Return the blanched lemons to the pan and simmer for about 30 minutes. Place the lemons on a wire rack to drain. Let them dry completely on a piece of parchment pater for 2 to 4 hours, or overnight.
Lemon butter cake ingredients
2 1/4 cups cake flour
2 1/2 teaspoons baking powder
1/2 teaspoon baking soda
1/2 teaspoon salt
1 1/2 cups granulated sugar
2 tablespoons finely grated lemon zest
3/4 cup room temperature unsalted butter
1 teaspoon pure vanilla extract
4 large egg yolks (thanks to my chickens!)
1 cup buttermilk
Directions
Pre-heat the oven to 350 F. Grease and flour three 6-inch cake pans and set aside.
Sift together the flour, baking powder, baking soda and salt and set aside.
Place the sugar and lemon zest in a small bowl and rub them together with your fingers until fragrant.
In the bowl of a stand mixer fitted with the paddle attachment, beat the butter on medium speed until smooth. Add the sugar mixture and mix on medium-high until the butter is light and fluffy, 3 to 5 minutes. Stop the mixer and scrape down the bowl.
Turn the mixer to medium-low and add the vanilla and egg yolks, one at a time. Scrape the bowl.
Turn the mixer to low and add the flour mixture in three batches, alternating with the buttermilk, beginning and ending with the flour mixture. Mix on medium for no more than 30 seconds after the last bits of flour are incorporated.
Evenly divide batter among the three pans and bake for 22 to 24 minutes or until a toothpick inserted in the centre of the cakes comes out clean. Let them cool on a wire rack for 10 to 15 minutes before removing from the pans.
Black tea infusion
1/2 cup granulated sugar
5 black tea bags
Directions
Place one cup of water and the sugar in a saucepan and bring to a boil over medium-high heat. Reduce heat to maintain a simmer and add the tea bags. Simmer for about 8 minutes. Remove the tea bags and continue to cook until the syrup has reduced to about 1/4 cup, 20 to 30 minutes. Remove from heat and cool. You will be adding 3 tablespoons of this infusion to some Swiss meringue buttercream to make the filling.
Vanilla Swiss meringue buttercream
1/2 cup plus 2 tablespoons egg whites
1 1/4 cups granulated sugar
2 cups unsalted butter (very important that it be at room temperature or it won’t combine properly) cubed
2 teaspoons pure vanilla extract
Directions
Place the egg whites and sugar in the bowl of a stand-mixer. Whisk them together by hand to combine. Make a double boiler by filling a medium pot filled with water over medium-high heat. Place the mixer bowl on top of the pot. The bottom of the pot should not touch the water.
Whisk intermittently and heat the egg mixture to 160F (candy thermometer) or until it is hot to the touch. Carefully fit the mixer bowl onto the stand mixer and whip with the wire attachment on high speed for 8 to 10 minutes, until it holds medium-stiff peaks. The bowl should be back to room temperature at this point. Stop the mixer and swap out the whisk attachment for the paddle.
With the mixer on low, add the cubed butter, a few tablespoons at a time then the vanilla. Once incorporated, turn up the mixer speed to medium-high and beat until the buttercream is silky smooth, 3 to 5 minutes.
Black tea buttercream
In the bowl of a stand mixer fitted with the paddle attachment, mix 1 1/2 cups of the buttercream until silky smooth. Add 3 tablespoons of the black tea infusion and mix until combined. Transfer to a separate bowl and set aside. Wipe out the mixer bowl.
Vanilla bean buttercream
In the bowl of a stand mixer fitted with a paddle attachment, mix the remaining Swiss meringue buttercream with 1/2 teaspoon of vanilla bean paste.
Talk about sticker shock. Vanilla is going up in price and vanilla bean paste is expensive but goes a long way and can easily replace vanilla beans in your recipes.
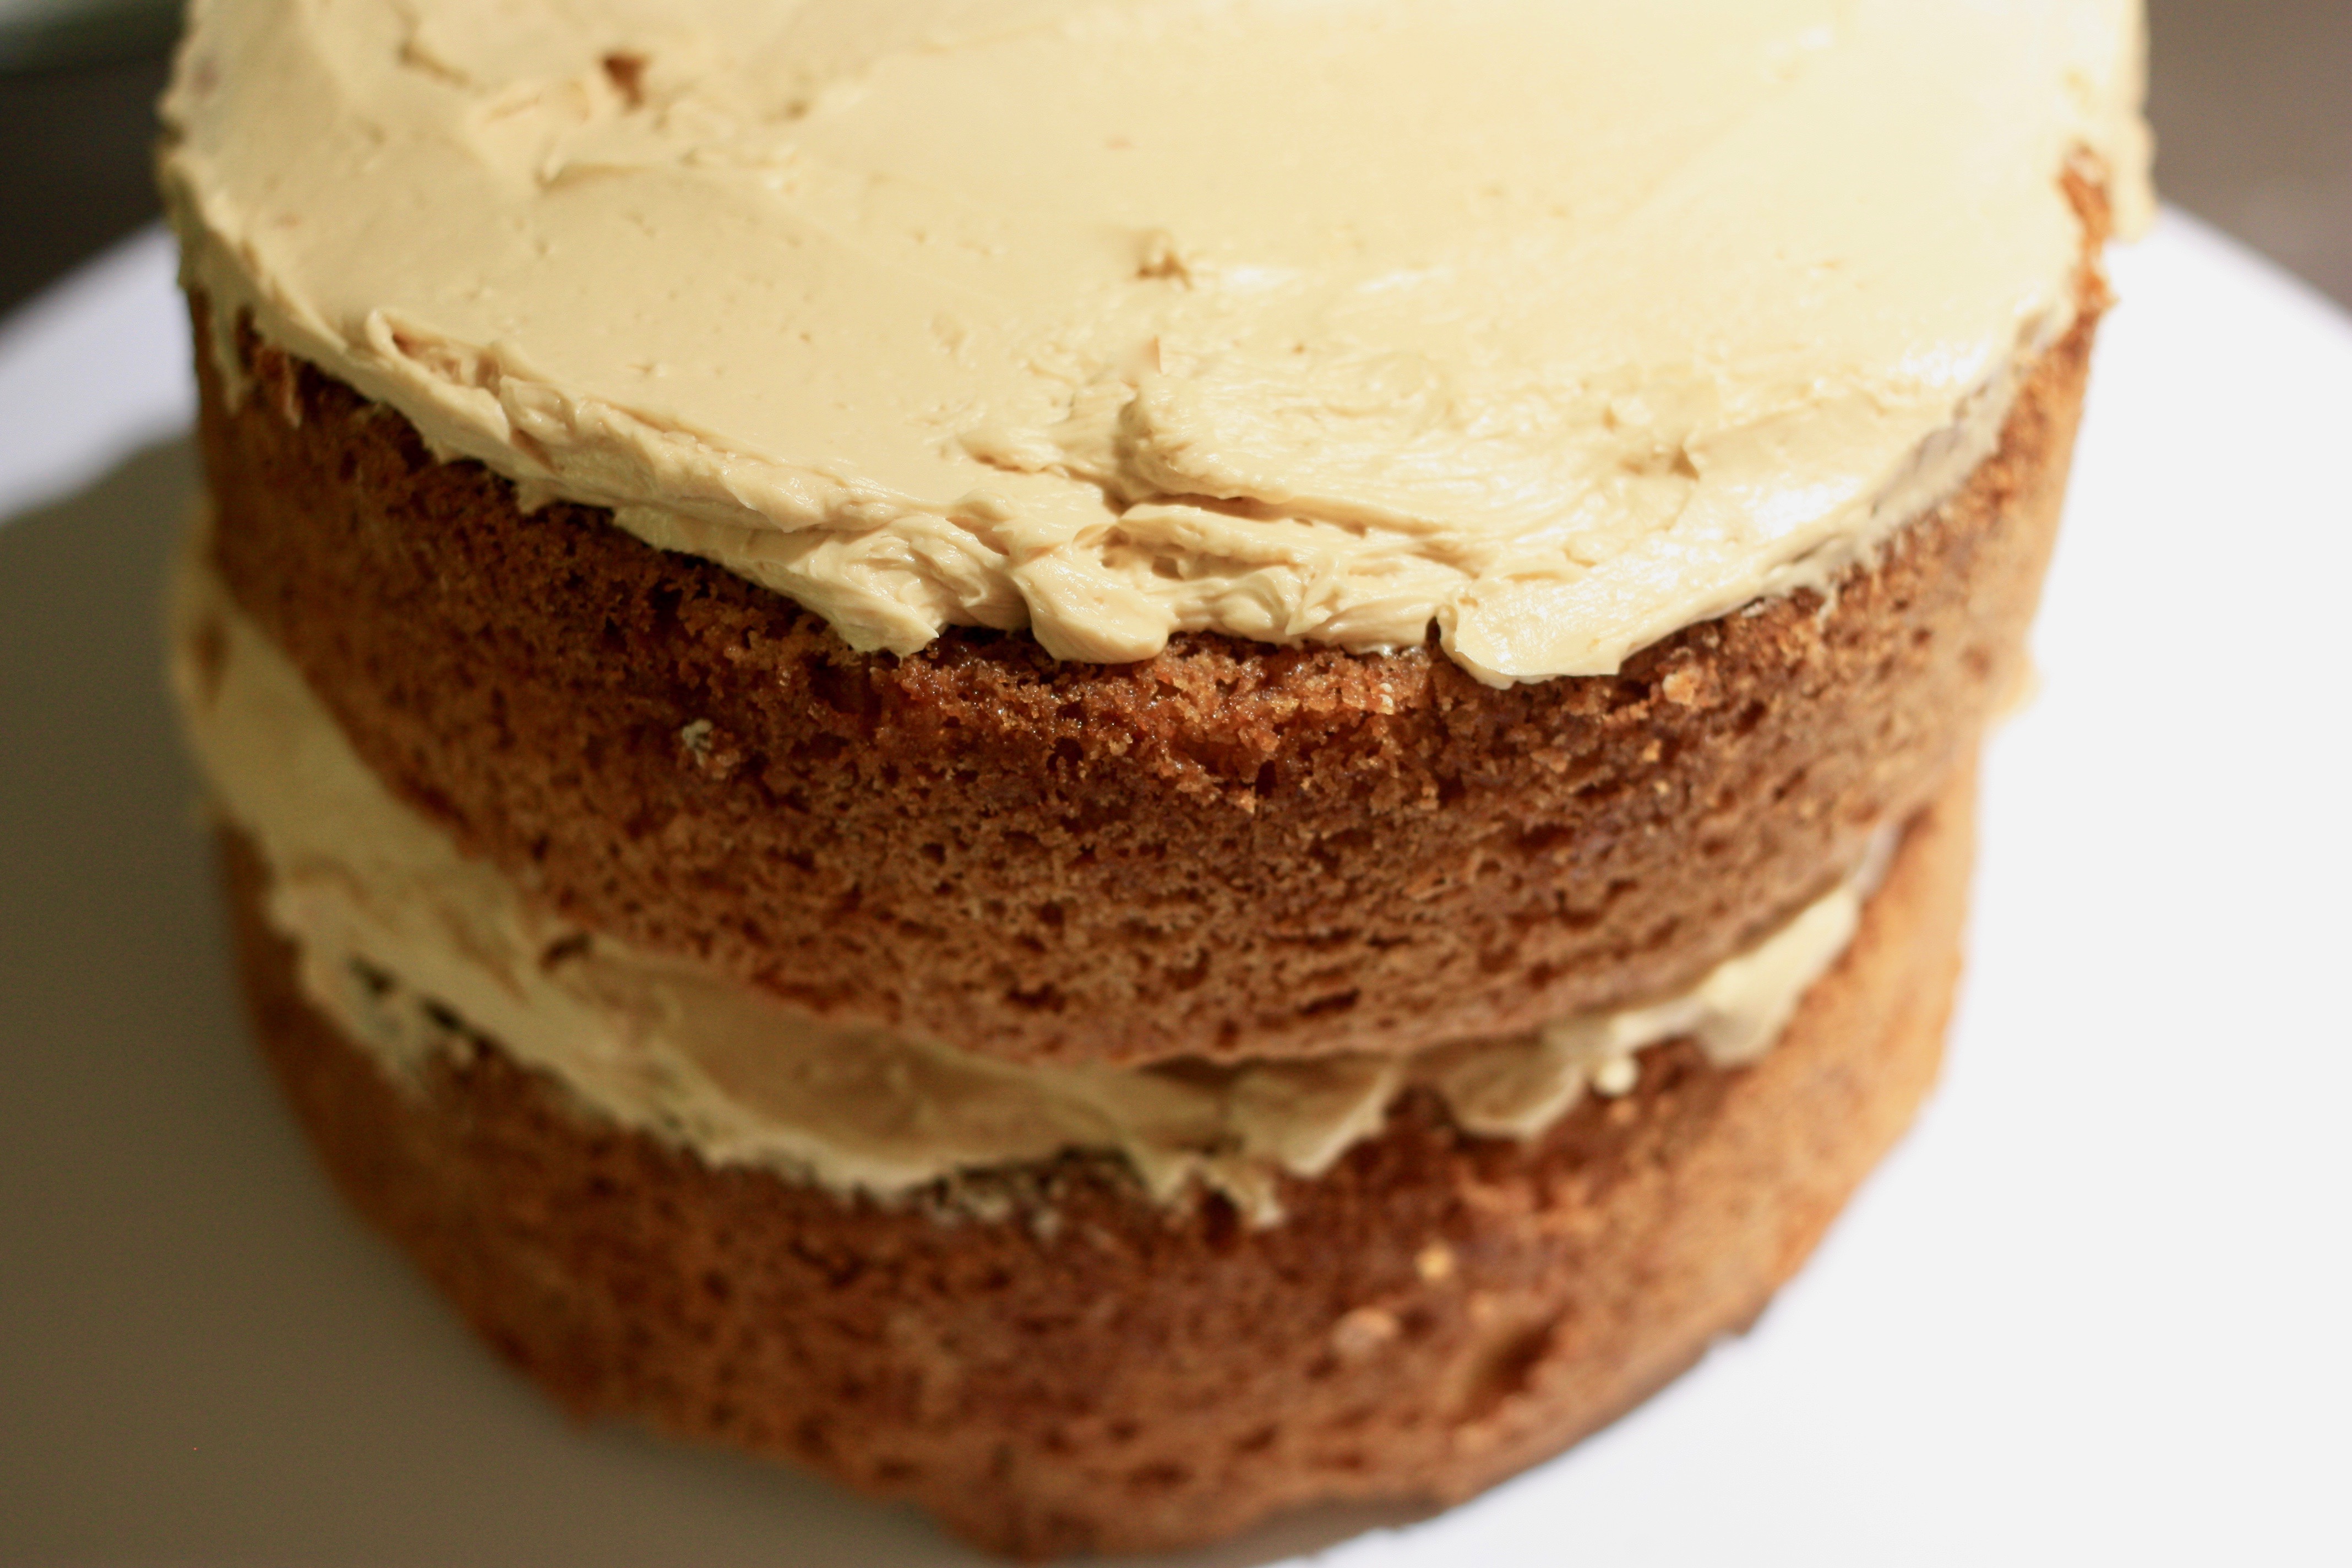
Some assembly required
Level your cakes and choose a layer for the bottom. Spread on half of the black tea buttercream with an offset spatula. Top with the next layer of cake and repeat with the remainder of the black tea buttercream, ending with the third layer. Frost the cake with the vanilla bean buttercream and decorate with candied lemons.
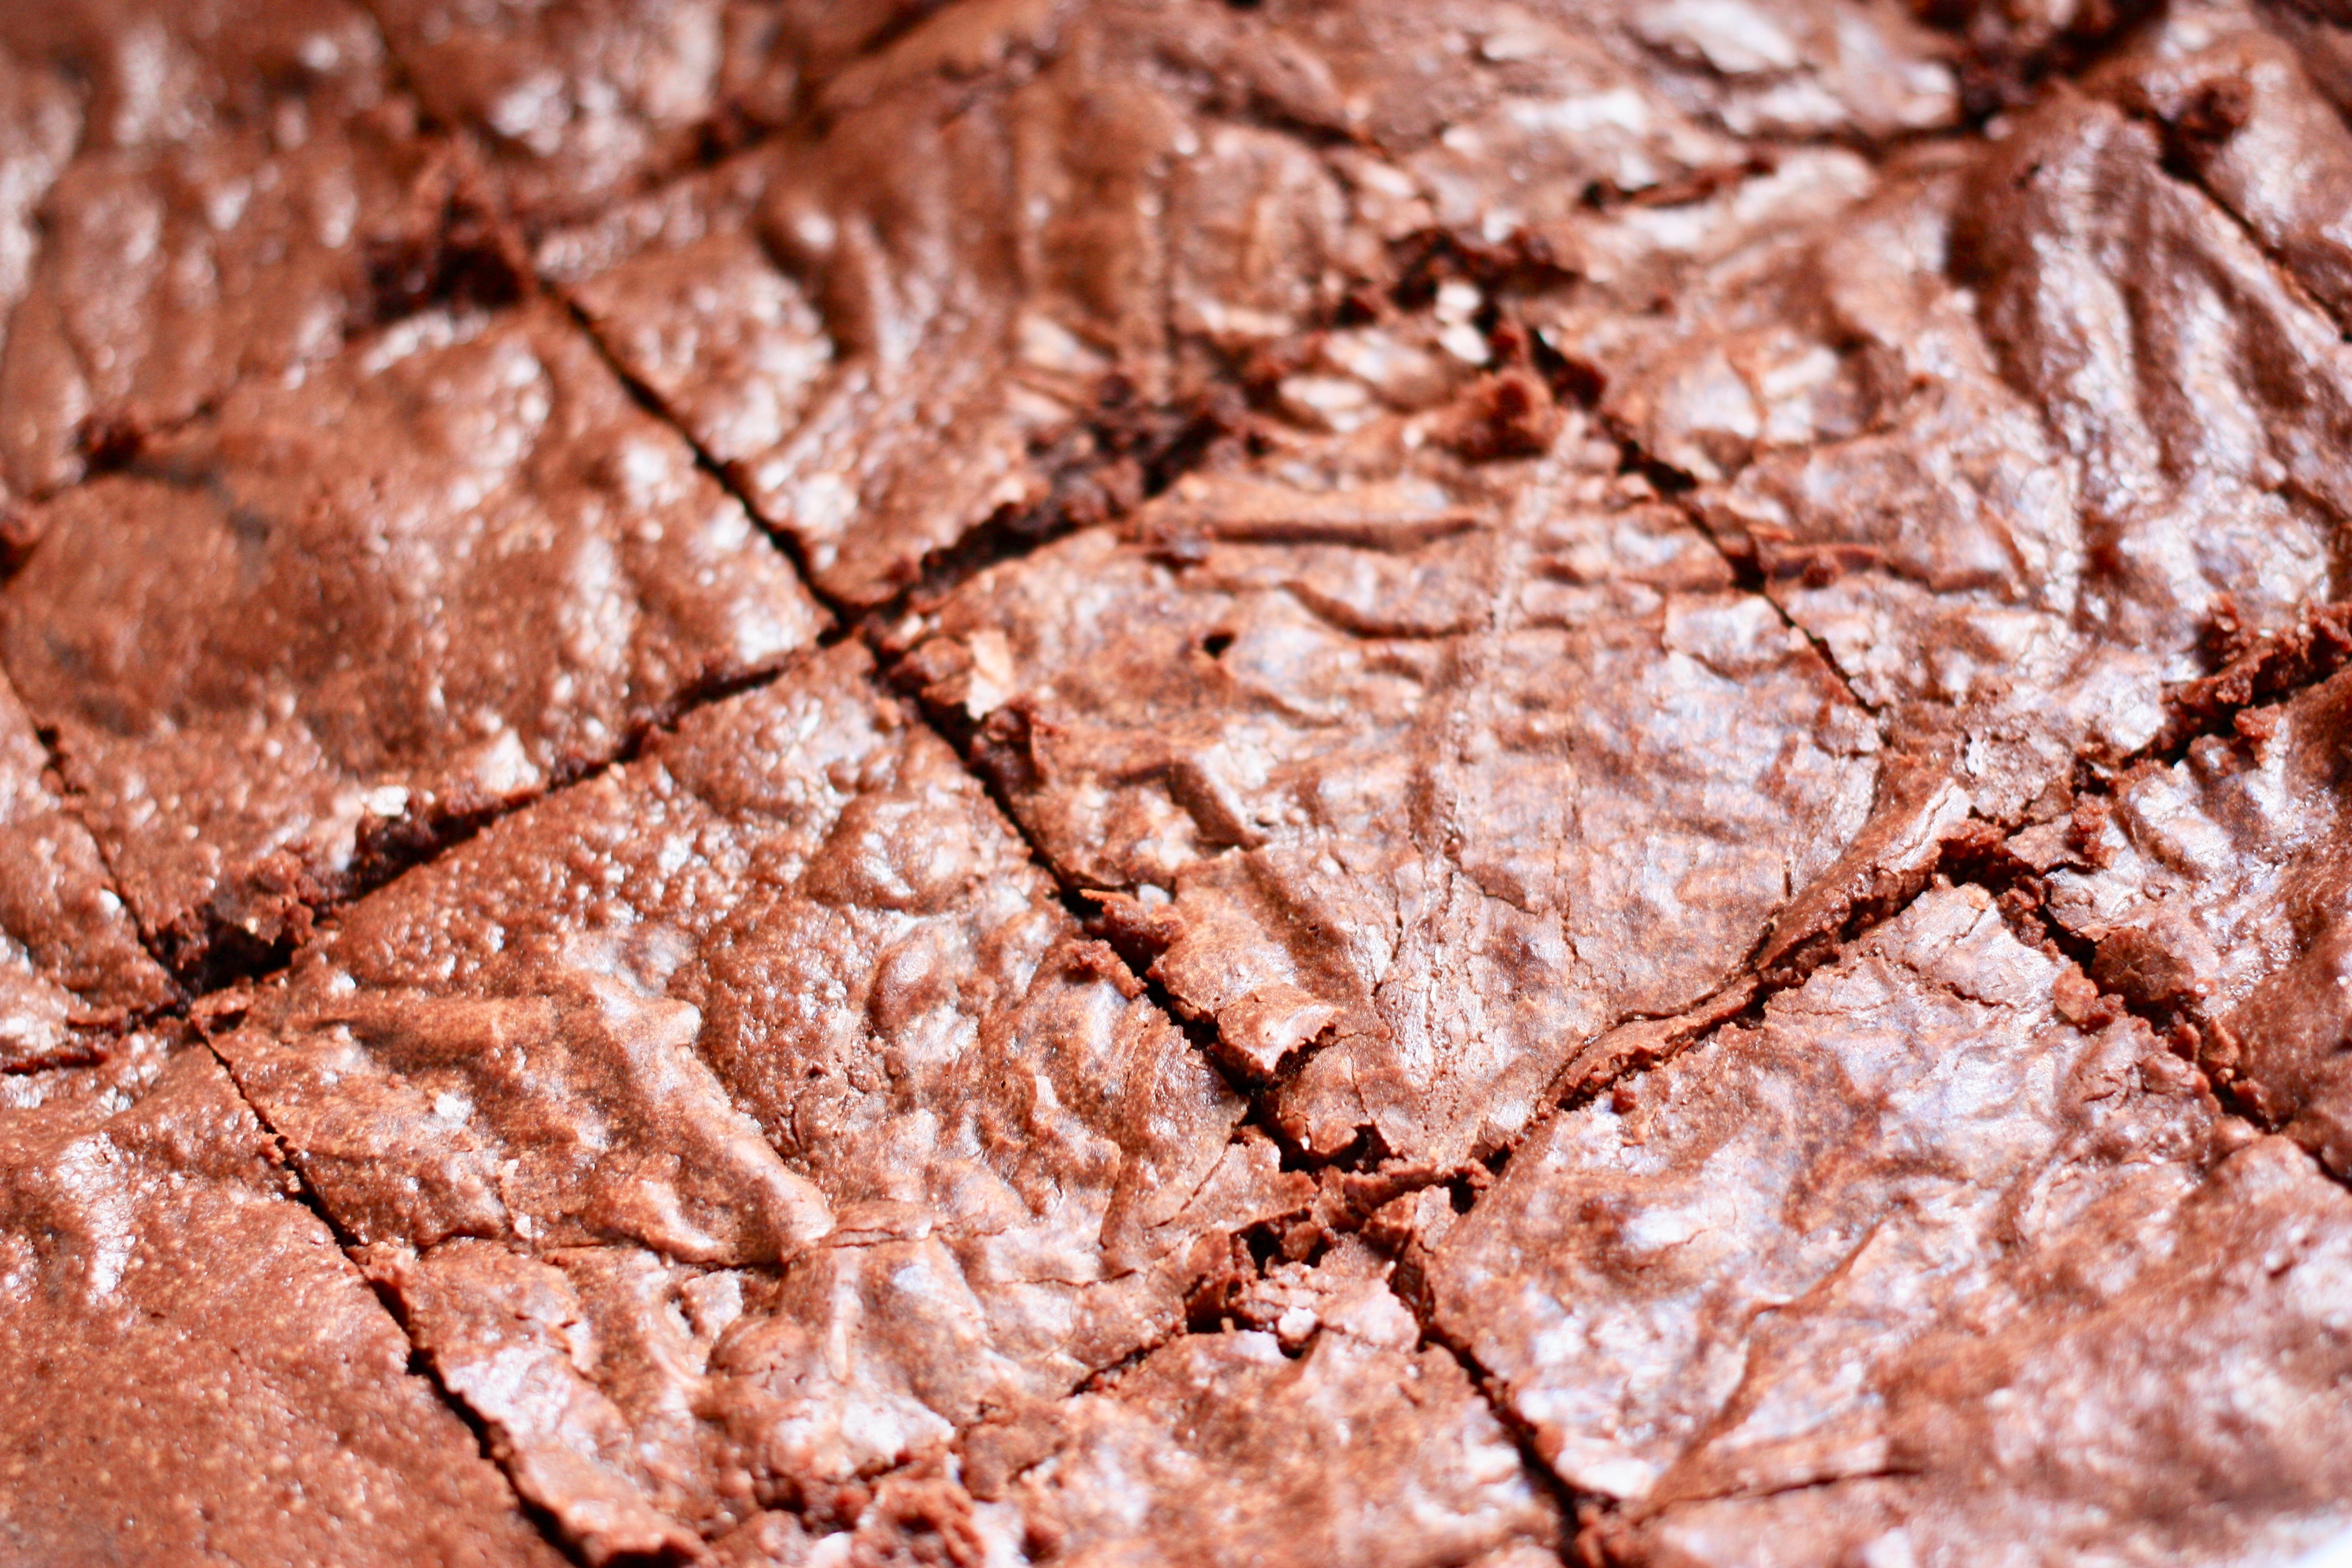
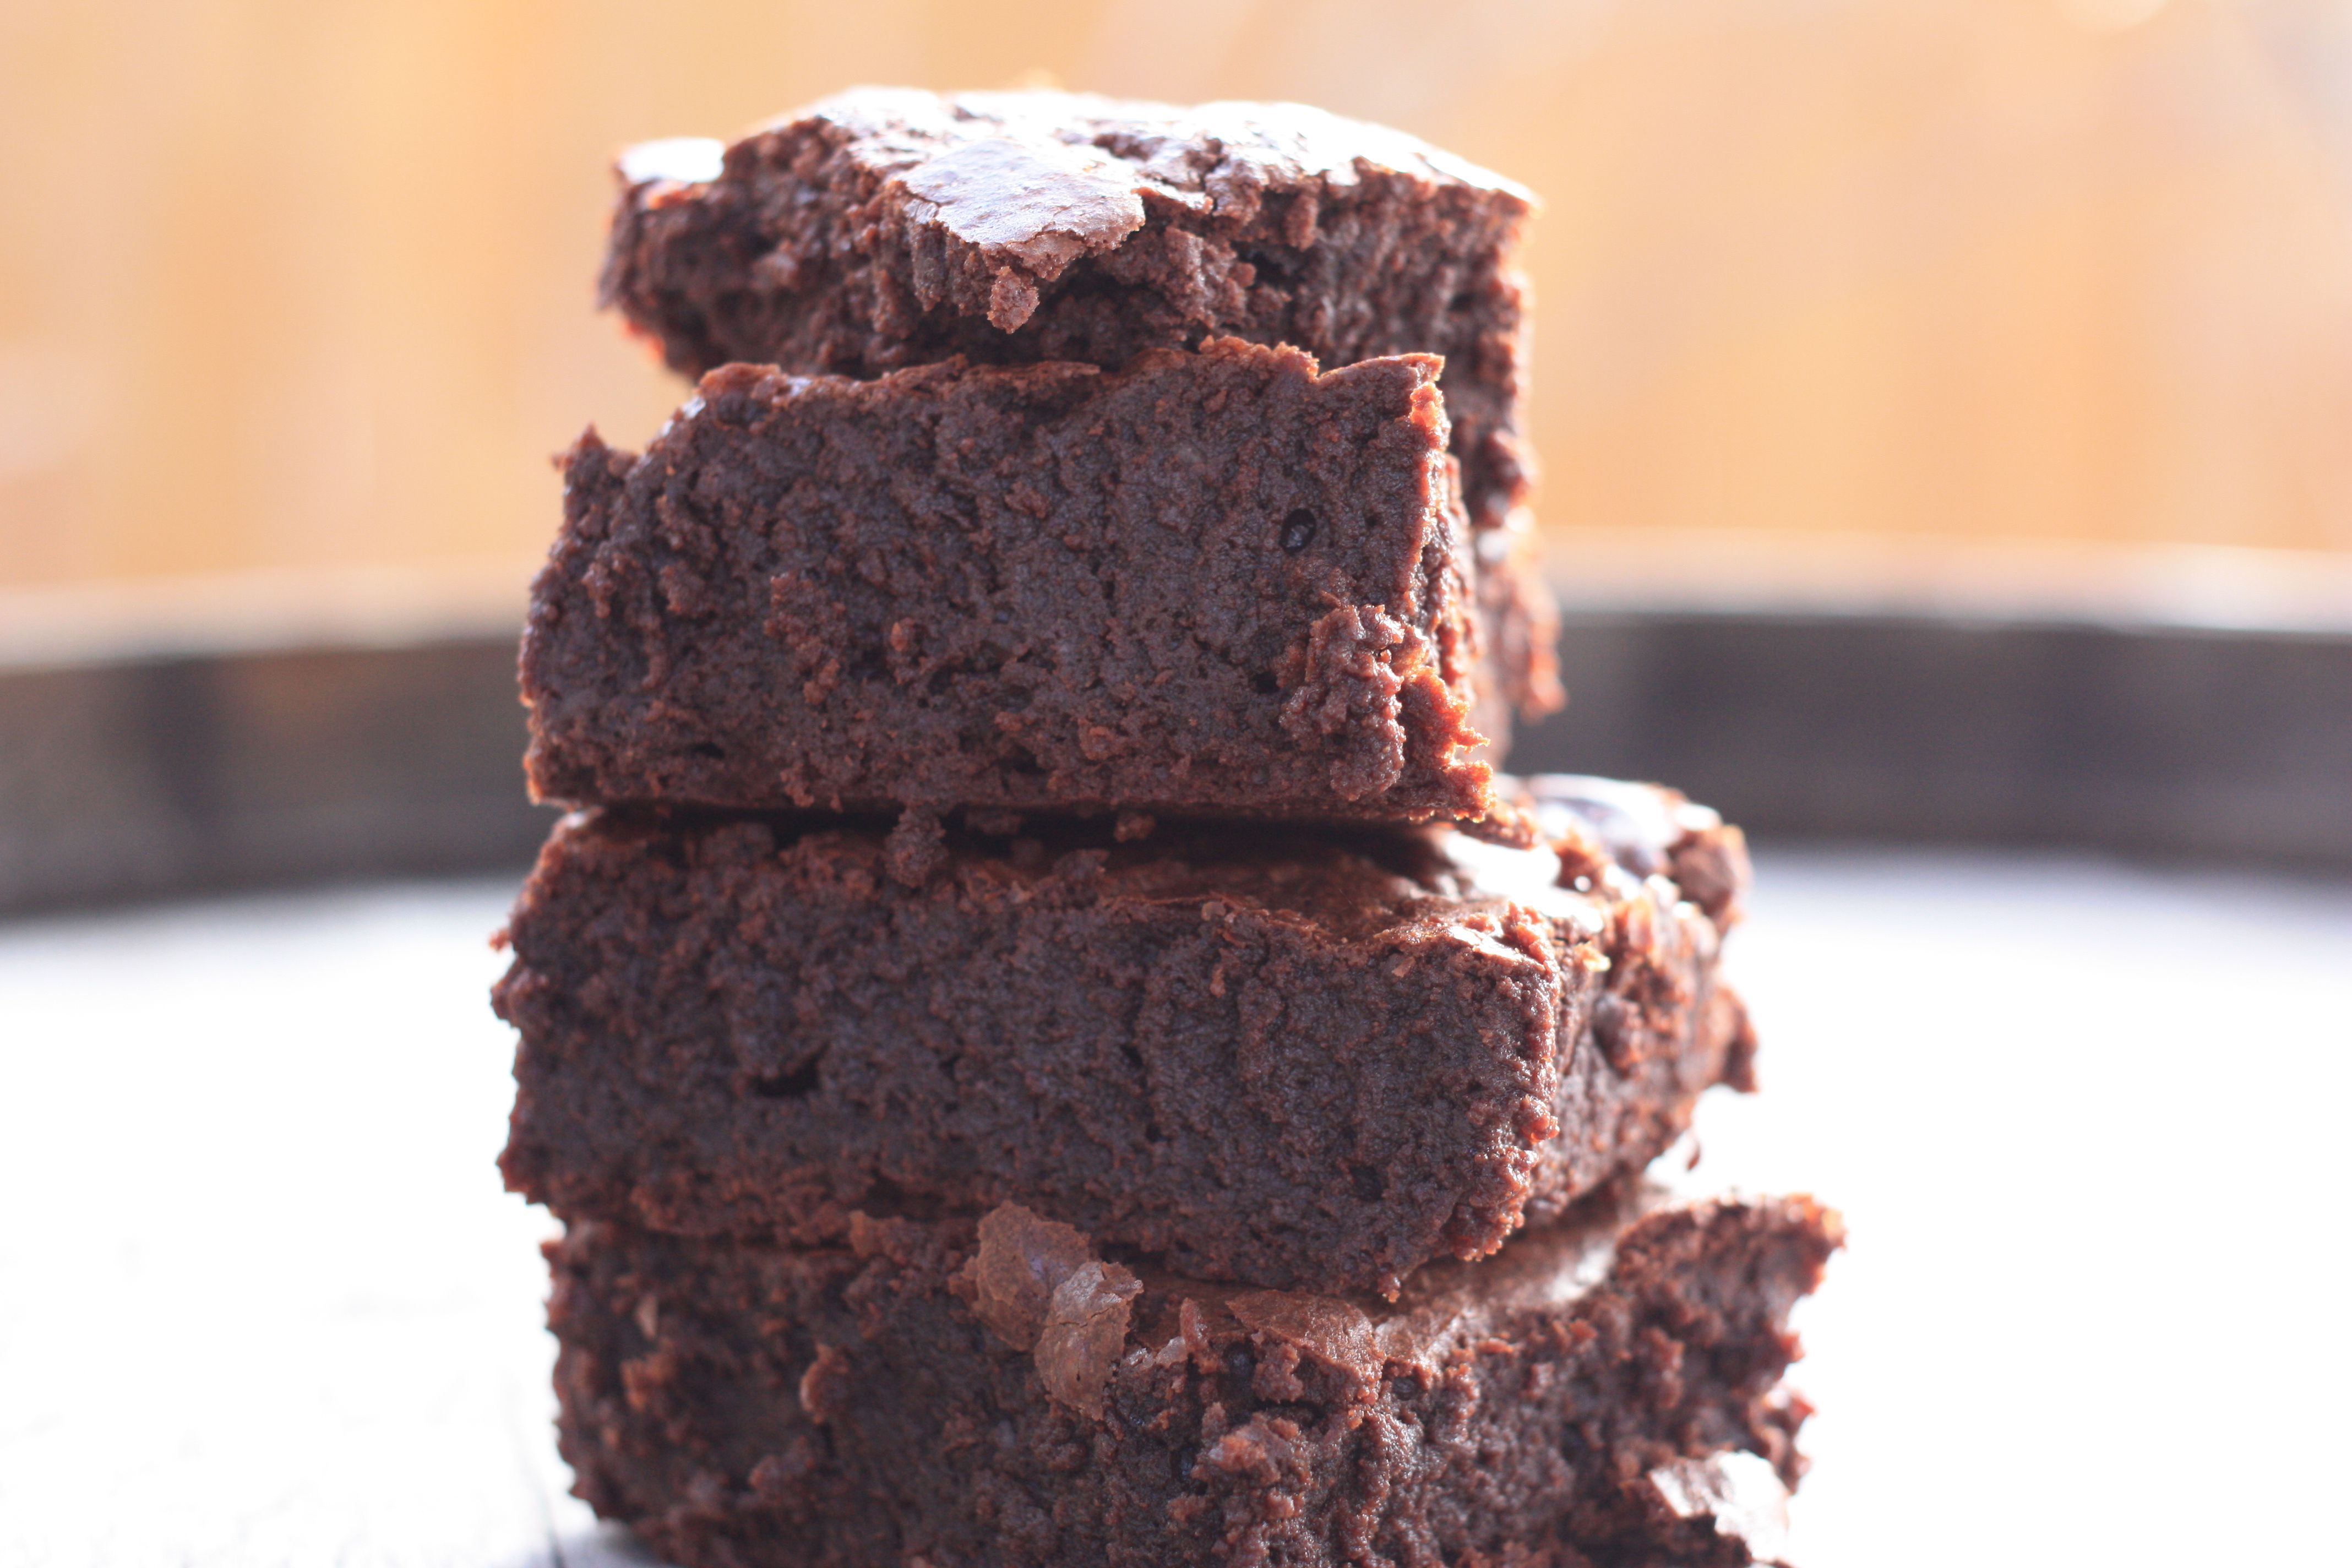
Hyperbole? Nope. This is hands down the best recipe for rich, chocolatey, gooey brownies with the classic crackly brownie crust that makes a brownie a brownie. Simple to make, the secret lies in the ingredients, the careful whisking and folding and the bake.
Like all baking, top quality ingredients are key. Don’t skimp and use everyday chocolate chips. It’s about 11 ounces (325 grams) of the highest quality of dark chocolate you can find, a cup of butter, five farm fresh eggs and a dash of espresso. What is not added is important too including no baking powder or baking soda.
They have a good bit of height given that they don’t have any leavening agents, so they aren’t thin, gooey and smooshed like some brownies (this is a good thing). They have substance and heft when you bite into them.
Ingredients
1 1/4 cups all-purpose flour
1 teaspoon sea salt
2 tablespoons dark unsweetened cocoa powder
11 ounces dark chocolate (60 to 72 per cent cacao) coarsely chopped (I use Lindt)
1 cup unsalted butter cubed
1 teaspoon instant espresso powder
1 1/2 cups granulated sugar
1/2 cup firmly packed light brown sugar
5 large free-range eggs, at room temperature (important)
2 teaspoons pure vanilla extract
Directions
Pre-heat oven to 350 degrees F. Butter a 9 by 13 inch glass or light-coloured metal baking pan.
In a bowl, sieve together flour, salt and cocoa powder and then whisk together.
Put the chocolate, butter and instant espresso powder in a large non-reactive metal bowl and set over a saucepan of simmering water, stirring occasionally, until melted and smooth. Turn off the heat but keep the bowl over the water and add the sugars. Whisk until combined, then remove the bowl from the pan.
Add the room temperature eggs and whisk until combined. Add the vanilla and stir. Do not overheat the batter or the brownies will be more cakey than gooey.
Sprinkle the flour mixture over the chocolate mixture. Using a spatula (not the whisk), gently fold the four mixture into the chocolate until just a big of the flour is visible. It is important not to overmix.
Pour the batter into the pan and smooth the top. Bake in the centre of the oven for 30 minutes rotating your pan half way through. Insert a toothpick into the centre to check for doneness. It should come out with a few moist crumbs sticking to it. An over-baked brownie won’t be a gooey one so carefully monitor the baking time.
Let the brownies cool. OK, maybe skip this step if you can’t wait.
There is a hint of nostalgia that comes as you eat these tarts. It’s from your mum’s instant jello pudding days. But these beauties made with cream, milk, fresh farm eggs, bourbon vanilla bean and whiskey are very much a cut above.
You’ll notice that I add a splash of whiskey, (not scotch but rye in this case) but the tart’s pudding filling is not likely named after ‘scotch’. One theory is that the name ‘butterscotch’ is a derivation of ‘butter-scorched’. Others say it that it meant ‘scotching’ or cutting, which they did to slabs of buttery, creamy caramels when making candy.
Ingredients
(18 tarts)
6 farm-fresh egg yolks
3/4 cup granulated sugar
1/4 cup heavy cream
1/2 cup firmly packed dark brown sugar
1/3 cup cornstarch, sifted
1 teaspoon salt
3 cups whole milk
1 vanilla bean
1 tablespoon unsalted butter
2 tablespoons whiskey (some dad nostalgia here too…he used to rub whiskey on my teething gums and have a dram himself)
3 Flake bars for decoration
18 frozen tart shells (I usually make my own pastry but elected to go the easy route…if you are feeling ambitious homemade pastry shells will make the tarts even more delicious. An oat wheat pie crust would be even nicer…)
Directions
Bake the tart shells following package directions.
Put the egg yolks in a large heatproof bowl and set aside.
In a small saucepan, combine the granulated sugar with a 1/4 cup of water and stir gently with a spatula being careful not to splash the sides of the pan. Cook over medium heat until the sugar is dissolved, then increase the heat to medium-high and cook until the mixture begins to turn a dark amber colour. Swirl the pan but do not stir. Remove from the heat, let stand one minute then stir in the cream. Pour the caramel into a small bowl and set aside.
In another saucepan, combine the brown sugar, cornstarch and salt. Stir in the milk and whisk to combine.
Cut the vanilla bean in half lengthwise and scrape the seeds into the saucepan with the milk and toss in the vanilla bean into the milk as well. Cook over medium-high heat, whisking occasionally, until the mixture comes to a boil. Remove from the heat and add the caramel. Whisk together until combined, then pour a third of the mixture over the eggs. Keep whisking the eggs and add another third of the hot milk mixture. Transfer the egg mixture back to the saucepan with the milk mixture and whisking constantly, bring to a boil over medium-high heat. Boil for 2 to 3 minutes, or until very thick.
Remove from the heat and add the butter and whiskey.
Keep whisking for about a minute to cool the pudding slightly. Let sit for about 15 minutes, then remove the vanilla bean.
Here there are with some other boozy homemade pals. The lemon tarts are topped with amaretto meringue and the chocolate ganache are have a splash of Legend Manitou.
Some assembly required
Whisk the pudding one more time until smooth. Divide the pudding equally among the baked tart shells and sprinkle with some crumbled Flake bar. Cover the tarts and refrigerate for about two hours before serving. Store any leftovers, tightly covered, in the fridge for up to two days.