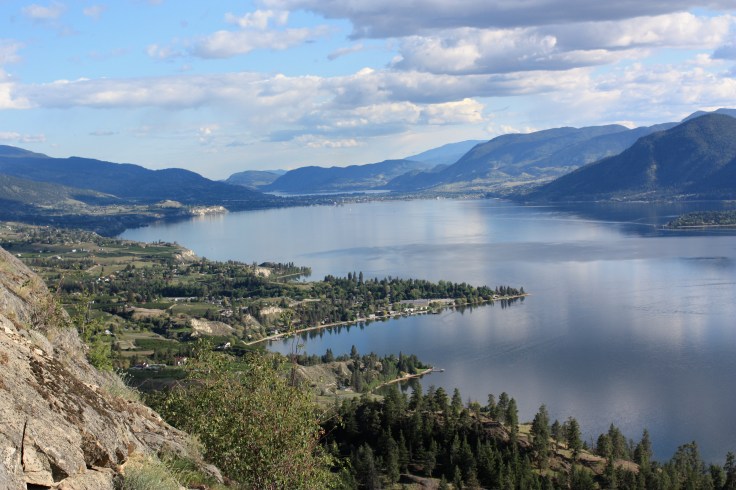
I get the feeling I’m looking at an expertly painted back drop for a movie set on certain days on the Kettle Valley Railway section of the Trans Canada Trail (The Great Trail) looking over the Village of Naramata. I get that same feeling in other special places in the world too…like Venice.
When Canada turns 150 next year our biggest present to ourselves will be the completion of greatest trail in the world. Now called The Great Trail, “this epic trail was created by thousands of dreamers, can-doers, volunteers, friends and partners sharing the same audacious goal of connecting our country,” says The Great Trail site.
Our section of the trail came about by funds raised the Trans Canada Trail Foundation, Trails B.C. and locally the regional district and Naramata Parks and Recreation. An active, amazing volunteer group called the Woodwackers formed in the late 1990s are the stewards of this magnificent remnant of the Kettle Valley Railway or KVR. The KVR opened in 1915 to service the growing mining demands in the Southern Interior of BC. The interesting history of the building of the KVR deserves some posts of it own. Just a couple of facts for now…construction was some of the costliest per track mile of any North American railroad project at almost $20 million and it took nearly 20 years to complete. The core portion of the KVR started in Hope and terminated in Midway. Fruit from the Okanagan was an important commodity carried on the trains.
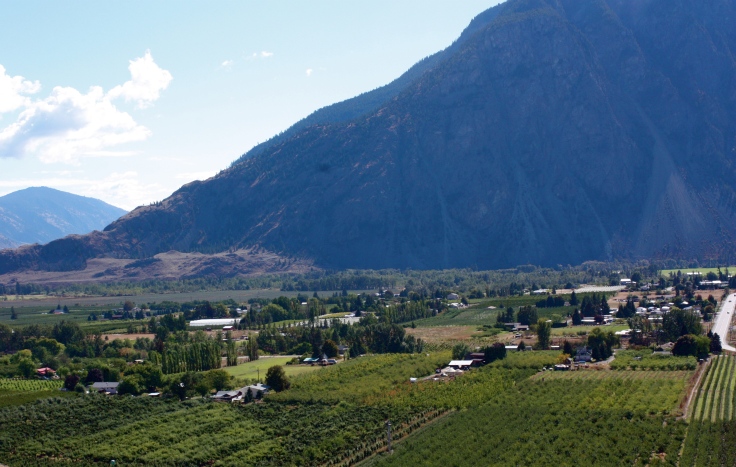
Photos taken yesterday on my walk show the vineyards leaves starting to turn.
The KVR tracks were removed in the Naramata – Chute Lake area in 1980 and the BC government bought the KVR right-of-way through Naramata from Canadian Pacific Railway in 1990 and the province endorsed the Trans Canada Trail initiative in 1993. Good decisions.
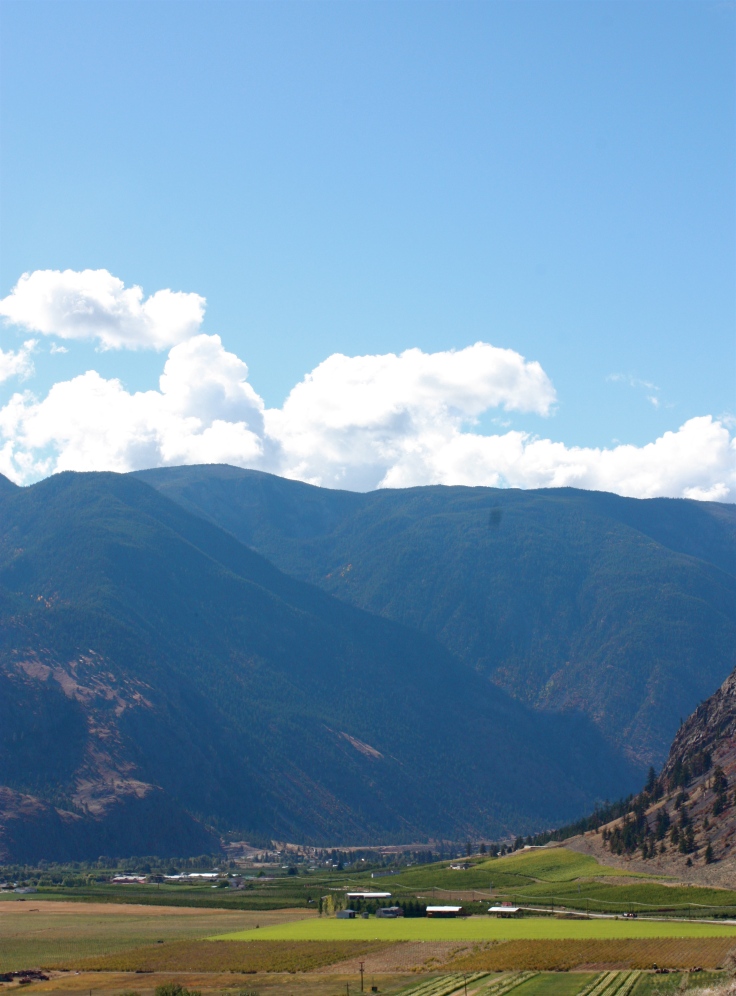
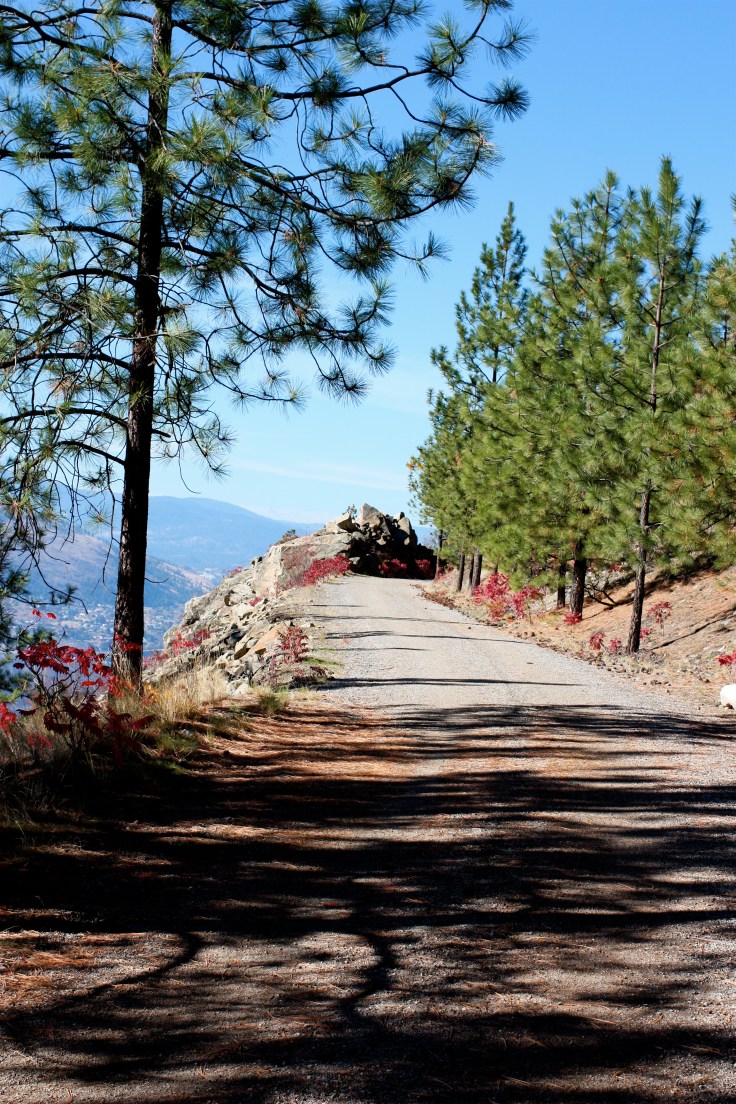
My favourite viewpoint is an easy walk from the Smethurst parking lot.This is it…the spot that the really nice trail brings you into a clearing and the view so beautiful that it seems unreal reveals itself…gets me every time.
The Woodwackers roll into action in the late 1990s to help give us this beautifully cycle-friendly, walker, runner, cross country ski, horseback trail. In 2010 things heat up in Naramata as a move begins to make the majority of the trail non-motorized with very vocal and hostile opposition to this plan. Hard work and conflict resolution help win the day. The wise decision to keep all but a small section of the trail non-motorized have given us arguable one of the most beautiful portions of The Great Trail.
The spruce that hosts this sign has painted some new routes on the map with its shadows. Road less travelled?
The Great Trail will link 15,000 communities including mine along 24,000 kilometres. However we choose to experience the trail, the result is a connection with the outdoors.
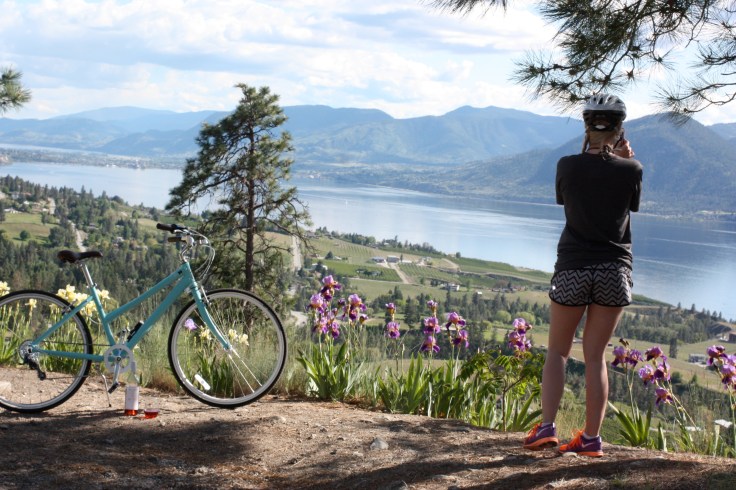
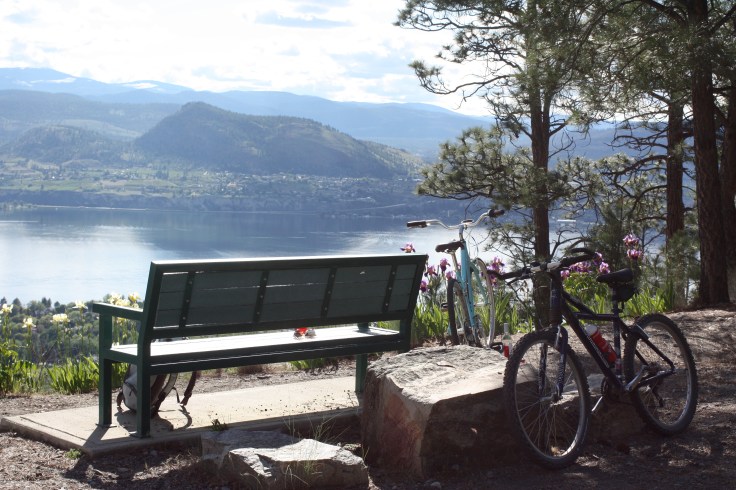
Spoiled, the KVR trailhead is a mere kilometre from our house and this viewpoint is a great turn-around point in a five or six kilometre walk. I guess I’m not as unique as I think, about 30% of Canadians live within 30 minutes of the The Great Trail.(Maybe not as pretty as this bit.)I often see eagles at this spot on the trail and less often, black bears.This next series of photos is from the summer –scenery also too good to be real right with summer lighting as well?Nice spot for a wine break and some photos.
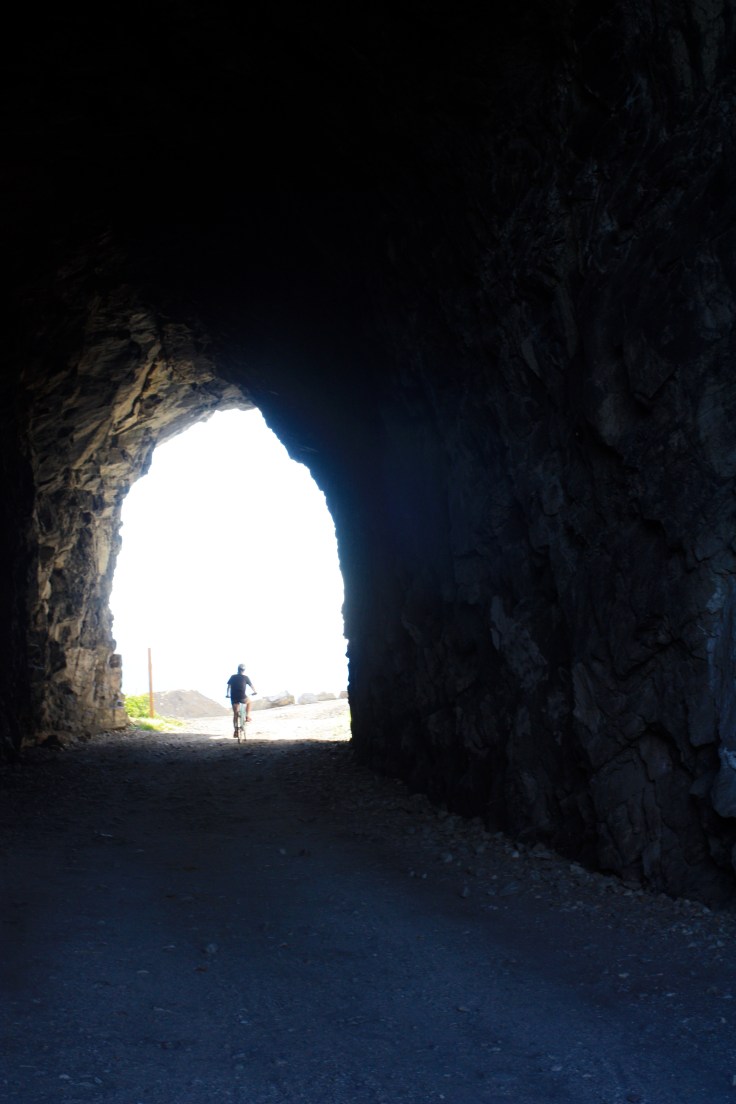
This light at the end of Little Tunnel is the reward at the end of a nice bike or a long run from our place.Skaha Lake and Penticton in the distance and Naramata’s bays below.
Would love to hear from Canadians about the part of The Great Trail you love in the comments.
“Slow down your movin too fast,” is seldom heard in Naramata, an internationally officially-designated slow town.
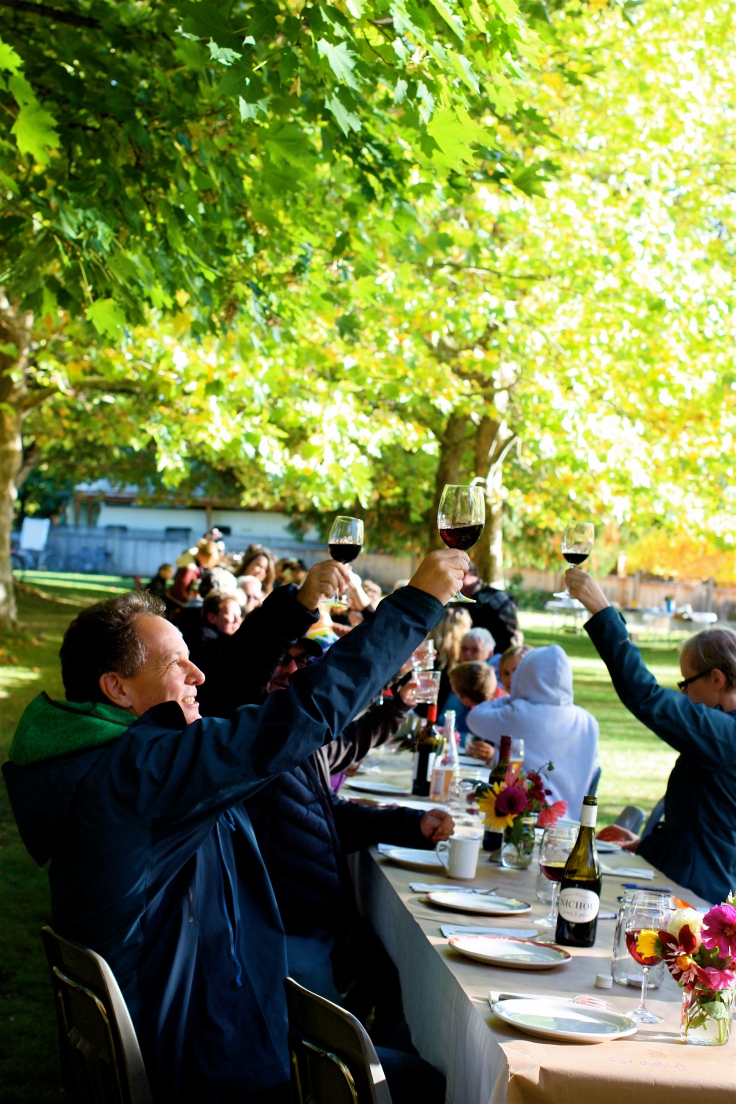
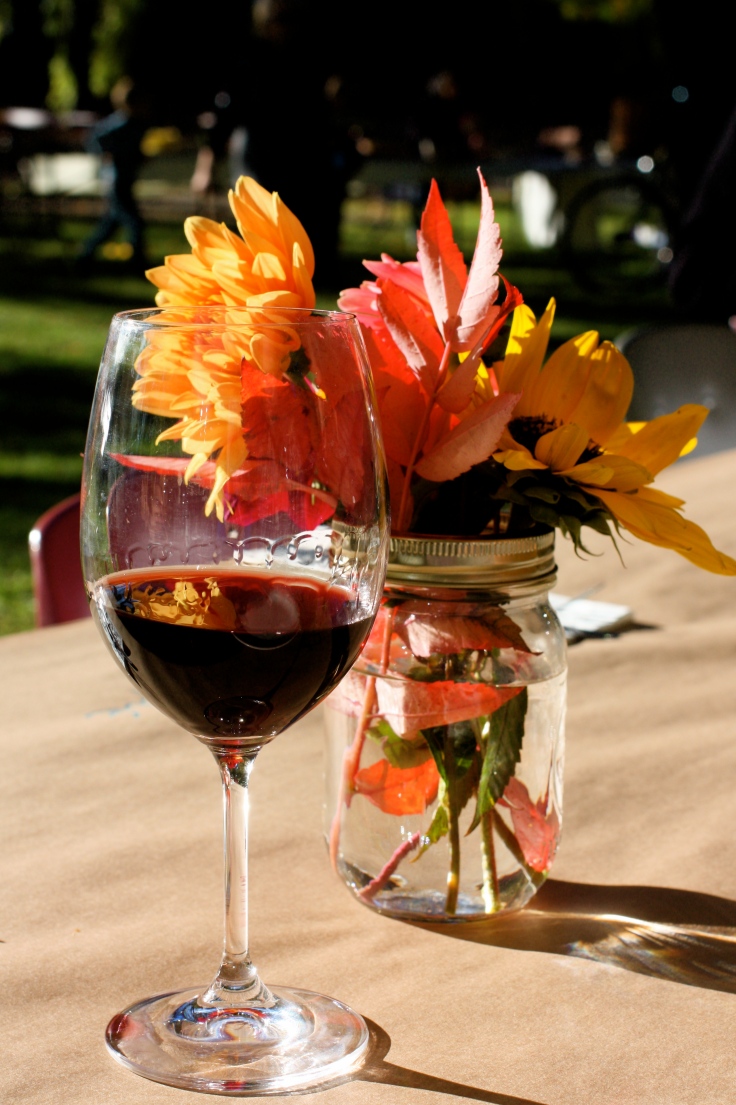
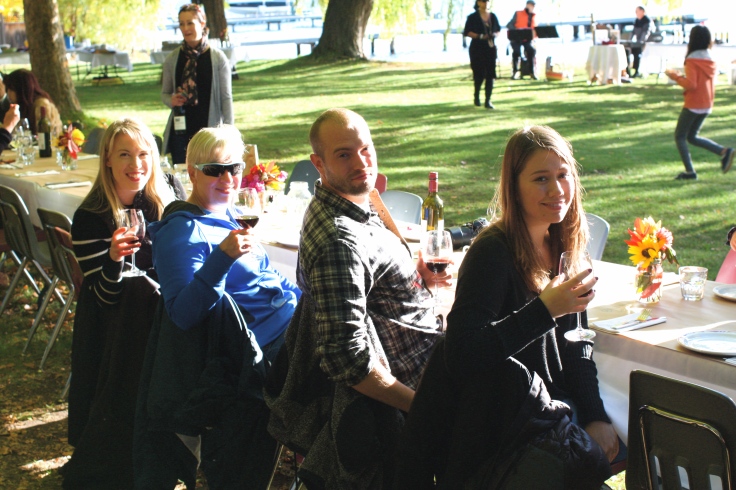
A Thanksgiving harvest pot-luck at the Naramata Centre beach brought together 182 people who arrived with baskets, platters and bowls filled with locally-grown ingredients crafted into home-made dishes to share at long table under golden-leafed trees by the shores of Okanagan Lake while toasting with Naramata Bench wines. If that sounds a bit too schmaltzy and bucolic, you weren’t there.
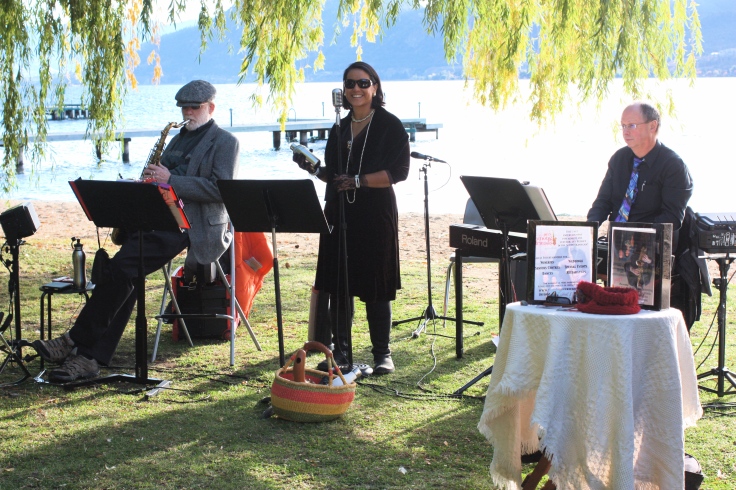
Mel, Yanti and Don provided the perfect sound-track for the event that could well have been a scene from a movie.
The Naramataslow dinner was designed to celebrate Naramata’s special status as slow city bestowed on us by Cittaslow, an international organization formed in Orvieto Italy in 1999. Only three special towns in Canada are Cittaslow. We join Cowichan Bay and Wolfville as places where the pace of life is a bit more human.
To quote from the charmingly translated Italian on the Cittaslow website, “A Cittaslow place is motivated by curious people of a recovered time, where man is still protagonist of the slow and healthy succession of seasons, respectful of citizens’ health, the authenticity of products and good food, rich of fascinating craft traditions, of valuable works of art, squares, theatres, shops, cafes and restaurants. These are places of the spirit and unspoiled landscapes characterized by spontaneity of religious rites and respect the traditions of the joy of slow and quiet living.”
Slow food or local food of high quality with connection to the local land made into traditional recipes where the community comes together for a shared meal to savour this intrinsic part of life is pretty much the essence of Cittaslow and last evening’s Naramataslow dinner.
In the midst of a rainy weekend, the sun chose to shine on the 182 diners in one of the most picturesque places in Canada.
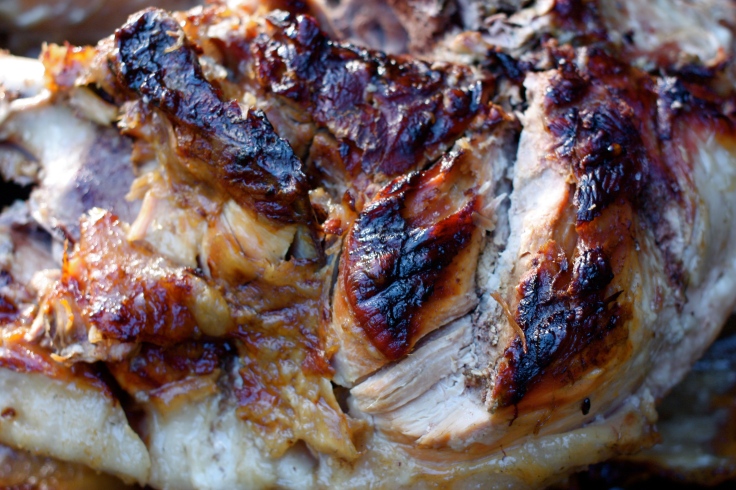
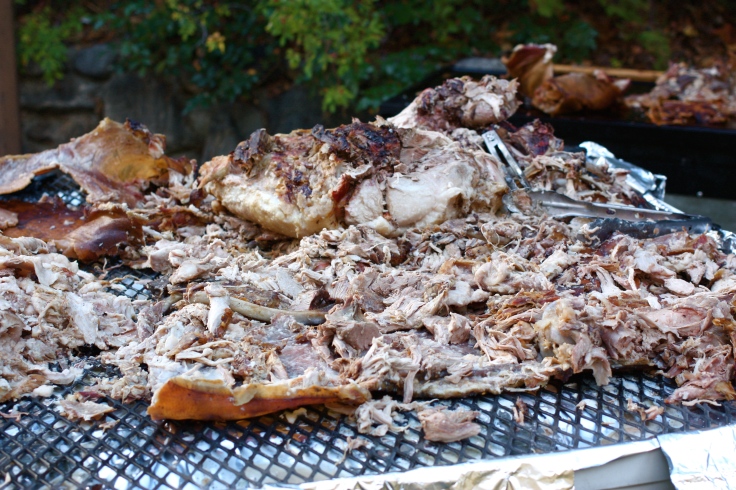
Centre stage on the menu for the special dinner was a pit-roasted pig and not just any pig but one that was raised on the bounty of the Village and surroundings. Pig-raiser and Roast-master Jay Drysdale of Bella Wines and his wife Wendy raised this particular pig on mash from Legend Distilling, whey from Upper Bench Winery and Creameryand fruit culls from local orchards.
“I hate to ask but did the pig have a name,” I say. “Yup,” says Wendy, “Chorizo.” Makes sense right and in some strange way makes me feel better than if had been named Babe or Wilbur.
It’s hard to make meat photogenic but I think I nailed it here…apologies to all the vegetarians out there who had many, many options to choose from at the feast.
Naramataslow organizers had the foresight not to over-plan the event, although committee member Miranda Halliday of Elephant Island Winerysays the event was a bit of a “leap of faith. We didn’t have tons of time for preparation and what with harvest being so early this year and all of us small business people being busy it came together rather organically and was actually sold out before we had done much advertising.
“It turned out that the simplicity of it was brilliant. The community came together to pull this off.” As for the weather, Miranda says, “You just can’t script that. What a bonus to have the sunshine on our first harvest dinner so we could eat outside by the lake.”
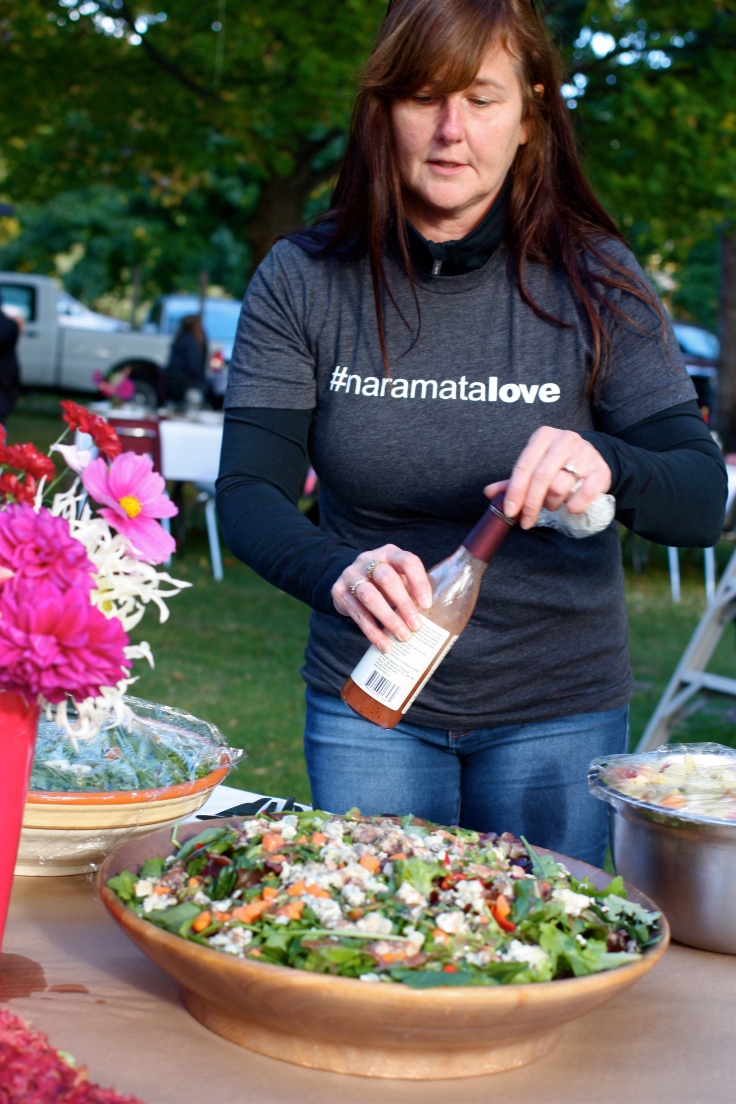
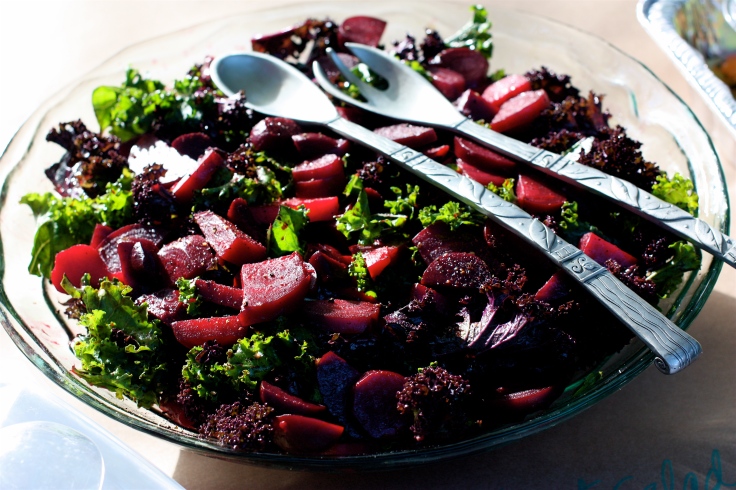
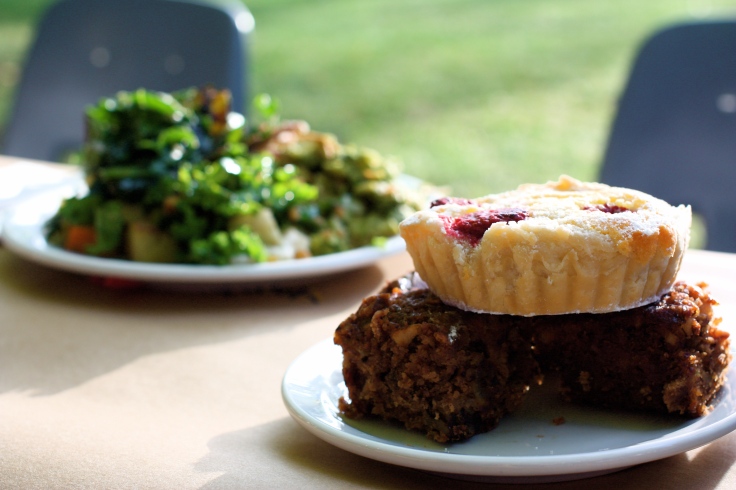
Tickets to the dinner were a whopping $5 and guests were asked to bring a dish for sharing that celebrates our local bounty. Wow, did we ever step up to the plate. Here are some of the offerings…
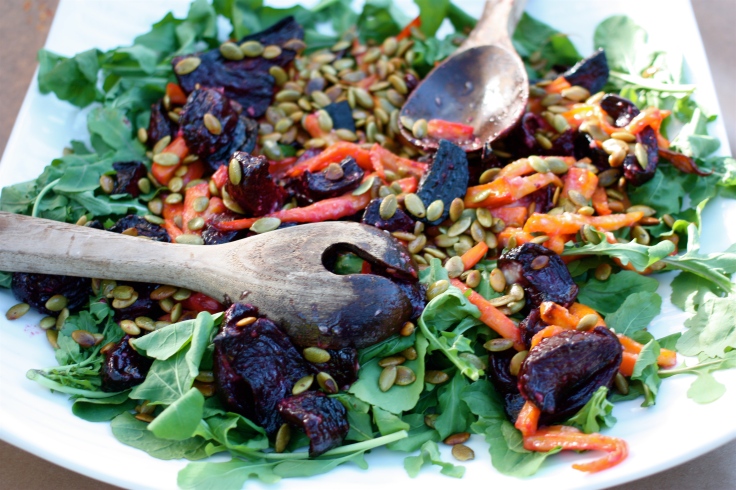
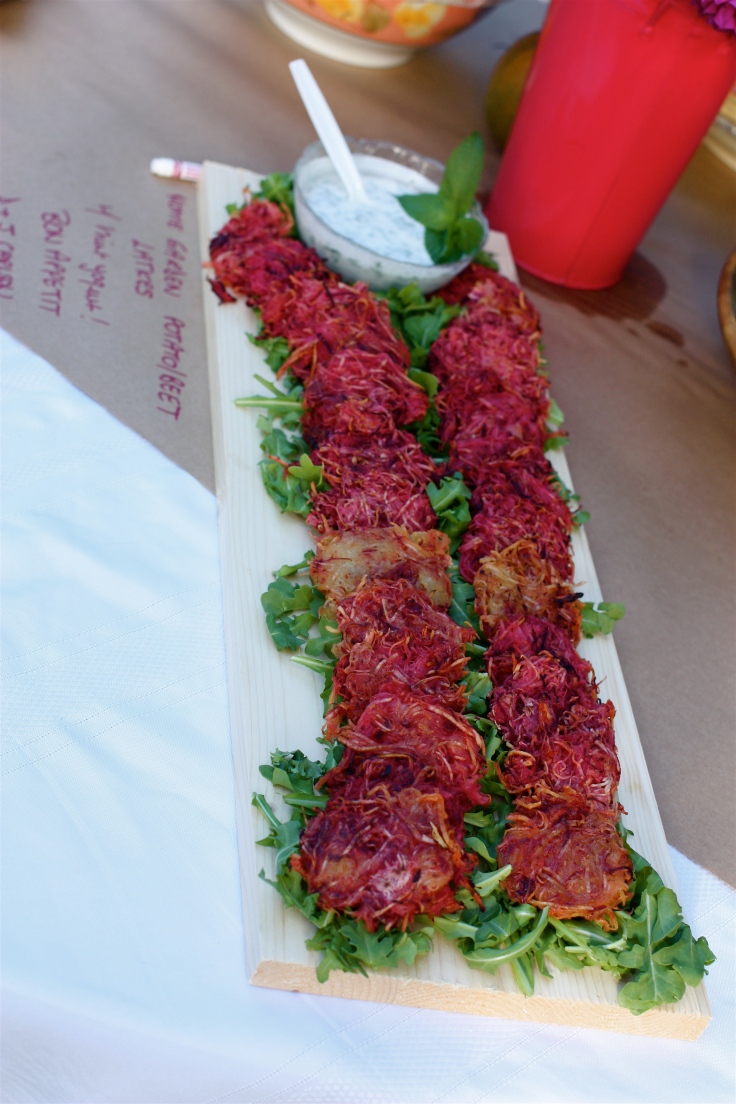
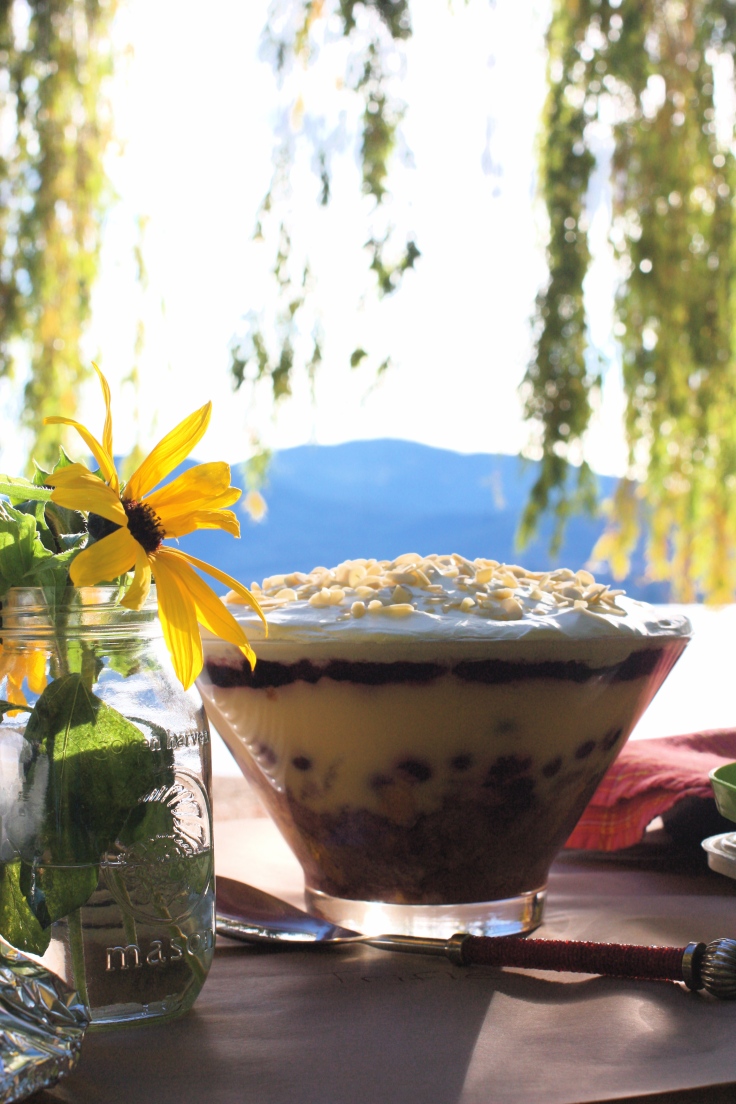
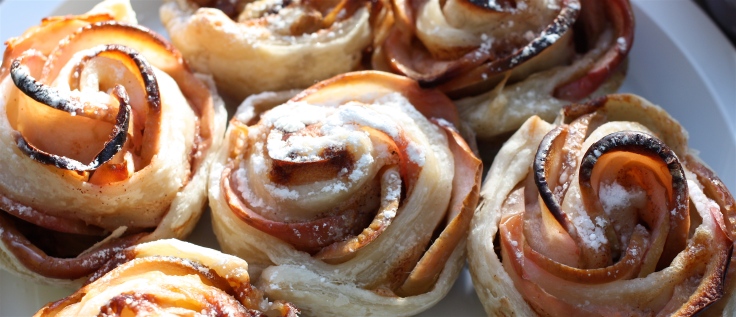
Committee member Dawn Lennie of Legend Distilling dresses her work of art.Eat the rainbow.Roasted root veggies.Still life…salad.YumRecipes like the one for these colourful latkes are being collected and will be shared in the coming days.Still life #2…Trifle by the lakeA part of the Naramataslow miracle, Miranda says there was an amazing balance between sweet and savoury items amongst the lovingly prepared recipes with no complicated pre-planning or sign-up sheets.Still life #3…apple pie with caramel sauce by the lake.This nameless person had the forethought to assemble dessert before tackling that healthy looking main. The raspberry almond tart topping this dessert plate is my contribution and the recipe can found in the link. The last of my fall raspberry crop ended up in the tarts.Wine was available by the glass or bottle from a wonderful selection of Naramata Bench Winery Association members. Cheers to them.Pass the salt please.General conviviality is a Cittaslow prerequisite. Crushed it.Miranda says that there was a nice mix of ages at the dinner. (I like the adult supervisor’s style.)
Miranda says there is a long list of people that help pull off this amazing dinner including the RDOS (regional district), OAP (senior’s group), the Naramata Centre’s Jim, the pig providers Jay and Wendy, the organizing committee (Dawn, Miranda, Jay, Trevor and Nicole and their kids who helped with the set-up, the musicians (Yanti, Don and Mel), Ian who set up the sound system, Naramata Bench Wineries Association, local photographers Lone Jones and Callum, the poster designer Renee and Chorizo.
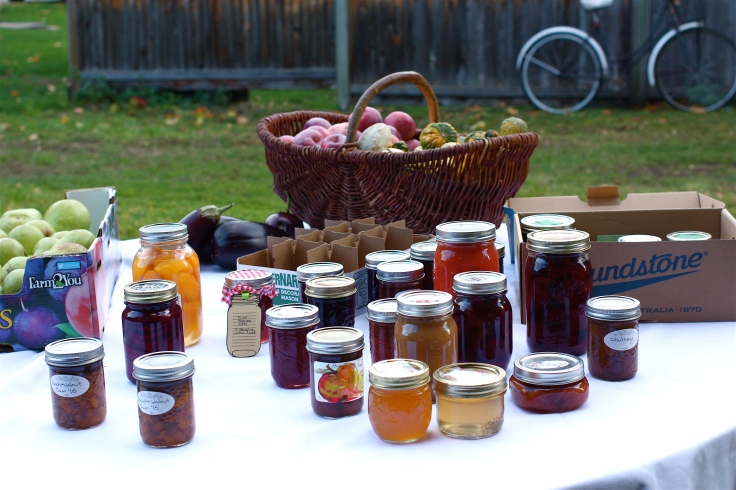
A preserve exchange table was set up. Yeah! I made a lot of grape jelly this year.That’ll do, pig. That’ll do. The left-over pork has been frozen and will be used to make soup for community Christmas hampers.“It was a bit of a leap of faith,” Miranda says. “There wasn’t time for tons of prep. But we knew it would work. This is Naramata.”
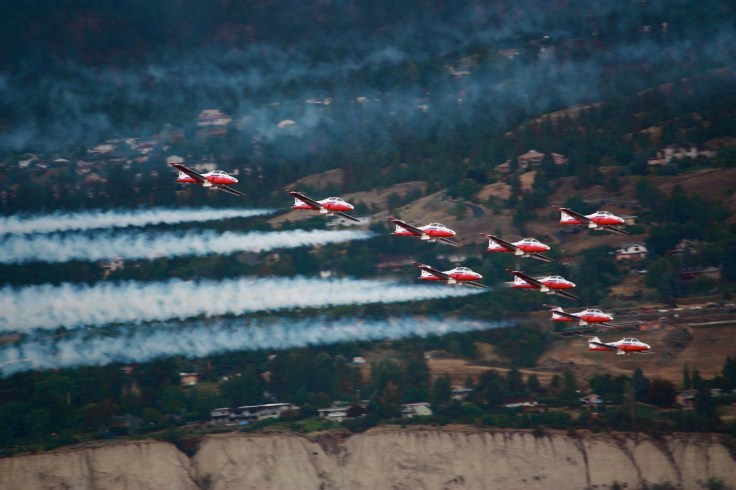
I love a good air show and the Snowbirds never disappoint. With the squadron’s (431 Iroquois) origins in the Royal Canadian Air Force in the Second World War I also have a sentimental attachment…my dad was a navigator in the 433 Squadron.
The Snowbirds are made up of 11 CT-114 Tutors.
Munson Mountain is the perfect vantage point for a Snowbirds’ show. You get the full sound of the jets and at times you feel as if your hair gets ruffled they pass so low overhead.
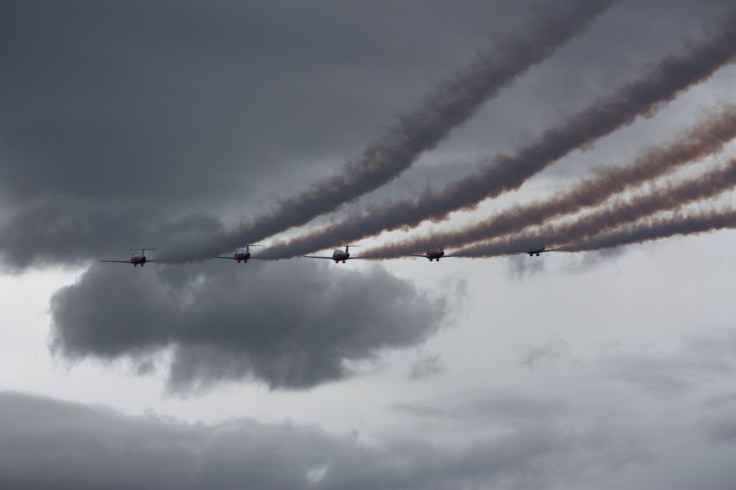
The grey skies provided the perfect backdrop for photos with smoke.
When performing their 9-abreast exit the wing tips are only 5.9 feet apart.
The Snowbirds got their name by way of an elementary school contest in the 70s.
The heart, Canada burst, solo head-on crosses and all their highly choreographed moves are amazing, difficult and there is definitely an element of danger. Seven Snowbird pilots and one passenger have been killed over the years.
The first story I heard when I moved from Ontario for my second newspaper job as a reporter to Grande Prairie, Alberta involved a Snowbird crash. The Grande Prairie Herald’s long-time photographer had been assigned to shoot the airshow in 1978. He had gone to the show, snapped some photos and left to fulfill a family commitment. He left before 32-year-old Captain Gordon deJong’s plane crashed. This was in the days before cell phones and cameras so there were few photos of the dreadful event to fulfill the needs of hungry news outlets. For the best I think… His plane’s horizontal stabilizer failed meaning he had no control and his attempt to eject failed. Said photographer stayed right to the end of events ever after.
The Tutor lights added to the impact light up against the gloomy skies.
The military aerobatics air show flight demonstration team is based near Moose Jaw, Saskatchewan and comes to Penticton every couple of years. Can’t wait.
During the dramatic solo head-on crosses, the jets are 33 feet apart.
This is my hood for context. Preserved Light is an amazing photography company.
This is a part of our farm in our first year of production with some blueberry picking happening. Can’t wait until next year when our crop should triple. Thank you to our lovely customers at Legend Distillingwhere our raspberries are happily at home in their Farm Berry Vodka, Nummer’s Gourmet, where they are baked into nummy treats and the Bench Marketthat sold them fresh or incorporated in their fruit salads.
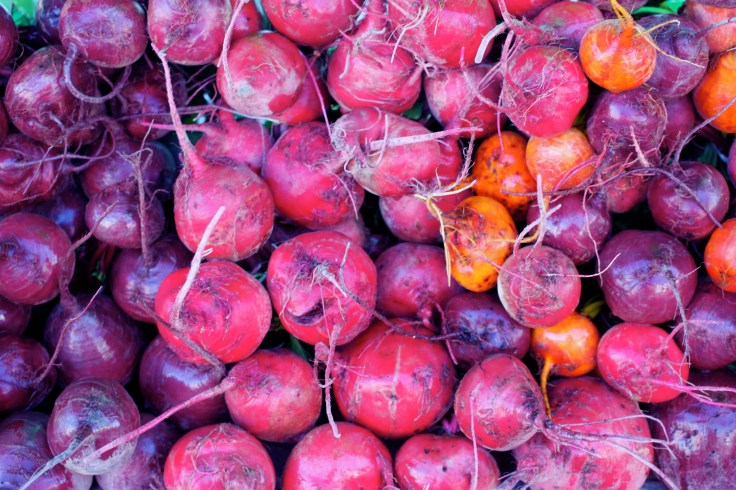
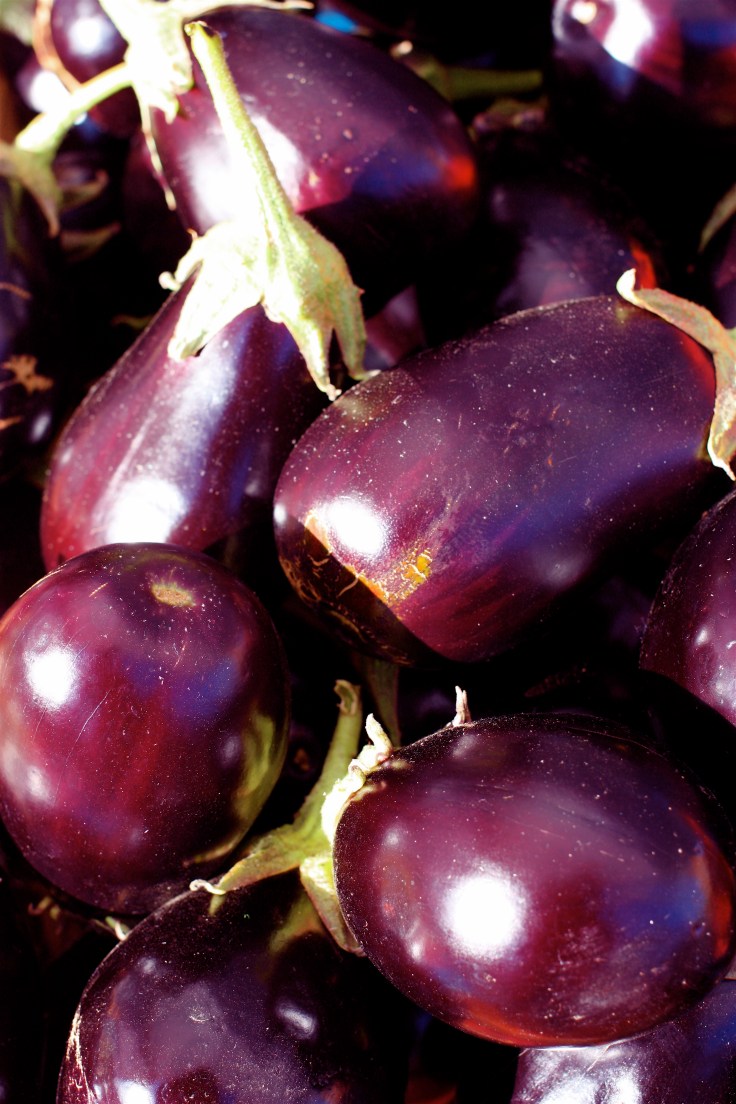
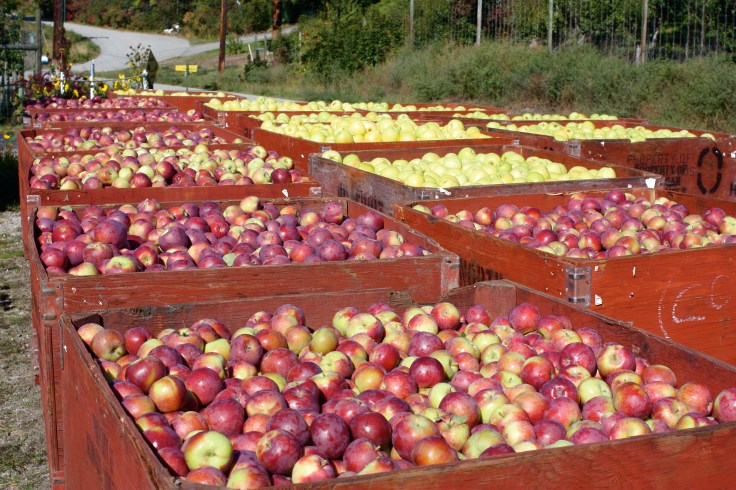
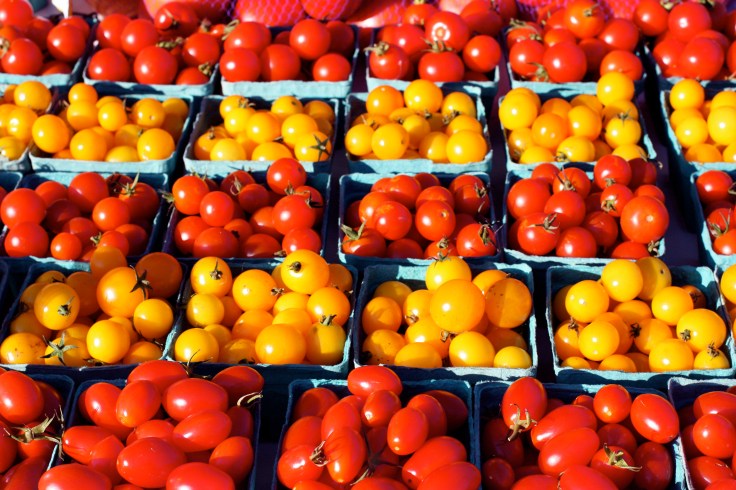
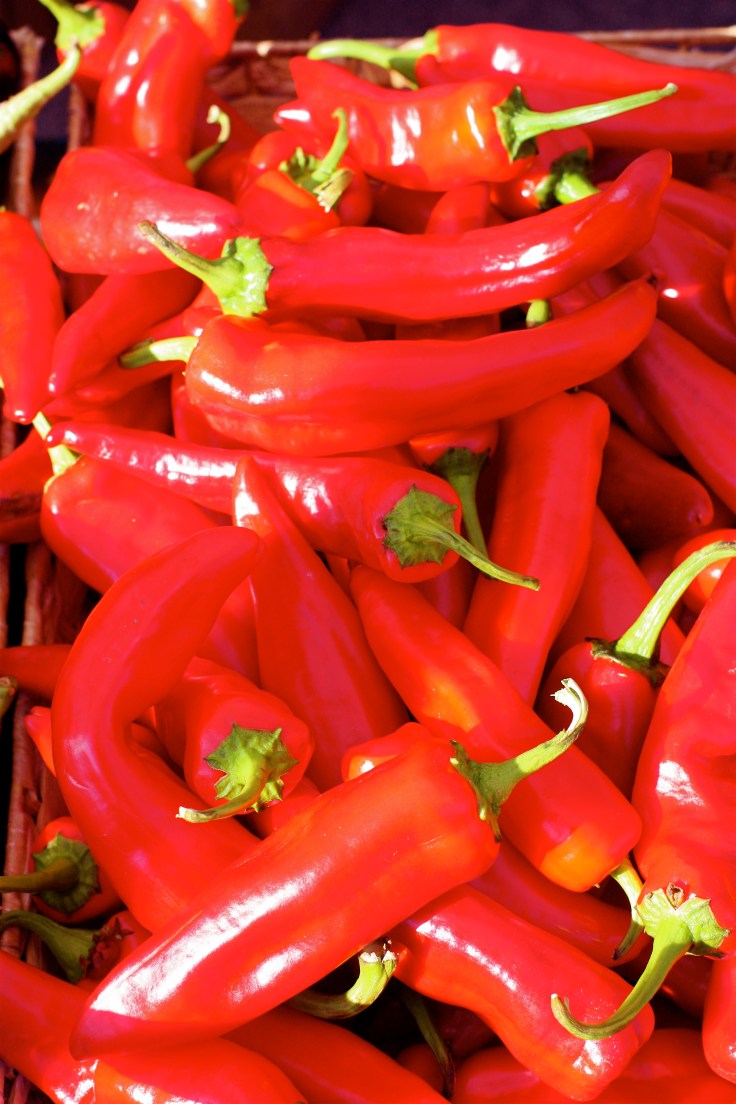
The Okanagan Valley is giving up the last of its bounty in one giant explosion of colour before the grey and white of winter moves in. Most of these photos were captured on the weekend at the Penticton Farmer’s Marketor while helping with the grape harvest. Colour wheel!
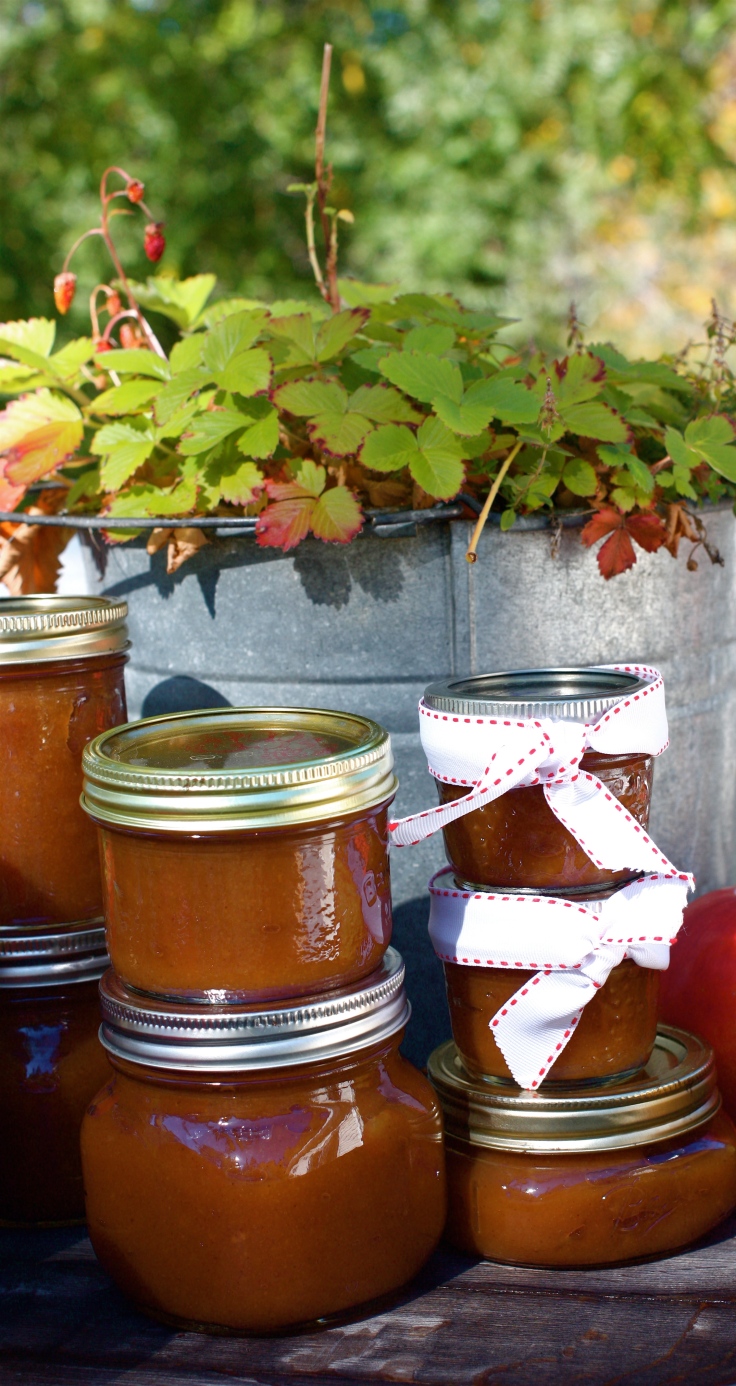
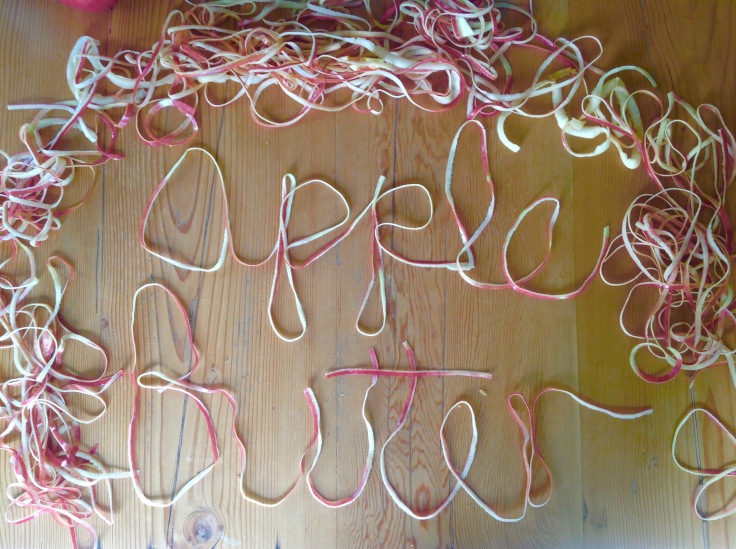
Apple butter thickly laid over a heavy slice of bread warm from the oven is a pioneer staple that deserves a revival in the orchard-rich Okanagan Valley.
Apple butter is a highly concentrated form of apple sauce produced by long, slow cooking of apples to a point where the sugar in the apples caramelize turning the apple butter a deep brown. Originating in the Middle Ages at monasteries with apple orchards, the secret to making this delicious preserve came over to colonial America with the settlers. Apple butter originated as a way to store apples without refrigeration, before canning was available. Groups would get together for an all-day affair that involved big kettles filled with apples, cider and spices that required constant stirring with big wooden paddles.
Everything you would ever need to know about the historical methods of making apple butter and a recipe to make your own with original methods can be found on the skill cultblog. It’s author encouraged me to try to the historical version but a bit leery on the food safety question, I decided sterilizing jars and finishing off with a good hard boil in a canner was a surer bet.
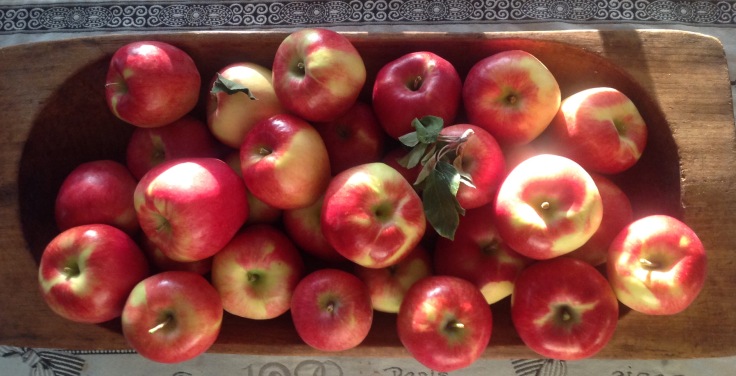
My recipe is a modern version using a crockpot, an apple peeler (can peel by hand) and an immersion blender (can use a blender or a whisk) and requires no all-day wooden paddle manning. Maybe I’m missing out although I’m happily married to my swain, The Handyman…
Here is where the fun came in, or the ladle was too large, in theory, at least, to be handled by one person, and it was customary for the girls and boys in pairs to take turns in stirring. The lady always had the choice of a partner to assist her when her turn came, and whichever swain she selected was regarded by the others as her favourite beau… The Conquest of Missouri, Joseph Mills Hanson, 1918
Step One: Apples
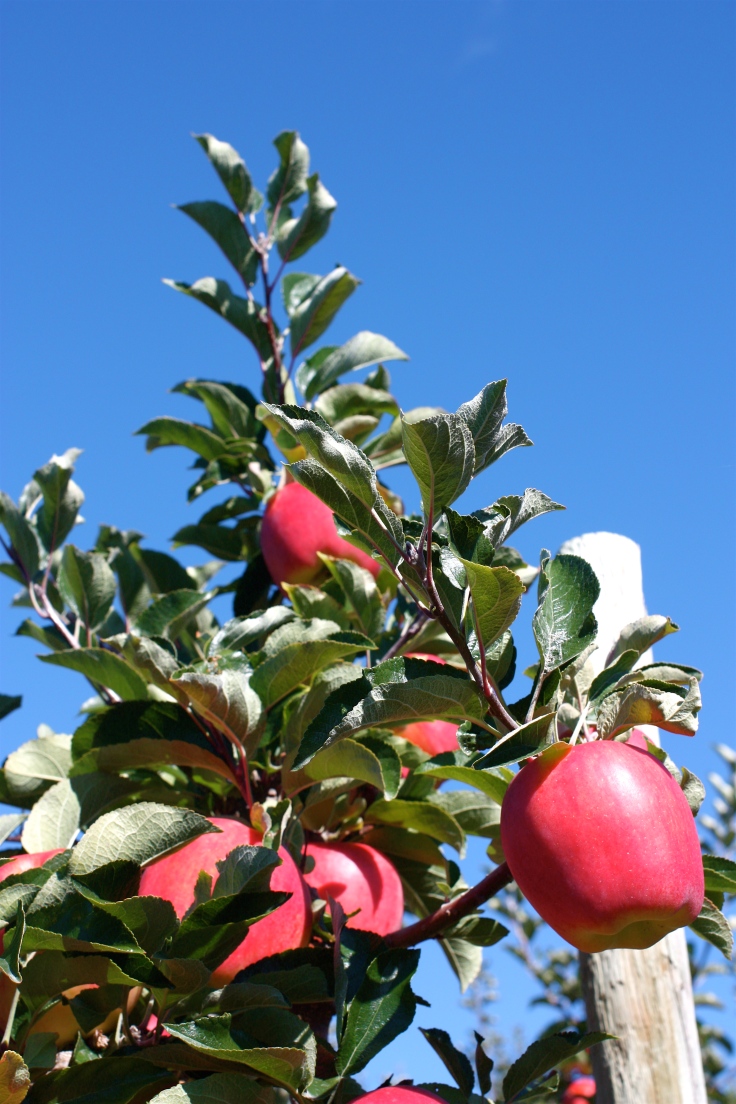
Karolina and Doug from Forest Green Man Lavender farm in Naramata kindly gifted me a beautiful box of these lovely Gala apples. Any sweet apple will do or you can mix different varieties.
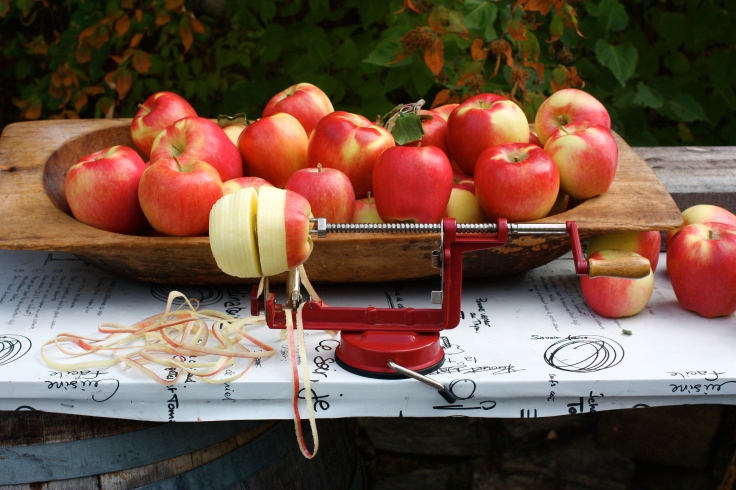
Step 2 Peel
Peel, core and slice your apples. This handy gizmo does all three licketty-split.
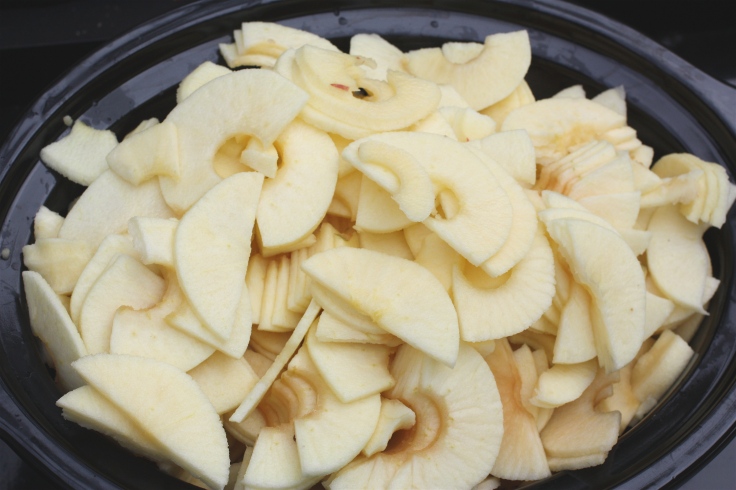
Step 3 Fill your crock-pot
Fill your crock pot to the brim. The apples will settle quite a bit as they cook and soften.
Step 4 Add sugar and spices
Add 1 to 2 cups of sugar (to taste),( I made some of it brown sugar for flavour), add 1 tsp. or 2 tsp. cinnamon (depending on the size of your crock pot), 1/4 tsp ground cloves, pinch of salt, 1/2 tsp allspice and one whole vanilla bean pod. Just sprinkle these ingredients on top of the apples. (Remove the vanilla pod before loading into jars)
Step 5 Cook on low for about 10 hours
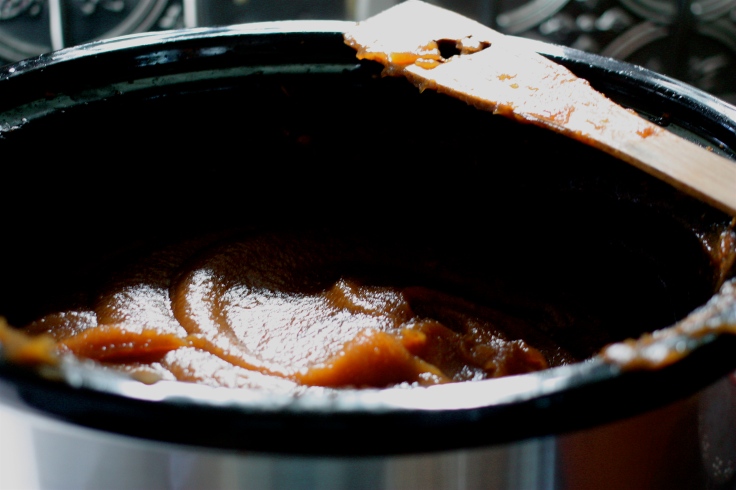
If you peel your apples in the evening, leave the crock pot on low overnight with the lid slightly ajar to let steam escape. In the morning, use an immersion blender or transfer your applesauce into a blender to smooth out the mixture and then replace in the crock pot. Remove the lid for the last hour or so of cooking to thicken the mixture. (It will thicken a bit further after it cools.) Let it cook to your desired consistency. It will turn a nice scrumptious carmel colour.
Step 6 Water bath can your apple butter. Sterilize your canning jars, fill them leaving 1/4 inch head space, wipe rims clean, place your lids on and place in a canner filled with boiling water and boil for 15 minutes.
Your house will smell amazing during the long slow apple cooking. Apple butter on raisin cinnamon bread is match made in heaven.My last step was to drop off some jars at Karolina (pictured above with her rescue pal) and Doug’s lavender farm from whence the apples came. Thanks guys! I left with 20 pounds of beautiful Anjou pears. Mmmmm so it begins. Pear tarts?
Keremeos in British Columbia’s fertile Similakameen Valley is bathed in sun and heat for 181 frost-free days resulting in the best tomatoes in the world and a price that will blow your socks off.
Top down to take advantage of the sun on the first day of fall, The Handyman and I head out from Naramata past Almost a Ranch, Foggy Mountain Ranch, Cedar Creek Ranch and the infamous Crazy Zach’s junk/antique on the way to the “Fruit Stand Capital of Canada” on our annual pilgrimage to bring home some summer to store for greyer days ahead.
I always feel a bit like Toad from the Wind in the Willows out for adventure on days like this…One of Zack’s treasures in a tomato red.
Harvest days.
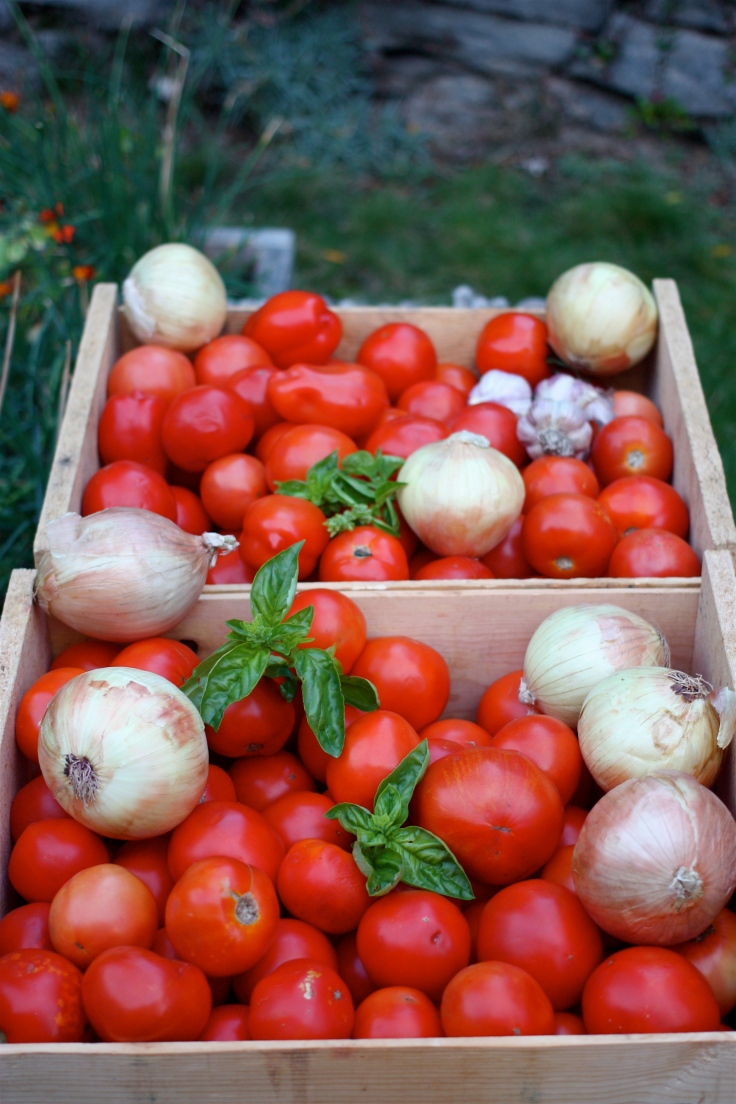
A still life in gourds.There is something about the light in the fall…These 40 lbs. of vine-rippened beauties cost a grand total of $9.98. Add in some Walla, Walla onions and red Russian garlic and your total is somewhere around $16 bucks.
Nonna’s secret tomato sauce recipe
(Disclaimer…I am not Italian and do not have a Nonna but if I did this would be her recipe…I have made this basic but lovely tomato sauce for years and it pays homage to Keremeos’ bounty. This makes a lot of sauce at one time and takes advantage of Farmer’s Market tomato prices.
20 lbs. of perfectly ripe tomatoes
3 or 4 large onions chopped
4 to 6 cloves of garlic chopped
1/2 cup of Similkameen honey
2 tablespoons dried oregano
2 tablespoons salt (or to taste)
2 tablespoons fresh thyme
1/4 cup of fresh basil
2 teaspoons pepper
splash of olive oil (if freezing your sauce, omit if canning)
If you are freezing your sauce you could also choose to add in peppers, mushrooms…Don’t add in if canning as the additional fresh vegetables will change the pH so it’s unsafe for water-bath canning…
You can either can or freeze this recipe. If canning, omit the olive oil (very important) and follow standard canning direction adding 2 tablespoons of lemon juice to each quart jar after filling. This ensures that the sauce will be safely acidic.
Soften onions and garlic in a splash of olive oil (if freezing sauce) or in a small amount of water in a heavy large pot. (I actually use two large pots, dividing the onions and garlic between them, as one won’t hold 20 pounds of tomatoes.) While the onions are softening, begin preparing your tomatoes.
Add tomatoes in batches to a pot of boiling water for about minute and transfer to a cold water bath (I use the sink). This will make peeling easy… the skin will just slip off. Take a paring knife and cut out the stem end and remove the peeling skin and discard. I then give each tomato a bit of squeeze to eliminate some of the juice so you will have a nice thick sauce. Add the peeled, squished tomatoes to the onions, bring to a boil and then simmer.
Once all your tomatoes have been added to the pot or pots, add in your seasoning reserving the fresh herbs until the sauce has finished cooking. Simmer on low for two to three hours until your sauce reaches your desired thickness. Be sure to taste and adjust your salt and pepper if necessary.
If you like a smooth, uniform sauce, add the cooled sauce to a blender for 30 seconds or so. Add about three cups to each freezer bag and place all the bags on a cookie sheet (to prevent leakage in your freezer) and freeze. Remove the cookie sheet after your sauce is frozen. If you prefer to can your sauce, load your jars, add the lemon juice and place in a canner and boil for 35 minutes. (Do some canning research if you haven’t canned before so you know how to sterilize your jars and so on…)
Tomato-coloured pot not necessary but awesome right?
This three-layer carrot cake has three cups of carrots and a cup of pineapple and the cream cheese frosting is livened up with lemon zest and fresh lemon juice.
Every birthday deserves a home-made layer cake. Making one for my daughter Lizzie gives me as much pleasure as it gives her, more really. Healthy lifestyles are super important to our family but come on… it’s a birthday and a once-a-year excuse to pull out all the stops.
Fresh garden carrots and pineapple make this cake deliciously moist.
Carrot cake ingredients
2 1/4 cups all-purpose flour
2 tsp baking powder
2 tsp baking soda
2 tsp cinnamon
3/4 tsp salt
3/4 cup grapeseed oil
1 1/4 cup granulated sugar
1/2 cup firmly packed brown sugar
4 large free run eggs
3 cups shredded carrots
1 cup crushed pineapple, drained
Pre-heat oven to 350F and grease and flour three 8-inch cake pans.
Sift together the flour, baking powder and salt and set aside. In the bowl of a stand mixer fitted with the paddle, beat together the oil and sugars for 2 minutes and turn the mixer to medium-low and add the eggs, one at a time. Add the flour mix in two batches and mix until just incorporated. Add carrots and pineapple and mix until just combined. Evenly divide the batter among the three pans and bake for 25 to 30 minutes, or until a toothpick inserted into the centre of the cakes come out clean. Cool and remove from the pans.
The addition of lemon adds a nice zest and pretty colour to the frosting.
Lemon cream cheese frosting
4 ounces softened cream cheese
1/2 cup butter at room temperature
3 1/2 to 4 cups sifted confectioners’ sugar
2 tsp finely grated lemon zest
2 tsp fresh lemon juice
1/2 tsp pure vanilla
In the bowl of a stand mixer with the paddle attachment, beat the cream cheese and butter on medium speed until smooth. Turn the mixer to low, gradually add the confectioners’ sugar, lemon zest, lemon juice and vanilla and mix until fluffy.
Vanilla Swiss Meringue Buttercream ingredients.
Buttercream
1/2 cup plus 2 tbsp large egg whites
1 1/4 cups granulated sugar
2 cups butter at room temperature, cubed
2 tsp pure vanilla extract
few drops of yellow food colouring
Place the egg whites and sugar in the bowl of a stand mixer and whisk together by hand to combine. Place the bowl on the top of the a saucepan filled with a few inches of water on medium-high heat to create a double boiler. Whisking intermittently, heat the eggs mixture until it registers 160F or is hot to the touch. Once hot, fit the bowl onto your mixer and whisk the egg white mixture about 8 to 10 minutes. The mixing bowl should be room temperature and the eggs should hold a medium-stiff peak when done. Swap out the whisk for a paddle attachment and add the butter a bit at a time with the mixer on low. Once all the butter is added, turn up the mixer and beat until smooth for about 3 to 5 minutes. Add a few drops of yellow food colouring to achieve a light lemon colour.
Some assembly required
Choose which will be your bottom layer and place it on a cake plate. Spread half the cream cheese frosting with an offset spatula. Top with another layer and spread the remaining frosting. Add the final layer and ice the top and sides of the cake with the vanilla buttercream. Make the spun-sugar decoration just before serving as it will only hold its shape for a short time.
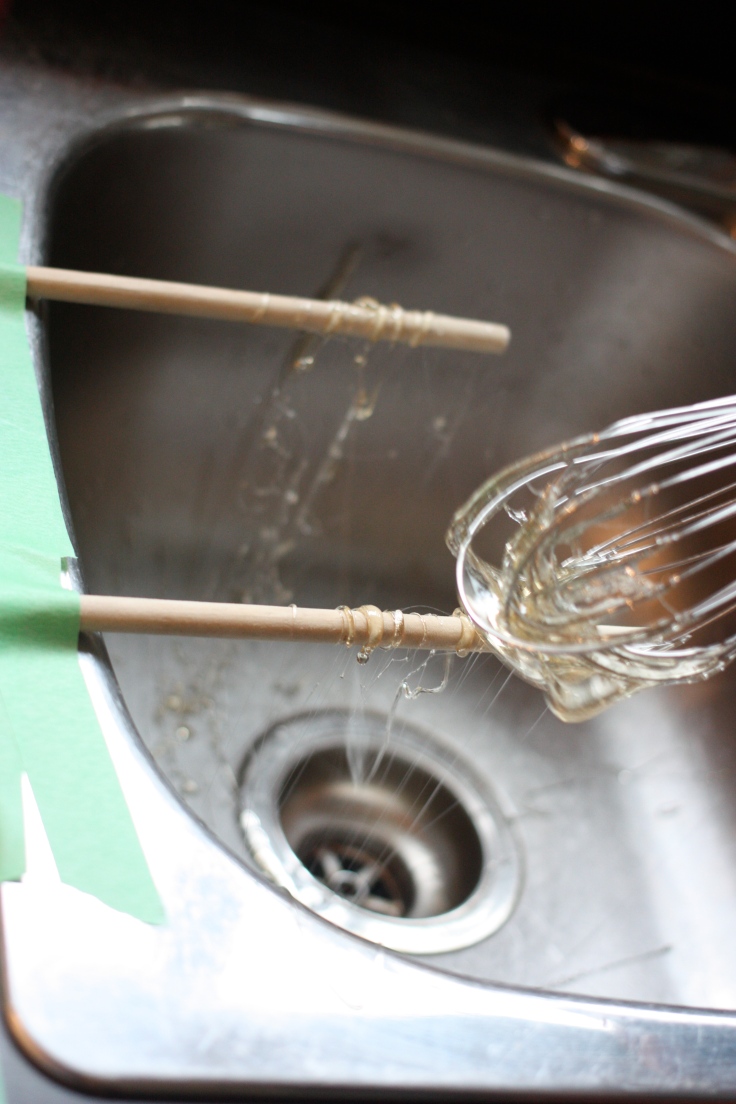
Secure two wooden spoon handles to your sink with tape.
Spun sugar
2 cups granulated sugar
1/2 cup light corn syrup
Secure two wooden spoon handles with tape over your sink. Add the sugar, corn syrup and 1/2 cup of water to a saucepan and heat on medium-high until the mixture reaches 300F, about 10 to 15 minutes. Meanwhile prepare an ice bath in a large metal bowl and set aside. As soon as the sugar reaches 300F remove from the heat and submerge the bottom of the pan in the ice bath. Let it stand about a minute and then dip a wire whisk into the sugar and wave it back and forth over the spoon handles. Working as you go, gather the strands and shape into a round shape with your hands about the size of your cake and add to the top of your cake.
Your spun sugar will dissolve if you refrigerate your cake…Lovely Lizzie Lemony Carrot Cake!
Give us our daily banana bread…but please add Quebec maple syrup.
Even non banana bread lovers will be won over with this Canadian version sweetened with maple syrup and topped with a maple, nut crumble. So good eh?
Don’t even consider using anything but real Quebec maple syrup.
Crumble
3/4 cup of nuts, lightly toasted and finely chopped. You can use walnuts, pecans or flaked or slivered almonds.
2 teaspoons of Quebec maple syrup
1/2 cup of brown sugar
1/4 cup all-purpose flour
1/4 tsp cinnamon
1/4 cup softened butter
Combine all ingredients except the butter in bowl. Add the butter and mix with your fingertips until the crumble is just moistened and set aside.
Bread
Preheat the oven to 350F and butter a six-cup (1.5 litre) 10 x 4-inch loaf pan and line it with a sheet of parchment paper, letting it hang over both the 10-inch sides.
1 1/4 cups very ripe bananas, mashed with a fork (about 3 bananas)
3/4 cup Quebec maple syrup (Aunt Jemima’s? Forgetaboutit)
1/2 cup butter, melted and cooled
2 eggs
2 cups all-purpose flour
1 tsp baking soda
1/4 tsp salt
Whisk together the bananas, maple syrup, butter and eggs and set aside. In a large bowl, combine the flour, baking soda and salt. With a wooden spoon or spatula, stir in the banana mixture until the batter is just moistened.
Spread the batter in the prepared pan. Sprinkle on the maple crumble. Bake for about 1 hour and 15 minutes or until a skewer inserted in the middle of the loaf comes out clean. Cool completely on a wire rack before lifting from the pan by the parchment paper.



















 My recipe is a modern version using a crockpot, an apple peeler (can peel by hand) and an immersion blender (can use a blender or a whisk) and requires no all-day wooden paddle manning. Maybe I’m missing out although I’m happily married to my swain, The Handyman…