Lavender is one of my favourite garden perennials and it suits our hot dry Okanagan summers perfectly. I have a bank behind the house I want to plant up all in lavender which could cost several hundred dollars if were to buy them as plants from a nursery. I gave growing lavender from seed a go last year in the greenhouse with marginal success. It’s hard to germinate although I did get a few nice white lavenders to grow. I’ve since learned that it’s easier and much more successful to propagate lavender from soft-wood cuttings in the spring. This method clones the lavender so what you see (parent plant) is what you will get.
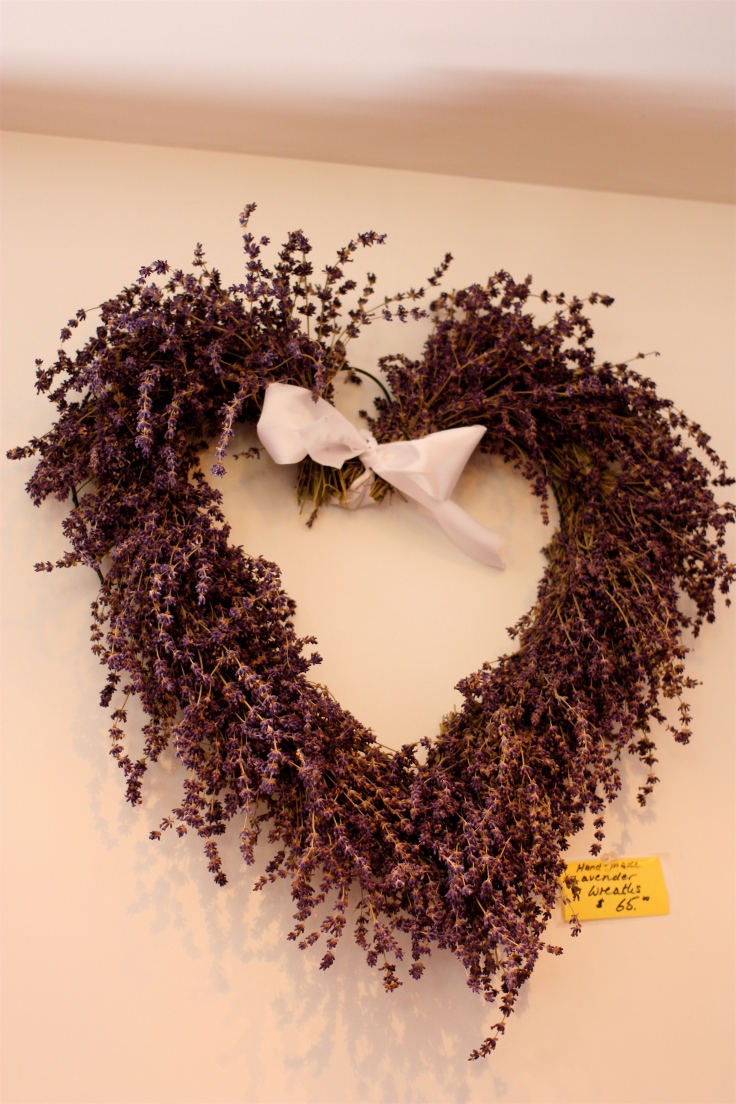
 “Forgiveness is the smell that lavender gives out when you tread on it.” Mark Twain.
Taking cuttings is basically just snipping off a piece of an existing plant and placing in compost to grow its own roots.
Here’s how I went about it:
 1. Using secateurs, a sharp knife, or scissors, snip off a piece of lavender from the parent plant just below a leaf node (place along the stem where the joints of the leaves grow out of).
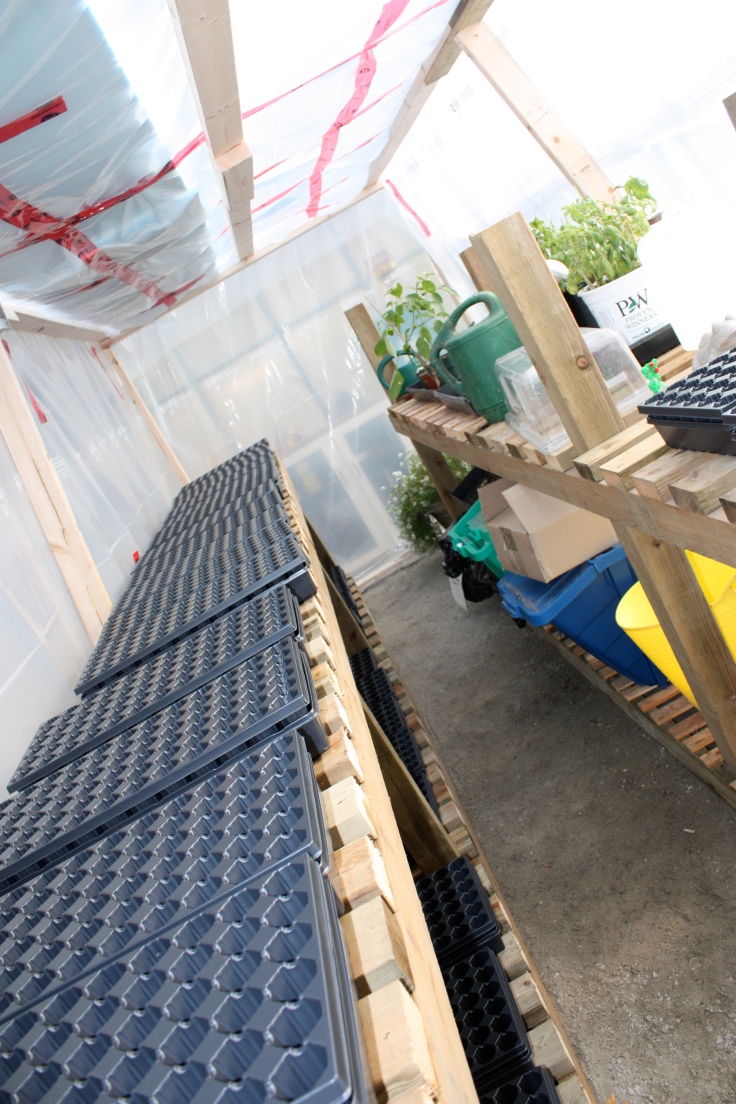
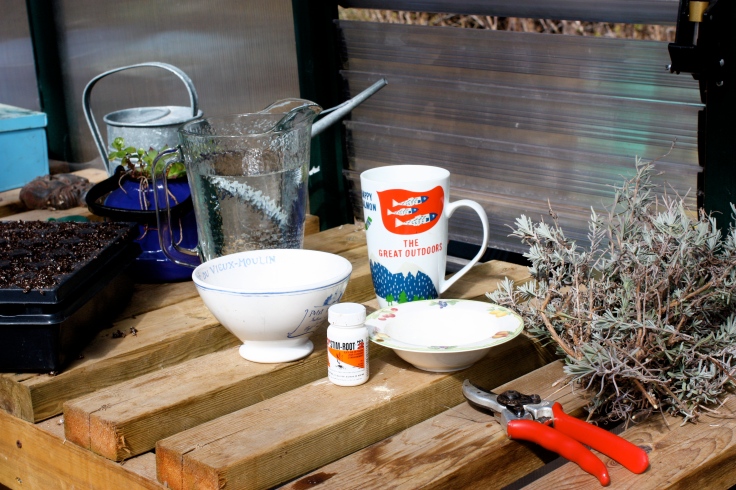 2. Prepare your pot, or seed tray with free-draining compost.
3. You will need a rooting hormone or Karolina from Forest Green Man Lavender suggestion of honey as a more natural and easily obtainable “green” substitute. It is thought that honey may contain enzymes for promoting root growth. It is also a natural antiseptic and contains anti fungal properties — both of which are believed to be one of the reasons that honey as a root hormone seems to work so well.
I am conducting a very unscientific experiment and planted up half my tray with the cuttings dipped in water and then the traditional nursery-bought rooting hormone and the other half by dipping the cuttings in honey. Stay tuned…
 4. I stripped the lower leaves off each of my cuttings and nipped some of the top growth off with my fingers. The leaves will use a lot of the water in your potting soil better used for the new root production and will likely die off anyway. I inserted a pen (you could use any appropriate object) to poke a hole in the planting medium. You don’t want to use just insert the cutting without making a hole first as all your honey or rooting hormone powder will come off the tip.
 5. Scrape the bottom of your cutting with your thumb on an angle to expose more of the rooting area.


6. Dip the cutting in water and then rooting hormone powder or into a dish of honey.
 7. Plant up your tray or pots with the prepared cuttings.
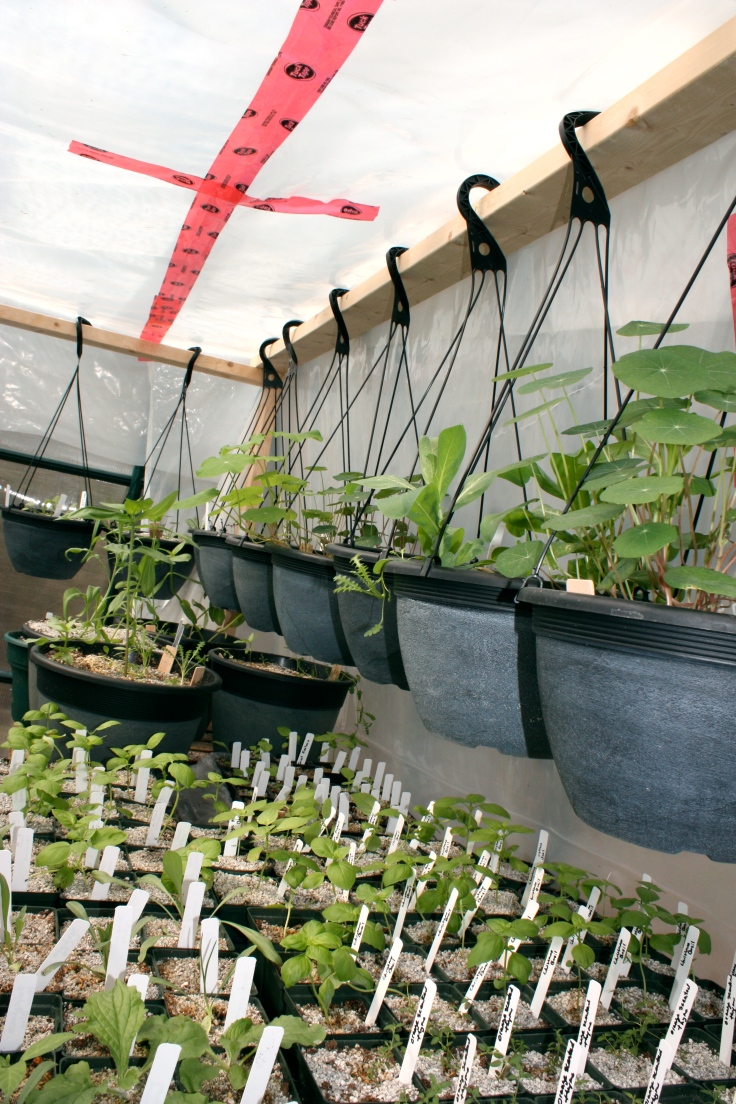
 8. Add a dome or plastic bag. Make sure to keep moist but not waterlogged and clean the condensation off the dome or bag periodically. Lavender doesn’t like it to be too wet. I placed mine on a heat mat but a greenhouse or window sill will work. Rooting will take place over the next two weeks to a month after which the plants can be potted up in larger pots or hardened off and planted directly into the garden. Only about half of the cuttings will produce roots. Check for new growth or wiggle the plant around a bit to feel for rooting. Look for mouldy or obviously dead plants and remove from your tray.
I’ll let you know how my honey vs. rooting hormone experiment worked.


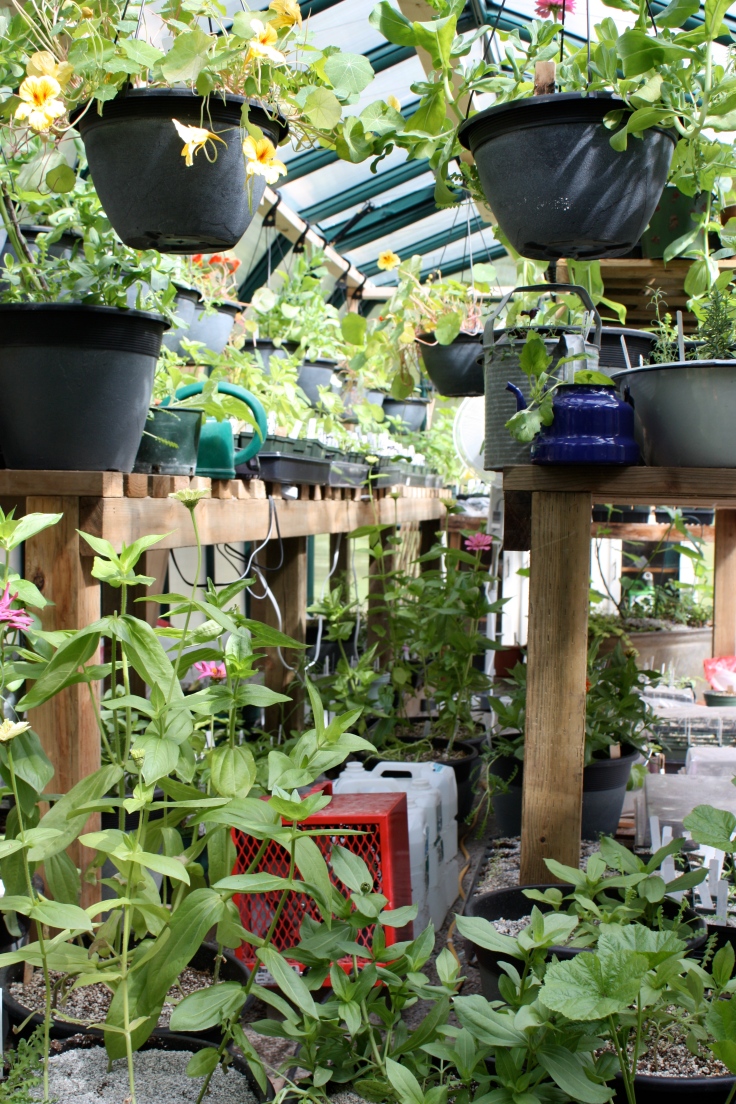
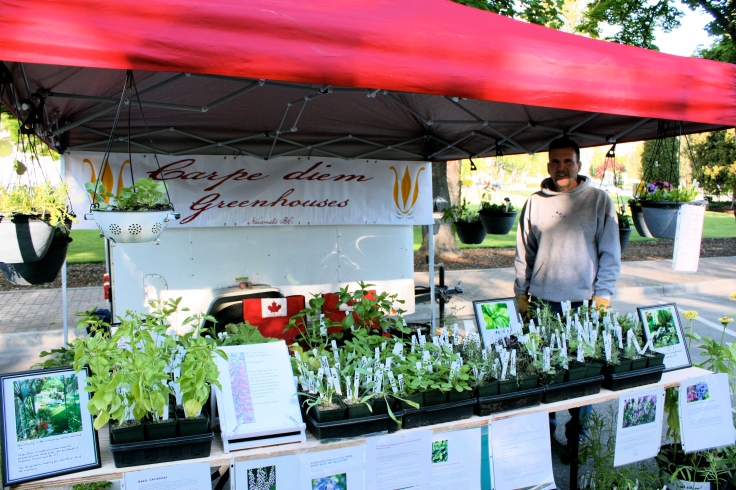
 Naramatian Doug and and Swiss-born Karolina are masters of all things lavender and volley rapid-fire interesting lavender facts as we bask in the sun on a bench overlooking the lavender with the farm’s pear trees in the distance.
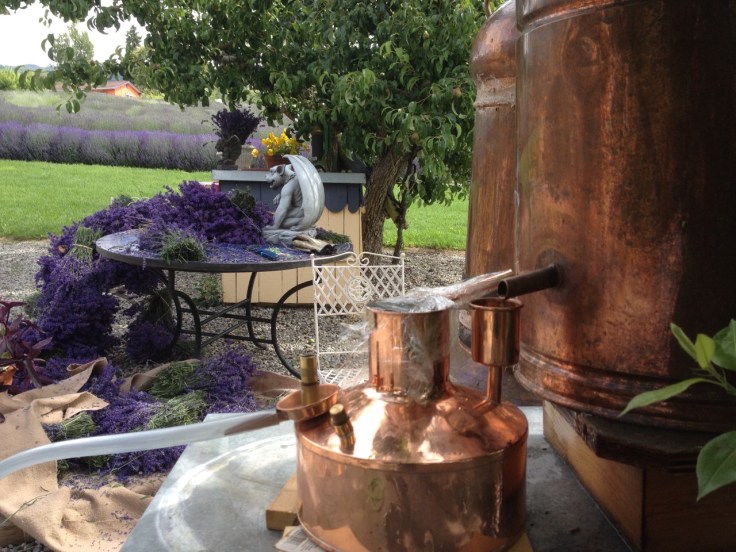


 Yup, taking that home. Who wouldn’t want a plate with a boy riding on turkey on it? Little did I know that a week later I would mail it away to a relative of the owners of the Patten Mercantile Co., postal box: Ghost Town, Amy, Kansas.
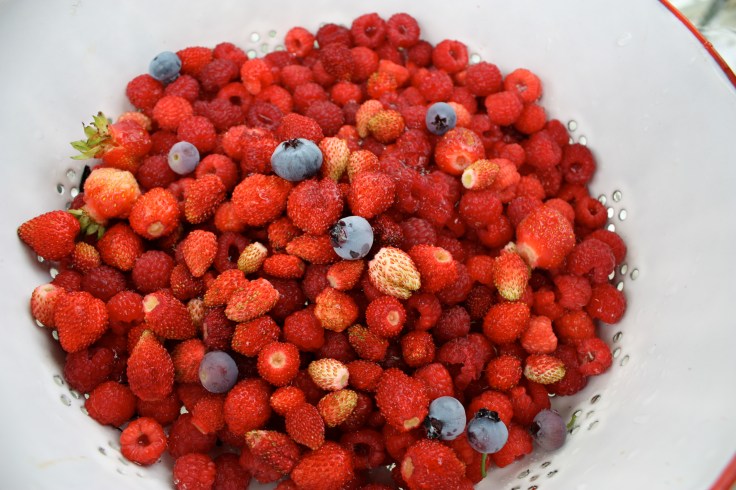 Undaunted by our
  What could go wrong?
 The included 2016 raspberry calendar seemed at first glance to be a handy planting, care and maintenance guide. It in fact detailed what pesticide or herbicide to apply when for what. Malathion, Capture 240EC, Black Label Zn, Ignite OR, Dipel WP… were to help me with hard to control weeds, crown borer, bacterial blight, weevils, caterpillars, leaf rollers, two-spotted mites, botrytis, rust, root rot, fruit worm, spur blight and the new scourge of spotted wing Drosophilia. The chart includes this warning (among others): “Some chemicals are toxic to bees.” Nope. My plan is grow my berries organically and herein lies the challenge.

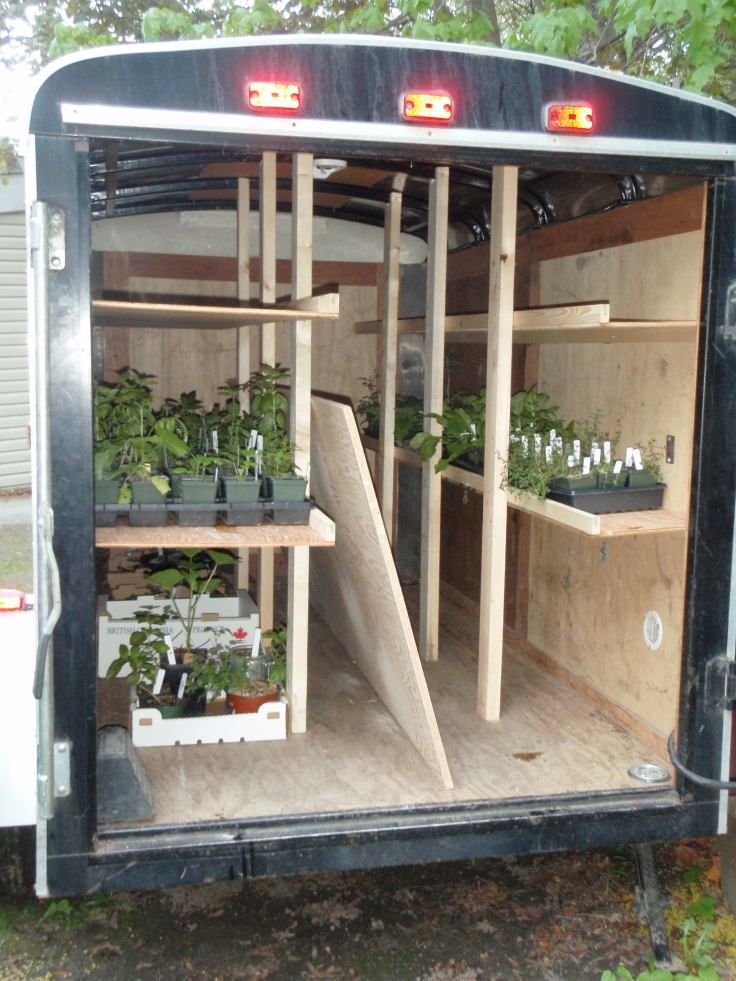
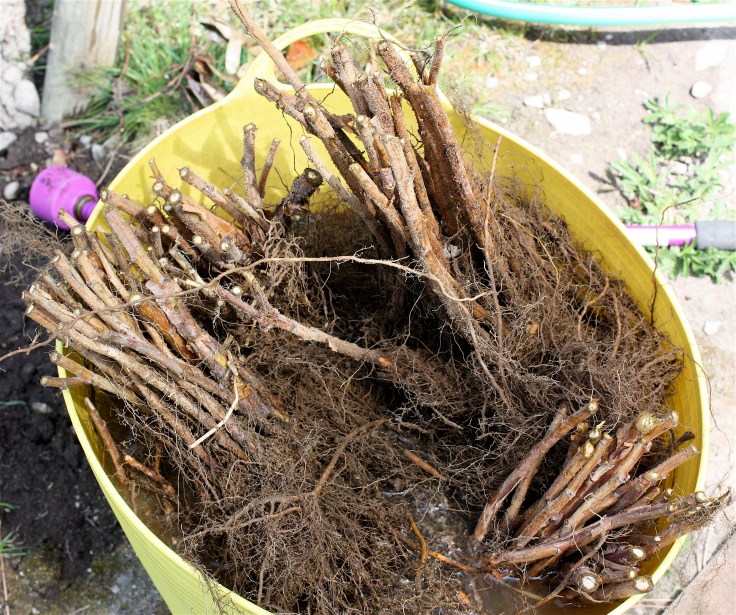 After carefully preparing the rows by digging in lots of compost, we planted these “dead sticks”, watered them in well, turned on the irrigation, mulched the rows and waited. In about two weeks we were rewarded with new growth and happily counted the live ones every day until all 100 showed leaves.

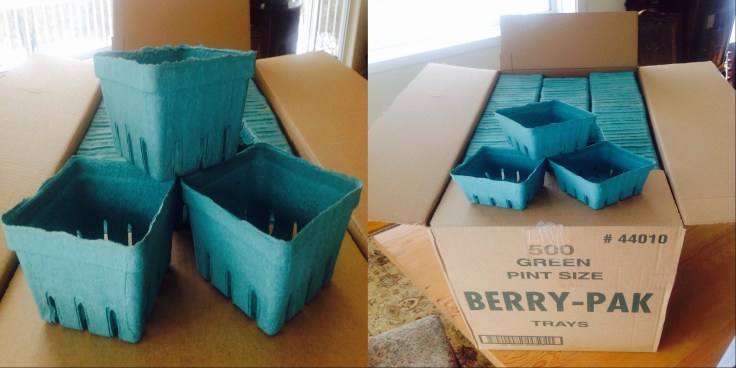 In a ballsy move, I’ve bought a case of berry trays.


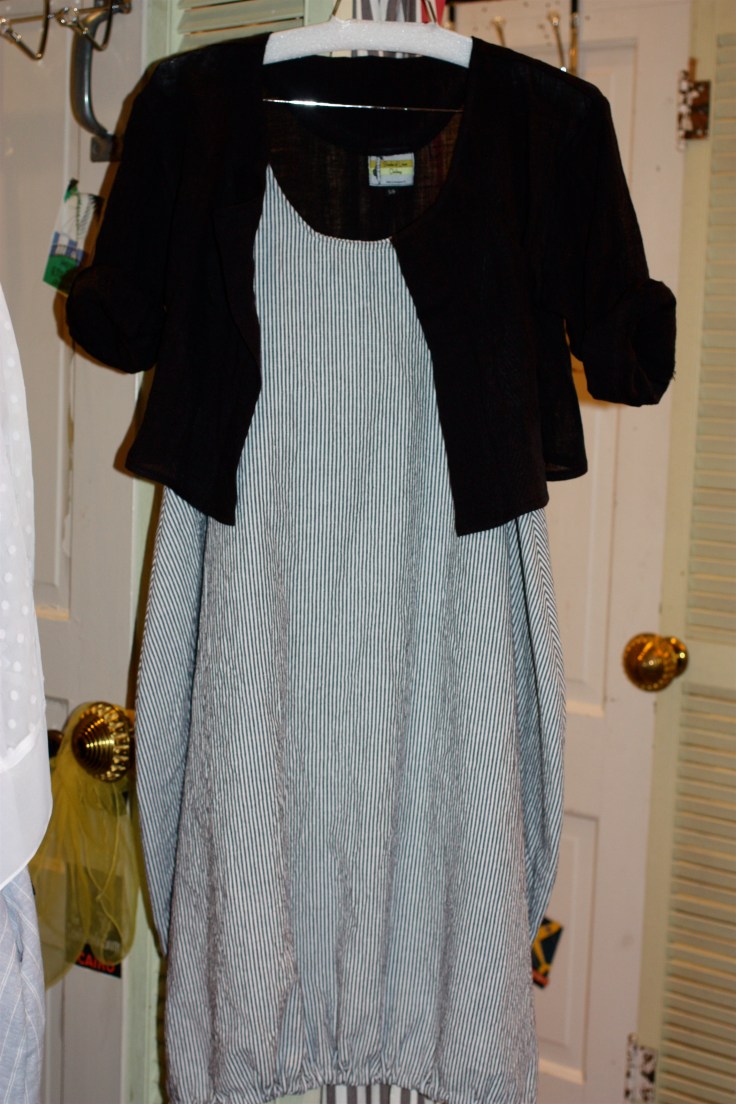
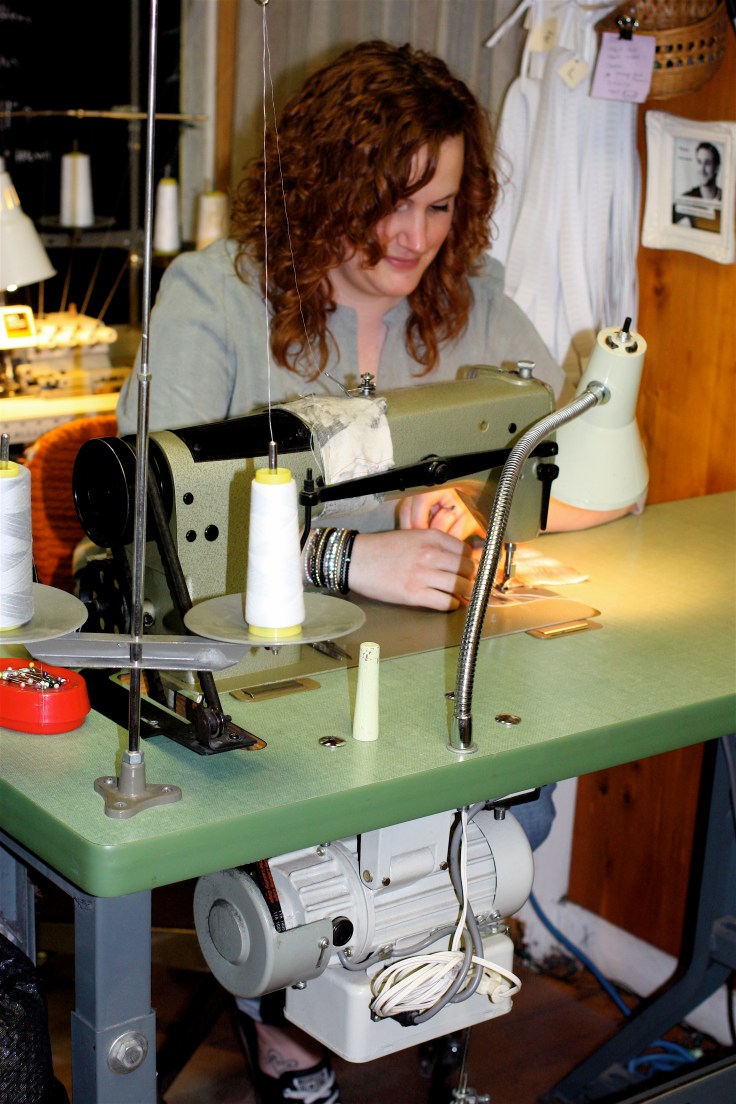
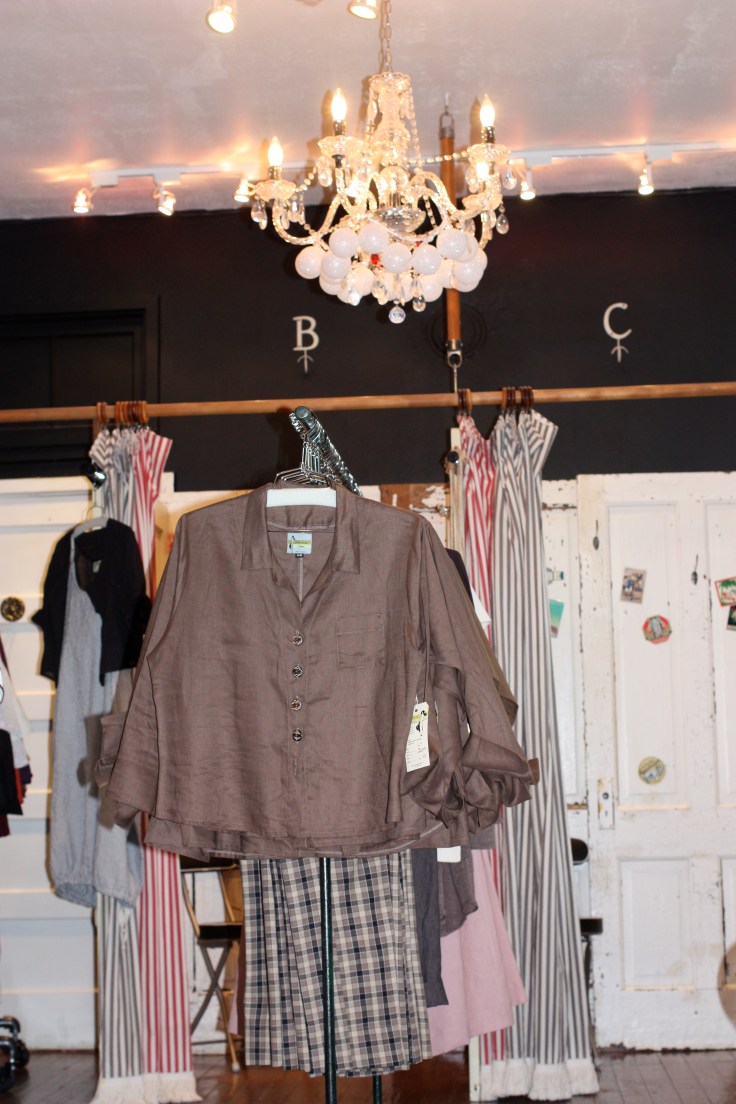
 Fit is also key to the success of Shades of Linen. The designs are well-thought out in the first place to fit comfortably and flatter almost anyone and because they were made in- house, they can be custom fit, and the best part…custom fit for no extra charge. Who does that anymore? My mother-in-law is a typical customer. She saw a jacket she liked but wanted it in black. Voila, a few days later it was ready. Often this transaction happens through the mail where Diane will even send fabric swatches for customers to choose from.