This is my hood for context. Preserved Light is an amazing photography company.
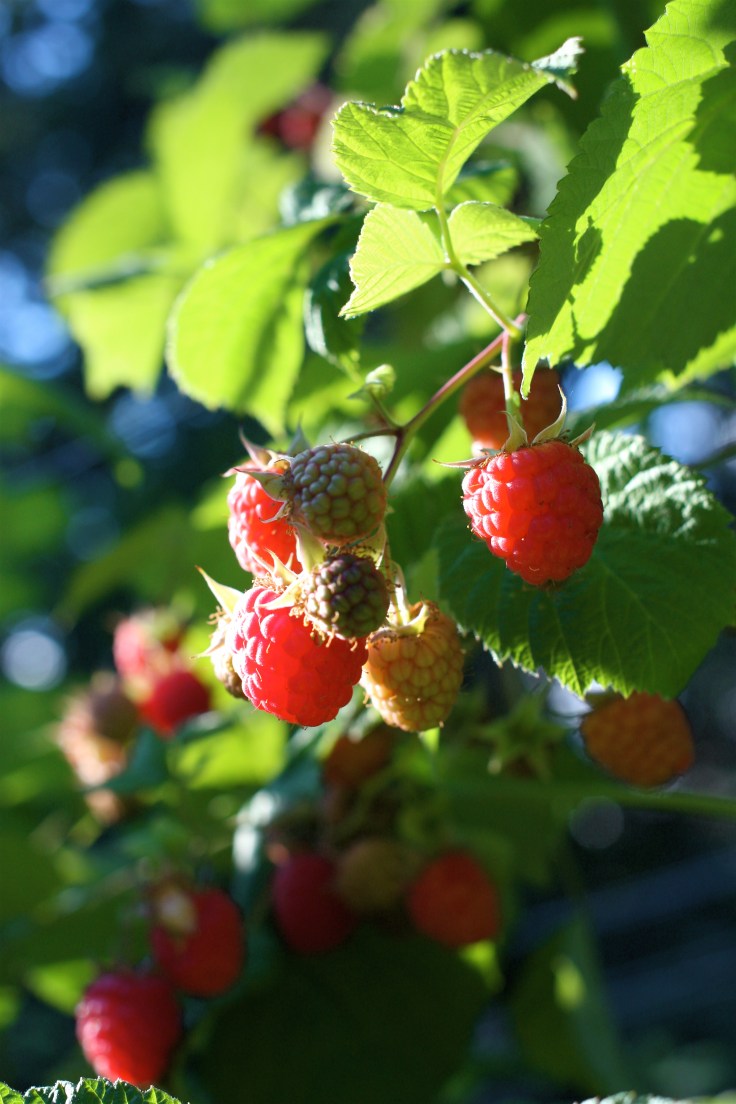
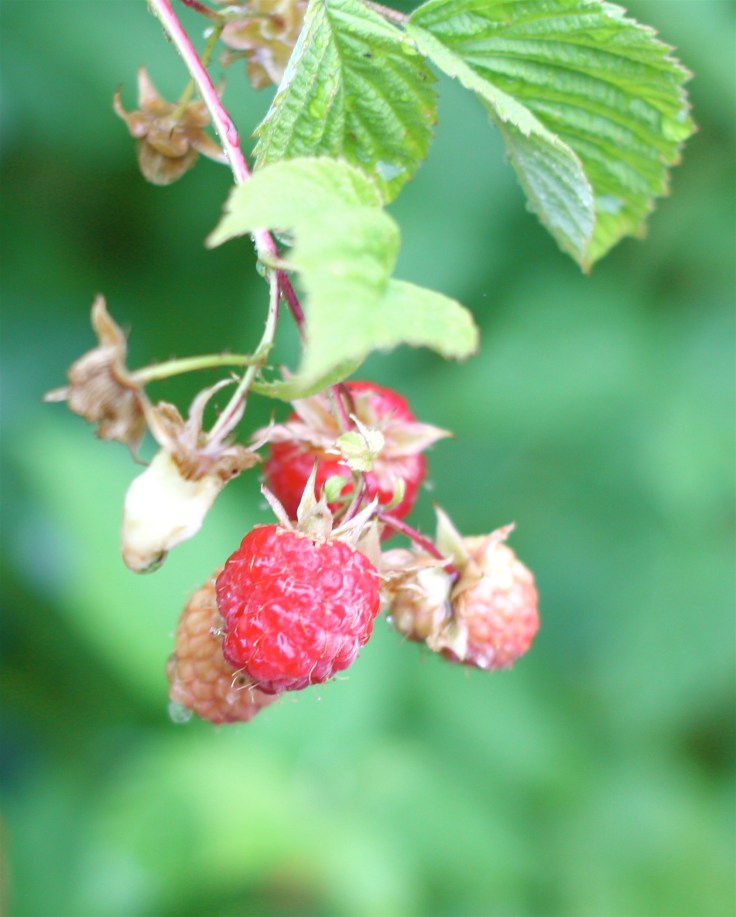
This is a part of our farm in our first year of production with some blueberry picking happening. Can’t wait until next year when our crop should triple. Thank you to our lovely customers at Legend Distillingwhere our raspberries are happily at home in their Farm Berry Vodka, Nummer’s Gourmet, where they are baked into nummy treats and the Bench Marketthat sold them fresh or incorporated in their fruit salads.
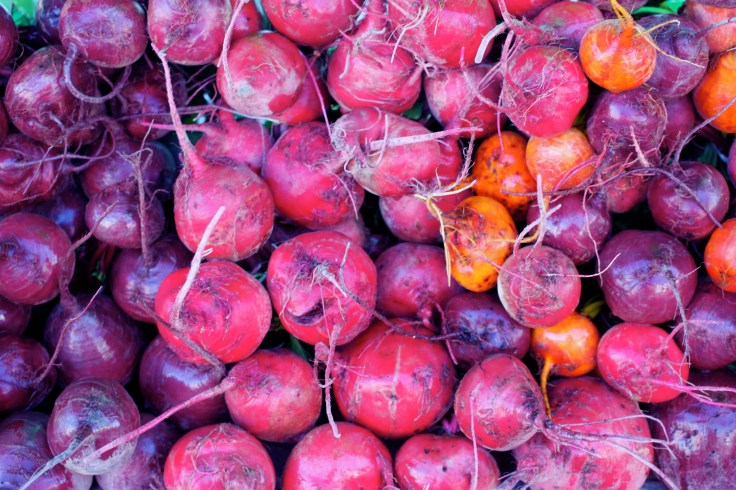
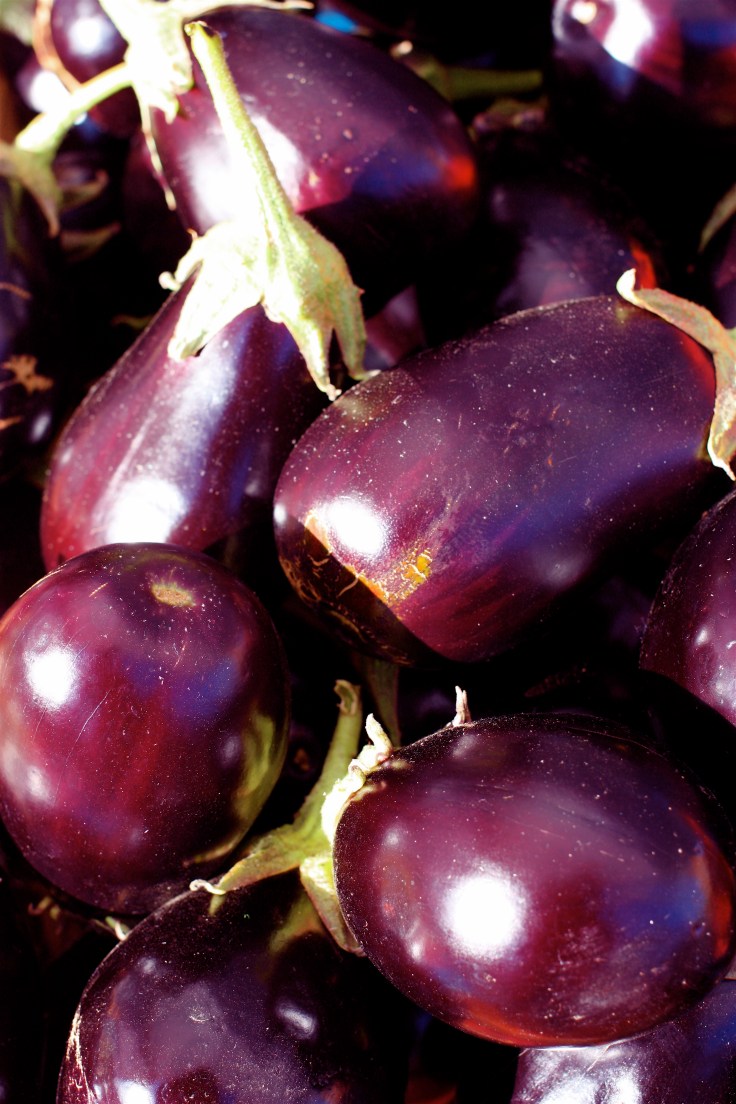
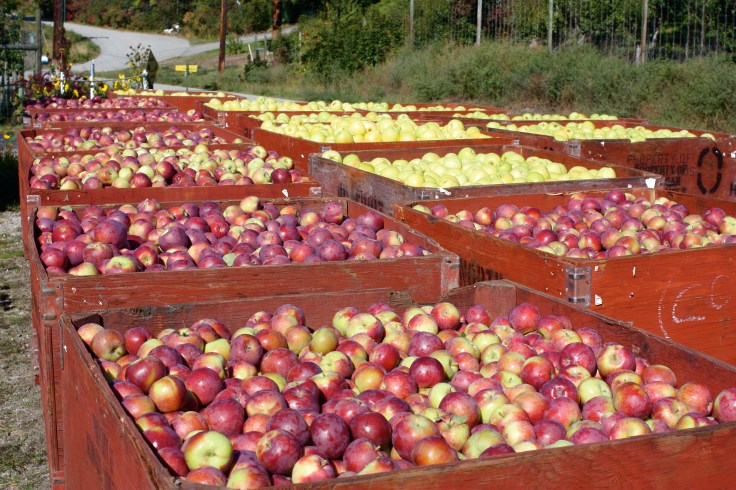
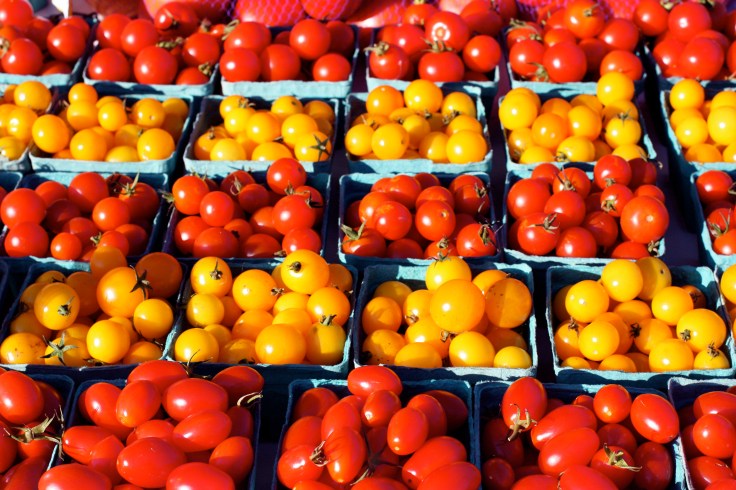
The Okanagan Valley is giving up the last of its bounty in one giant explosion of colour before the grey and white of winter moves in. Most of these photos were captured on the weekend at the Penticton Farmer’s Marketor while helping with the grape harvest. Colour wheel!
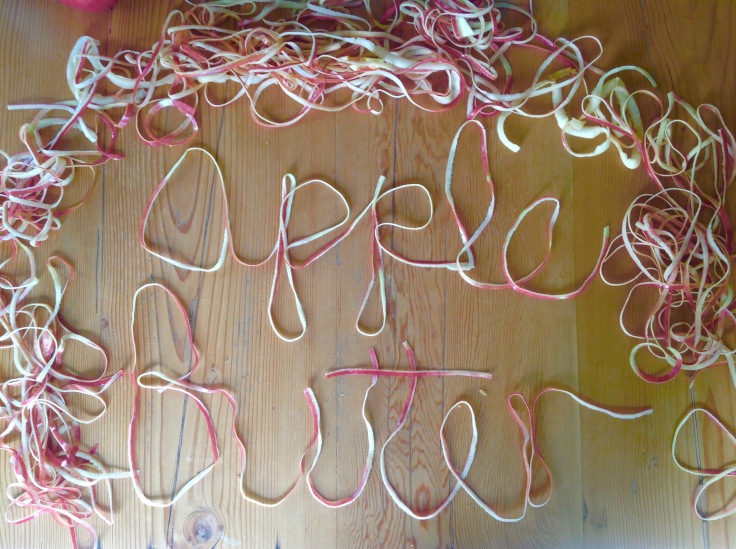
Apple butter thickly laid over a heavy slice of bread warm from the oven is a pioneer staple that deserves a revival in the orchard-rich Okanagan Valley.
Apple butter is a highly concentrated form of apple sauce produced by long, slow cooking of apples to a point where the sugar in the apples caramelize turning the apple butter a deep brown. Originating in the Middle Ages at monasteries with apple orchards, the secret to making this delicious preserve came over to colonial America with the settlers. Apple butter originated as a way to store apples without refrigeration, before canning was available. Groups would get together for an all-day affair that involved big kettles filled with apples, cider and spices that required constant stirring with big wooden paddles.
Everything you would ever need to know about the historical methods of making apple butter and a recipe to make your own with original methods can be found on the skill cultblog. It’s author encouraged me to try to the historical version but a bit leery on the food safety question, I decided sterilizing jars and finishing off with a good hard boil in a canner was a surer bet.
My recipe is a modern version using a crockpot, an apple peeler (can peel by hand) and an immersion blender (can use a blender or a whisk) and requires no all-day wooden paddle manning. Maybe I’m missing out although I’m happily married to my swain, The Handyman…
Here is where the fun came in, or the ladle was too large, in theory, at least, to be handled by one person, and it was customary for the girls and boys in pairs to take turns in stirring. The lady always had the choice of a partner to assist her when her turn came, and whichever swain she selected was regarded by the others as her favourite beau… The Conquest of Missouri, Joseph Mills Hanson, 1918
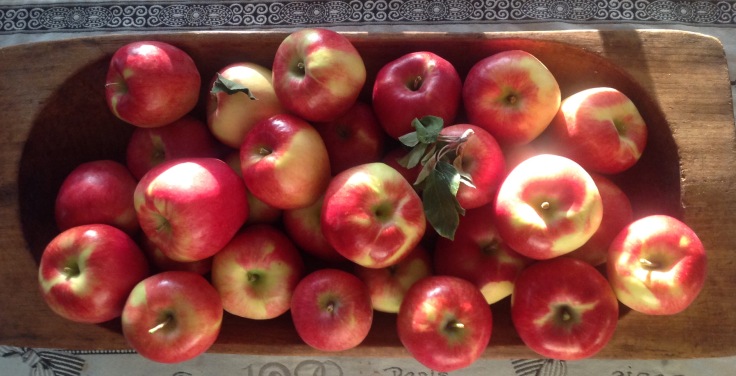
Step One: Apples
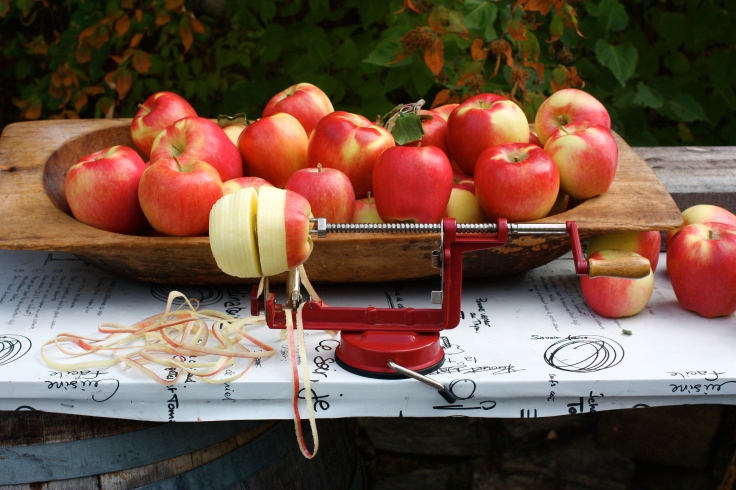
Karolina and Doug from Forest Green Man Lavender farm in Naramata kindly gifted me a beautiful box of these lovely Gala apples. Any sweet apple will do or you can mix different varieties.
Step 2 Peel
Peel, core and slice your apples. This handy gizmo does all three licketty-split.
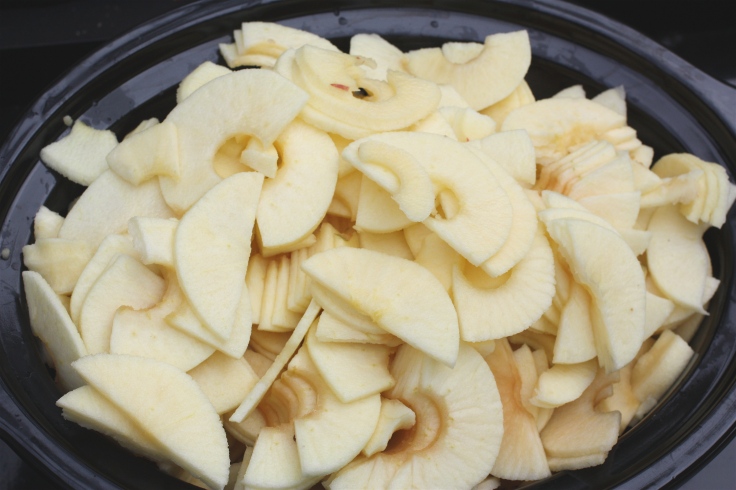
Step 3 Fill your crock-pot
Fill your crock pot to the brim. The apples will settle quite a bit as they cook and soften.
Step 4 Add sugar and spices
Add 1 to 2 cups of sugar (to taste),( I made some of it brown sugar for flavour), add 1 tsp. or 2 tsp. cinnamon (depending on the size of your crock pot), 1/4 tsp ground cloves, pinch of salt, 1/2 tsp allspice and one whole vanilla bean pod. Just sprinkle these ingredients on top of the apples. (Remove the vanilla pod before loading into jars)
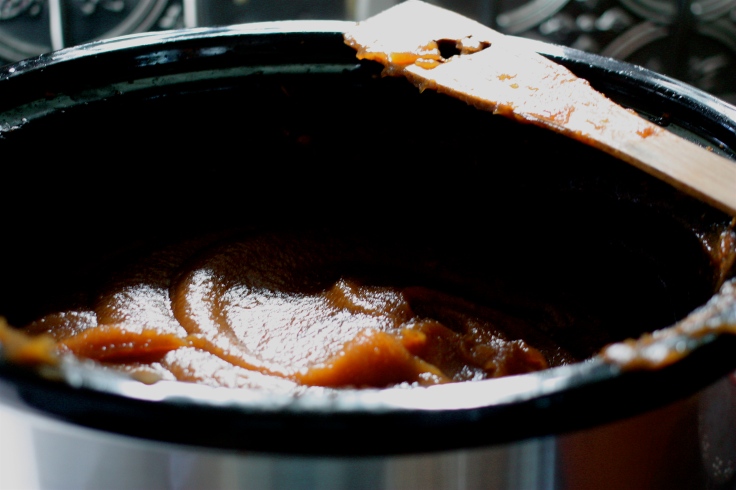
Step 5 Cook on low for about 10 hours
If you peel your apples in the evening, leave the crock pot on low overnight with the lid slightly ajar to let steam escape. In the morning, use an immersion blender or transfer your applesauce into a blender to smooth out the mixture and then replace in the crock pot. Remove the lid for the last hour or so of cooking to thicken the mixture. (It will thicken a bit further after it cools.) Let it cook to your desired consistency. It will turn a nice scrumptious carmel colour.
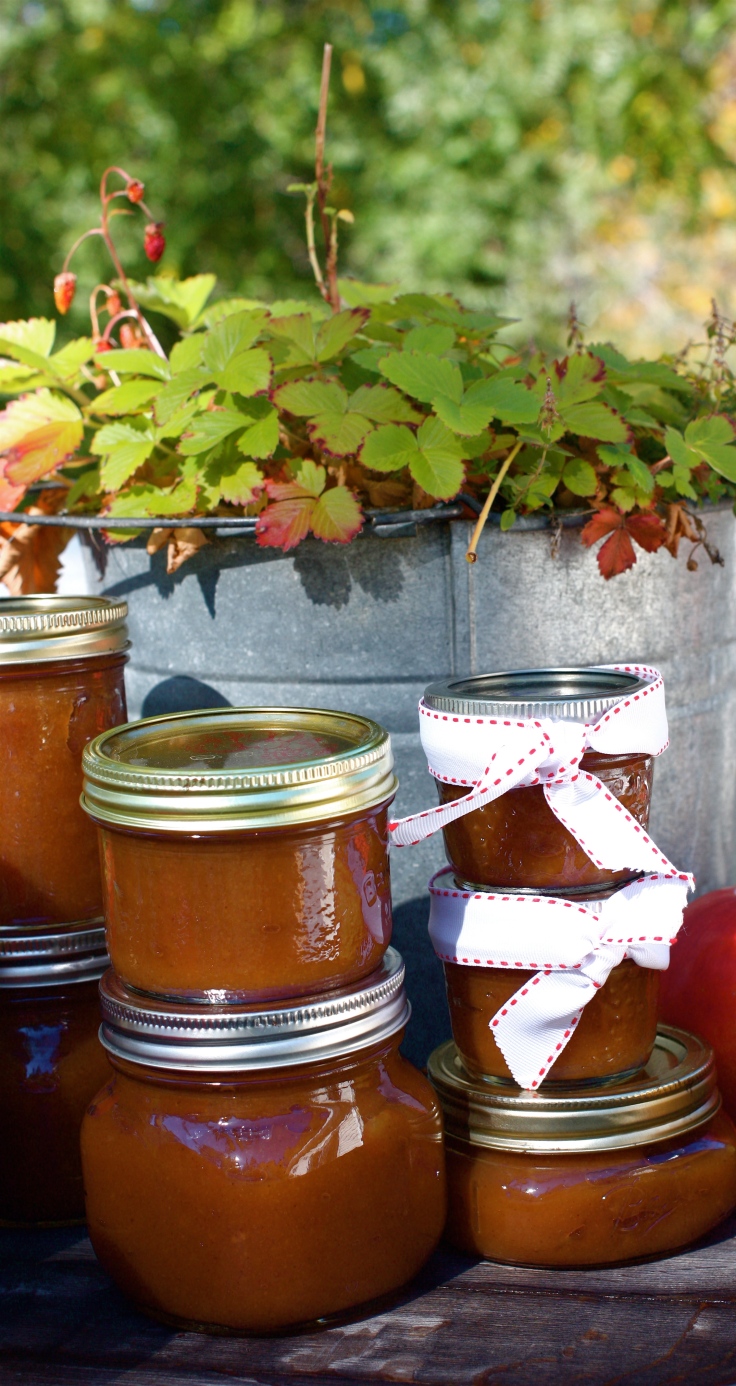
Step 6 Water bath can your apple butter. Sterilize your canning jars, fill them leaving 1/4 inch head space, wipe rims clean, place your lids on and place in a canner filled with boiling water and boil for 15 minutes.
Your house will smell amazing during the long slow apple cooking. Apple butter on raisin cinnamon bread is match made in heaven.My last step was to drop off some jars at Karolina (pictured above with her rescue pal) and Doug’s lavender farm from whence the apples came. Thanks guys! I left with 20 pounds of beautiful Anjou pears. Mmmmm so it begins. Pear tarts?
Juicy blackberries from our berry farm, red wine and chocolate give this cake a rich flavour punch.
The blackberries are the last of our berry crops and one of the most beautiful. Their size and juiciness is a marvel enjoyed by us and our bear visitors so picking as soon as they are ripe is important. This very Naramata cake recipe combines our berries with red wine and was a perfect late summer cake for my good pal Janet’s birthday.
Succulent blackberries before picking.Mis en place for the red wine cake with my new antique cupboard from Arundel, England in the background.
Lips that touch wine will never touch mine. Come on, who wrote that nonsense. I suppose they don’t like cake or chocolate either.
I sent The Handyman off to the Naramata store for a bottle of red with a good price point for it’s cake ingredient fate and he came back with a $10 bottle which I was worried was too good to be true…even for a cake. Surprisingly, Bodacious was pretty darn good in the cake and in the chef’s glass.
This recipe makes one three-layer 6-inch cakes that served our party of 10 perfectly with no left-overs.
Red wine cake
1 1/2 all purpose flour
1/2 cup plus 1 tbsp unsweetened cocoa powder (I like Droste, amazing chocolate…)
3/4 tsp baking soda
1/2 tsp baking powder
1/2 tsp salt
3/4 cup unsalted butter at room temperature (never skip the room temperature step…if you don’t have time…put the butter in a bowl in a warm water bath in your sink to soften it up)
1 1/2 cups granulated sugar
1 tsp pure vanilla extract
2 large eggs
1 large egg yolk
1 cup full-bodied red wine
Pre-heat the oven to 350F and grease and flour three 6-inch cake pans and set aside. I did it the hard way and used my one and only 6-inch pan and made the cake in three batches.
Sift together the flour, cocoa powder, baking soda, baking powder and salt and set aside.
In the bowl of a stand mixer fitted with the paddle attachment, beat the butter on medium until smooth. Add the sugar and mix on medium-high until the butter is light and fluffy, 3 to 5 minutes. Stop the mixer and scrape the bowl.
Turn the mixer to low and add the flour mixture in three batches, alternating with the red wine, while taking sips from your wine glass in between, beginning and ending with the flour mixture. Mix on medium for no more than 30 seconds.
Evenly divide the batter among the prepared pans and bake for 23 to 25 minutes or until a toothpick inserted into the centre of the cakes comes out clean. Cool on a wire rack for 10 to 15 minutes before removing the cakes from their pans.
Blackberry ganache ingredients.
Blackberry ganache
3 cups whole fresh blackberries
2 tbs granulated sugar
1 cup chopped good quality bittersweet chocolate
3/4 cup confectioners’ sugar, sifted
Place the blackberries and granulated sugar in a saucepan. Heat over medium-high until the berries start to break down and expel their juices, about 10 minutes. Remove the pan from the heat and strain the juice through a fine-mesh sieve set over a bowl. Discard the solids.
Place the chocolate in a heat-safe bowl and set aside. Reheat 6 tablespoons of the blackberry juice in the saucepan until it begins to simmer (reserve the remaining blackberry juice for finishing the cake). The simmering juice smells amazing p.s. Pour the hot juice over the chocolate. Let sit for 30 seconds, then whisk until combined. Set aside until the ganache cools to room temperature but is still spreadable.
Once the ganache has cooled, whisk to loosen it and stir in the confectioners’ sugar until smooth.
A Naramata evening walk while the cake cools. This view of the lake is on our regular walking route. Never gets old.
Some assembly required
Once the cakes have cooled completely, level them and choose which layer will at the bottom. Generously brush the layers with the remaining blackberry juice. Place the bottom layer on a cake plate or serving dish. Spread about 1/3 cup of the blackberry ganache with an offset spatula. Top with the next layer of cake and repeat with the ganache, finishing with the final layer. Frost the top and sides of the cake with remaining ganache and top with the whole blackberries.
Review
This is an excellent cake from a few standpoints. It’s relatively easy to make as the filling between the layers and the icing is one recipe. It looks great with the blackberry topping and doesn’t involve mad piping skills. Verdict on the taste was a 10 at the party it was served at…”rich, moist, earthy and chocolatey”. I will make this one again.
This recipe comes from fellow Canadian’s Tessa Huff’s amazing book, Layered. Every cake I’ve made from this book has been stellar. Her easy to follow instructions will make you a better baker. As Tessa says, “layer cakes are the ideal vehicle for both creative expression and deliciousness…And let’s fact it — everyone loves a layer cake…It’s time to toss the cake mix and canned frosting and reach the height of your cake-baking potential!” Cheers to that.
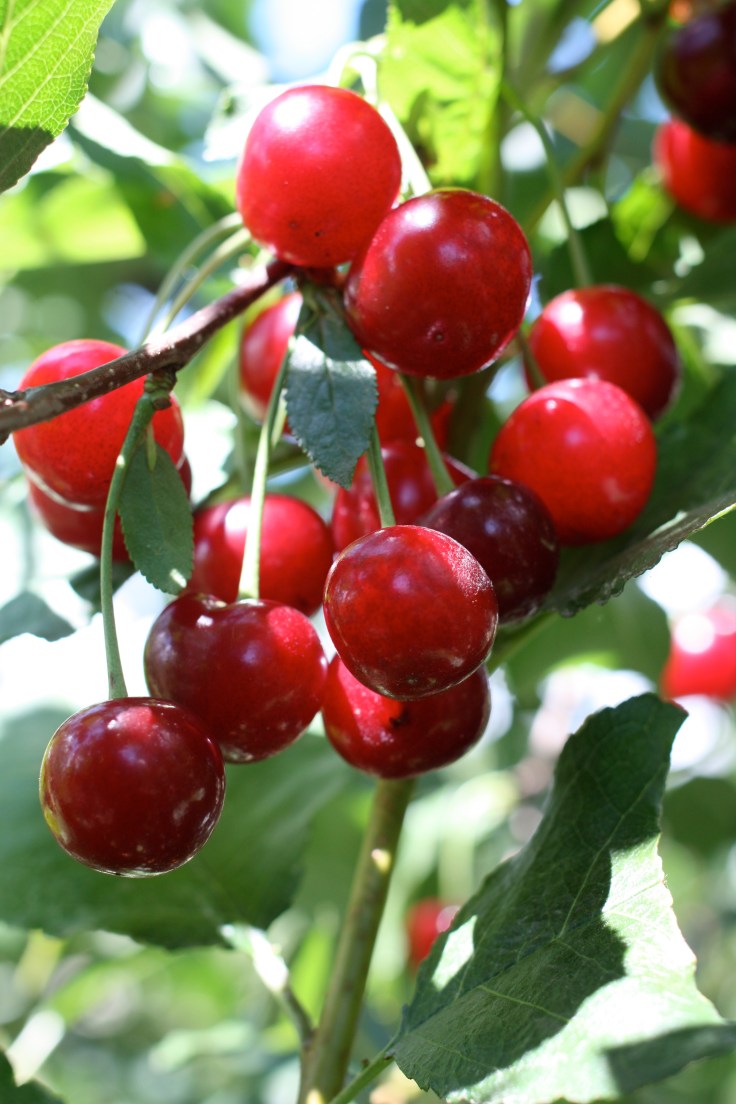
Balaton cherries ripe for the picking which I did just after I took this shot.
In a karma exchange I acquired 30 pounds of the most beautiful sour cherries known to man from Forest Green Man Lavender Farm in Naramata. I started some white lavender from cuttings for the farm in the spring and traded for these coveted puckery babies. The farm takes names every year for these Balatons, which originally hailed from Hungary, and they sell out. The catch, which really wasn’t a catch at all, was I had to pick them myself.
This was my view as I picked cherries.I’m a big fan of the raspberries and blueberries we grown but don’t you agree that cherries are the prettiest fruit going?
Then it got messy. Hot tip…wear something red.
Cherry pitting the old-fashioned way. It took about four hours to pit the 30 pounds. I did it outside and the deck looks like a CSI episode.This is about 15 pounds of cherries.
I made four pie fillings and froze them and then went on a jam-a-thon with a recipe that couldn’t be any easier. After pitting all the cherries they went into two large pots. I added the zest and juice of two fresh lemons to each pot and cooked them until wilted and soft, which takes about 20 minutes.
At this point, measure how many cups of cherries you have, including the juice and add them back into the pots with 3/4 cup of sugar per each cup of cherries. I added a dash of Kirsch to each pot as well because more cherry flavour is cherrier and one package of pectin crystals. The jam may have jammed without the pectin but I didn’t want to take any chances.
While the cherries are cooking, stick a small plate in the freezer to use to test the doneness of the jam. Remain on alert and stir often. Once the jam appears a bit thick and looks like it is beginning to gel put a small amount of the jam on the frozen plate and return to the freezer. After a few minutes, when you nudge it if it wrinkles, it’s done. If not, cook it some more and re-test…
Load your jam into sterilized jars. You can either decided to store your jam in the fridge and use it up within several months or boil it in a canner for 10 minutes, which I did as it’s pretty hard to use 24 jars in a few months. No half measures here.
I marked my jars with a Wine Glass Writer pen which is super cool. I can wash my label off and recycle my jars without dealing with the left-overs of a sticky label. Genius. Wish my hand-writing was prettier.
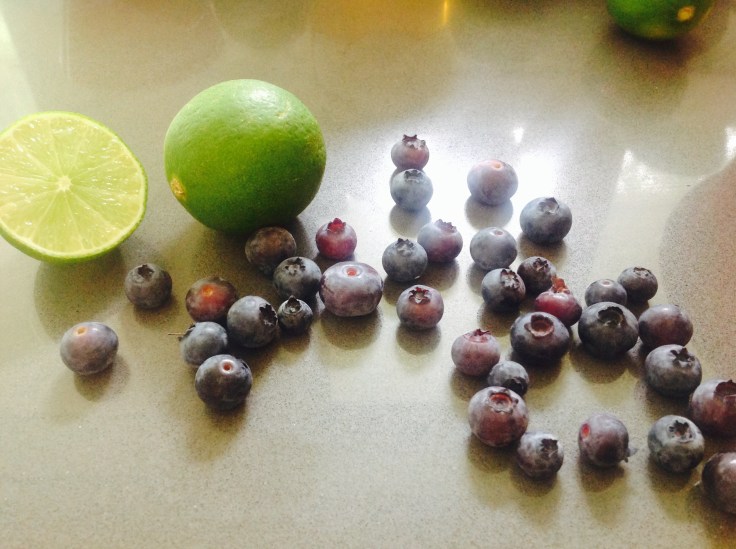
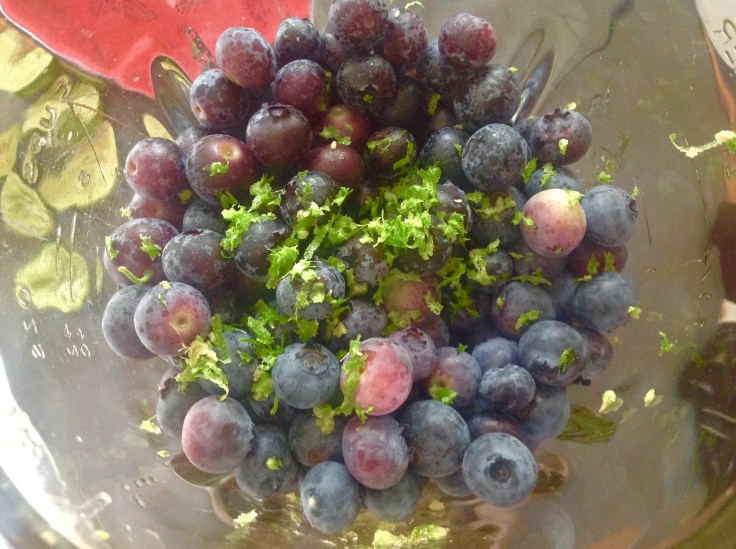
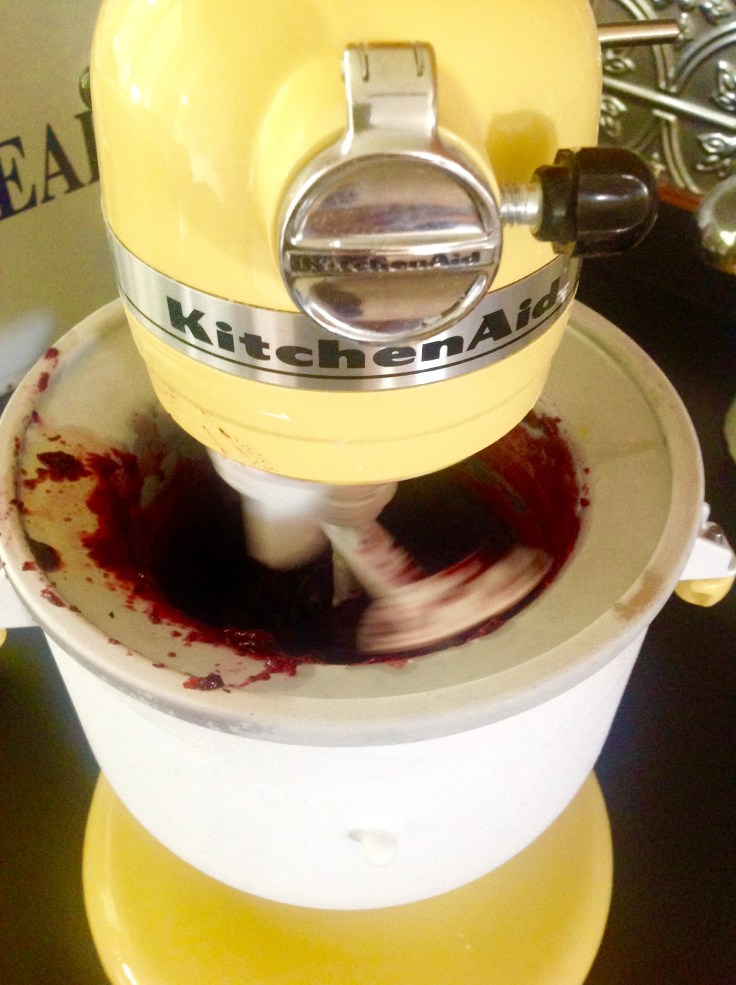
Adding fresh lime and ginger zings up the blueberries in this summer sorbet in the most amazing way. You need a bit of technology to make this one…a blender and an ice cream maker. If you don’t have an ice cream maker I highly recommend getting one. There are a million ice cream and sorbet recipes to choose from and it’s easier to make than you can imagine.
Makes 8 1/2 cup servings.
Ingredients
5 cups fresh, washed and stemmed blueberries (I picked my own from our farm but it’s blueberry season and they are everywhere at the farmer’s markets and supermarkets.)
1/4 cup honey (Penticton Farmer’s market purchase)
1/4 sugar
1/4 cup freshly squeezed lime juice (about 6 limes)
1 teaspoon lime zest
2 teaspoons fresh grated ginger
Add all ingredients to a blender and liquefy about 2 minutes until the mixture reaches a deep purple colour. Refrigerate for about 2 hours until cool. Taste and add more sugar if you desire but I like it a bit tart so didn’t add any more sugar.
I store my ice cream maker vessel in the freezer so it’s ready when I am.
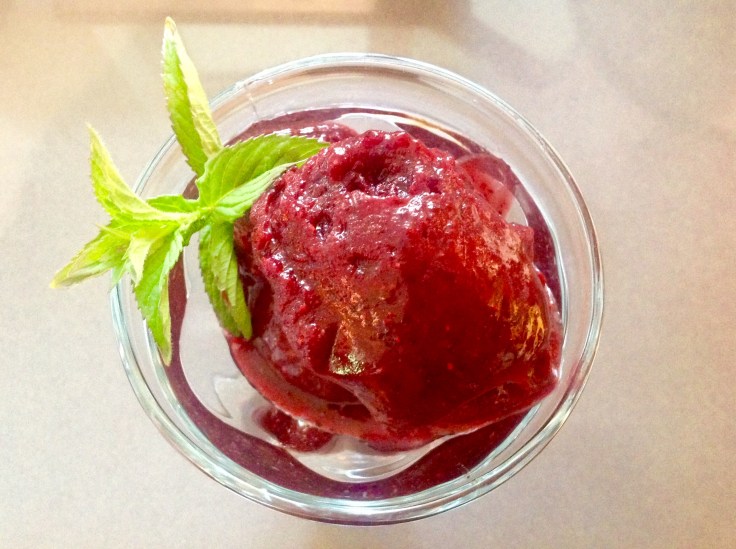
Follow the instructions of your ice cream maker. Run the ice cream maker for 20 to 25 minutes — until the sorbet thickens to soft serve consistency.
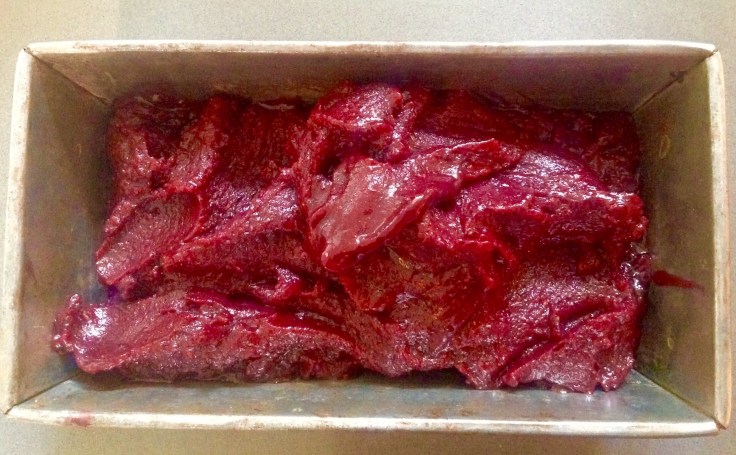
Loaf pans work great to freeze and store your sorbet in.
Transfer to a container and freeze for 4 hours or overnight. Scoop and serve.
It’s purple rain at our Naramata berry farm and throughout British Columbia as blueberries come into season. What better way to celebrate than with a blueberry tart recipe?
My first step was to pick. Your’s may be to pick up a couple of pints at a farmer’s market or the grocery store.
You can adorn the tart with icing sugar if you like but I was happy to celebrate purple and leave it as is. The blueberry heart tart is also known as Nicole’s wedding tart at our house or more recently, Gone in 60 Seconds.
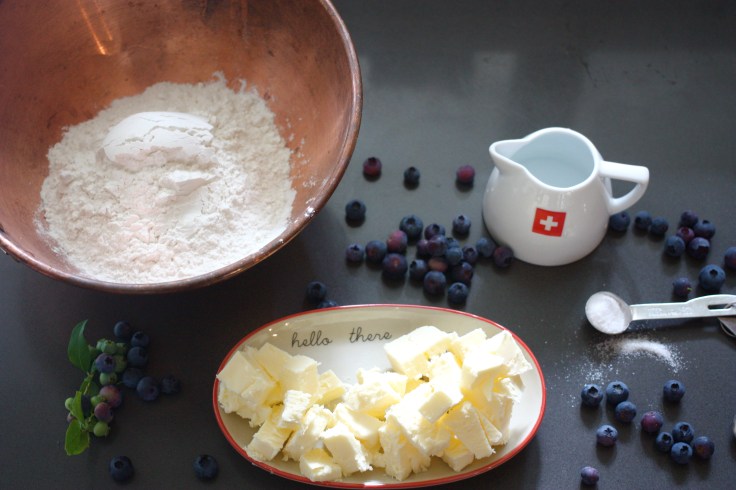
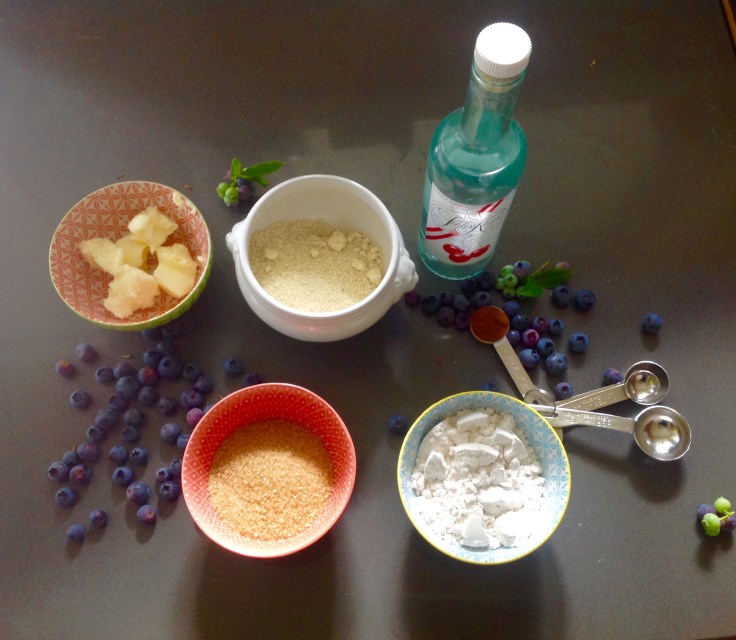
This recipe involves three steps: The pastry, a gourmet crumble and the blueberries and cream filling.
For the pastry I elected to use a Pâte Brisée, which is a wonderful flaky pie dough that works well as a dough to line tart shells. Although there are many methods to make it either by hand, with a mixer or a food processor, I find the later is the easiest.
Ingredients for pastry dough
1 teaspoon sea salt
6 tablespoons cold water
1 cup butter
3 cups minus 2 tablespoons all-purpose flour
Combine salt and flour in the bowl of a food processor and pulse a few times. Add the butter in cubes and pulse after each small batch. Add the water and mix only until the dough comes together. It is important not to over-mix. Scrape the dough onto a sheet of plastic wrap, flatten and place in the refrigerator for at least a few hours or preferably overnight.
Roll out the dough, place into your tart pan, perforate the bottom of the dough with the tines of a fork and blind bake. Preheat the oven to 325 F and top the pastry with parchment and add rice or beans all the way to the edges. Bake with this faux filling for 15 minutes, the remove the rice or beans and return the shell to the oven for another 15 minutes until golden brown and evenly coloured. Remove from oven and cool completely before filling. Just before assembly, brush the tart shell with an egg wash (1 egg beaten with a tablespoon of water) and bake for 5 minutes.
This crumble recipe is gourmet with the addition of Kirschwasser which gives it a lovely cherry flavour.
Crumble ingredients
4 tablespoons butter
1/3 cup turbinado sugar (sometimes called sugar in the raw)
1/2 cup cake flour
3/4 cup ground almonds or almond flour
1/2 teaspoon cinnamon
1 tablespoon Kirschwasser
Preheat oven to 325F and line a sheet pan with parchment paper. Cut the butter into pieces and place all the ingredients in a bowl and rub the mixture between your hands. Spread on the parchment-lined baking sheet and bake 20 to 25 minutes, stirring occasionally, until golden brown and crisp. Cool completely. Store left-overs in the freezer for future use on ice cream or muffins.
One cow contains the cream and the other the milk.
Ingredients for blueberry filling
2 1/4 cup blueberries
1/4 cup sugar
1 1/4 teaspoons fresh squeezed lemon juice
1 1/4 teaspoons water
1 teaspoon cornstarch
1/2 vanilla bean
2 plus 1 teaspoon egg yolks
1/4 cup whole milk
1/4 heavy cream
In a saucepan, combine the blueberries and 1 teaspoon of the sugar and bring to a boil. Turn the heat to low and boil for 2 minutes. Meanwhile, whisk together the lemon juice, water and cornstarch in a bowl and gradually stir into the berries and simmer 1 minute until thickened. If the juice is still watery and another 1/2 teaspoon of cornstarch in a tablespoon of the juice and stir in. Remove from heat when thickened.
Use a paring knife and split the vanilla bean in half lengthwise and scrape the seeds into a medium bowl. Add the egg yolk and remaining sugar and whisk together. Add the milk and cream and stir until the sugar is dissolved. Stir in the blueberries and take a moment to celebrate the colour.
Some assembly required
Preheat oven to 325 F.
Sprinkle about 6 tablespoons of the crumble in an even layer over the bottom of the pre-baked tart shell. Spread the blueberry filling on top. Place on a sheet pan and bake 30 to 40 minutes until just set. If you shake the pan gently, the middle will jiggle a bit under the surface until it cools, when it will firm up. Remove from the oven and place on a wire rack to cool. Sift on some icing sugar if you like. We served our’s with whipped cream.
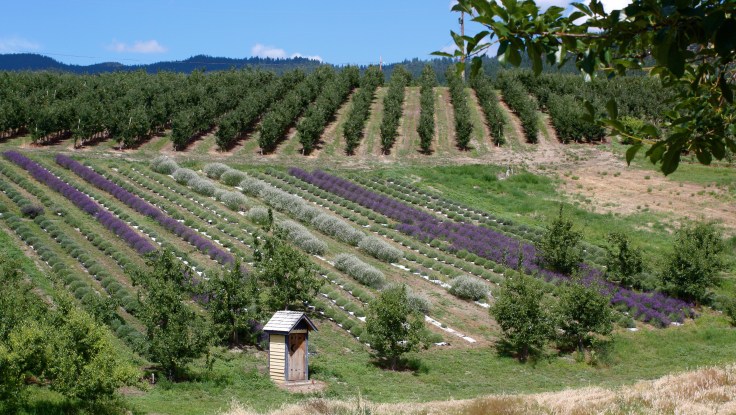
“Forgiveness is the smell that lavender gives out when you tread on it.” Mark Twain. It’s also the smell that my badly abused running shoes now surprisingly give off when I tread with them on after three days of harvesting lavender at Forest Greenman Lavender Farm in Naramata.
Despite a setting of almost unreal bucolic beauty taken even father into a dream state by its heady scent and the background buzz of a million bees, lavender harvesting, like other farm-work, is hard-work. Bend, employ your hand and wrist to gather stocks, saw them off with your mini scythe with its serrated edge, repeat several more times, gather together into one big bunch, wrestle an elastic band twice around the bunch and repeat, repeat, repeat, repeat…on the hottest days of the summer so far this year.
Note bent-over position
2. You learn a ton about your fellow harvesters and harvesting with interesting, smart people with great stories is an antidote to 34 degree heat. Topics of conversation, in no particular order, included: Naramata gossip, farming, football, antique shopping in France, tai chi, swimming, children, pesticide practices, recipes, American politics, British politics, writing, travel, sciatica, tendonitis, knee replacements, house renovation, recipes, cherries, bee hives, ski instructing, mountain guiding, tragic accidents, cycling, triathlon, the English Channel, ancestry, dogs, raspberry farming, wine, helicopters, fire fighting, the olympics, compost, lavender and a story about the lavender farm’s co-owner’s middle-of-the-night chase after an escaped chicken disturbed by a fox that ended with an descriptive image of Doug with a chicken under one arm and a 22 over his other shoulder returning home buck naked.
3. Bees are big fans of lavender, especially when most other Okanagan Valley crops are no longer in bloom and numerous apiarists have cleverly placed hives near the lavender farm. As we worked, bees would move from the plant being harvested to the next, in their quest to make lavender honey. The Handyman, who also came to harvest, was worried. “What’s going to happen when we reach the very last plant? There are going to be a great many very pissed off bees on it.” Fortunately, we left before that eventuality.
The background buzz in the field was incredible.
4. I am a miser. The harder I work for a buck the less I am willing to spend it. This goes for the income from our raspberry farming as well. Money earned from writing is much easier to spend on a lunch out or a drink at the lovely distillery at the end of our road.
Six a.m. was the loveliest time of the day at the farm before the big heat made us swoon.
5. This sounds completely romance novel mawkishly sentimental, but experiences like harvesting lavender at Doug and Karolina’s farm with The Handyman, our friend Bill and new friends made in the field, makes me love Naramata all the more. A last snippet of conversation to dispel the barfiness…”Doug, I think the best place to fart is in a lavender field. No one would notice.” Doug’s measured response, “I completely disagree. I think the contrast is too great. A much better place to pass wind would be in a sewage treatment plant where it would go unremarked, in my opinion.”
Not considered the most beautiful plant for most of the year…for one brief month this ugly duckling is a swan.
Christmas excited, our first Carpe Diem berry farm raspberries are ready for picking. Not even exaggerating here…I get into things. Pyjama-clad I head into the patch with my coffee, weigh scale and pint baskets and am in an early morning heaven. It’s just me and the birds… Any marred berries I eat. (Stream of consciousness: “When the harvest really gets going will I be like the I Love Lucy chocolate assembly line scene and come in dripping in horror-movie red juice? Ah, maybe I’ll make jam…”)
Pints destined for The Bench Market.
Day two. Same excitement. Pyjamas, coffee, scale, baskets and RAIN. Now I know I’m a farmer. Rows of perfectly ripe berries and it’s pouring. Sure, you can pick in the rain but it doesn’t do the berries any favours. Their already short shelf life is shortened more by moisture.
Dripping in rain.
While waiting for a dry spell to get back outside, I browse through MyNaramata, our communities top-notch, on-line, hyper-local source of news and read about the cherry growers and their real issues with rain while listening to the sound of an Apocalypse Now number of helicopters outside my window.
“In the last three weeks before cherry harvest, it is important to keep the cherries as dry as possible to prevent splitting,” the article says. “Rain collects in the well on the top of the cherry, is absorbed into the cherry causing it to swell and skin to split. Enter the helicopters which hover to blow the water off.”
As The Handyman and I share a similar quirky sense of humour he is immediately game for a photo session with our raspberries and his remote-controlled helicopter. I send the photos to MyNaramata as a Photo Friday submission.
Blowing the rain off the raspberries.
Snickering and general joviality all round.
MyNaramata publishes my photo. The editor has a laugh.
Early Saturday morning the phone rings.
“Hi, my name is Mark and I have a question about the helicopter you used to dry your raspberries.”
“Sure, I’ll pass you on to the pilot…”
“The pilot is there? Great, that’s fantastic.”
(“Hey Maverick, the phone is for you. There is a guy who has a question about your helicopter…”)
“Hi, I want to know what helicopter you have there. I was looking at a double rotor one like that in New Zealand but it’s priced at over $200,000. What is the make of yours? Where did you get it? How much was it?”
“Mmmmm,” says Maverick politely but grinning madly. “Not sure if you’ve looked at that photo closely but it is a remote-controlled helicopter we were using there as kind of a joke.”
“(Big pause)…(laughter)….Oh my God (laughter), you’re right. Wow, you got me. (Laughter).”
In the meantime, I’m overhearing the discussion and am doubled over in hysterics…eyes streaming, the biggest uncontrolled yet stifled laughter of the year. I’m trying not to be audible as I don’t know if the guy is dying of embarrassment or not. Turns out it he is a good sport and enjoyed the joke himself. The photo was really small and he was fixated on the rotors without clueing in to the scale problems.
He owns a two-seater helicopter himself and has an interesting story I want to blog about… if he’ll let me…


 My recipe is a modern version using a crockpot, an apple peeler (can peel by hand) and an immersion blender (can use a blender or a whisk) and requires no all-day wooden paddle manning. Maybe I’m missing out although I’m happily married to my swain, The Handyman…


 Snickering and general joviality all round.