Search

naramata-blend

Life in a slow place that quickly steals your heart.

Category

Naramata life

Bottling Summer — Legend Raspberry Jam Recipe


IMG_9891.jpg

Take just picked raspberries from our Naramata berry farm and a craft-distilled slowly infused Farm Berry Vodka from our neighbour Legend Distilling and bottle it. Think toast on a cold January morning in front of a fire slathered with the colours and aromas of a hot summer day – elegant and not oversweet.

This easy jam recipe can be adapted for ingredients you have easy access to if you don’t happen to own a berry farm or live near a distillery. There is no substitute for the Wine Glass Writer pens I used to mark the jars with, however. They are invaluable for canning, as I like to re-use jars and scrubbing sticky labels off is an unnecessary and annoying step.  The writers are fun to use and lets you be creative, jazzing up and customizing your jars.


Adding a soupçon of a summer wine like rosé or a fruit-infused spirit like Legend’s Slowpoke Farm Berry Vodka plays well with the beautifully ripe fruit. Legend’s limited release handmade vodka – slowly infused with the best local fruits, is the distillery’s tribute to those who value the slow and steady – acknowledging that all great things come to those who wait.

The berries in Legend’s Slowpoke come from our farm, which is a cool fact I brag about a lot. I think this makes the jam especially nice. Our berries are hand picked in the mornings and delivered to the distillery that same afternoon. Distiller Doug Lennie does his magic and now I’m adding this infusion into more fresh picked berries with some sugar and a dash of lemon juice. It’s like raspberry essence distilled, given a kick and married with yet more raspberries.


I like using a touch of alcohol in sweet preserves to give them a certain je ne sais quoi. It elevates a nice jam to an extraordinary one. A half cup for the jam, a small glass for me…


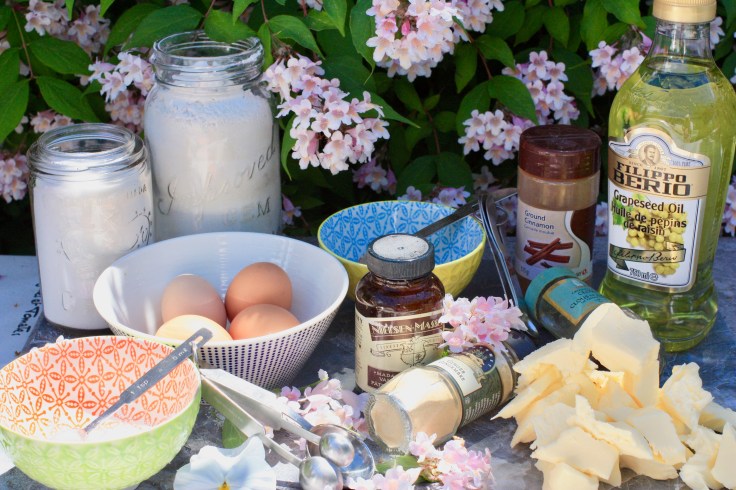
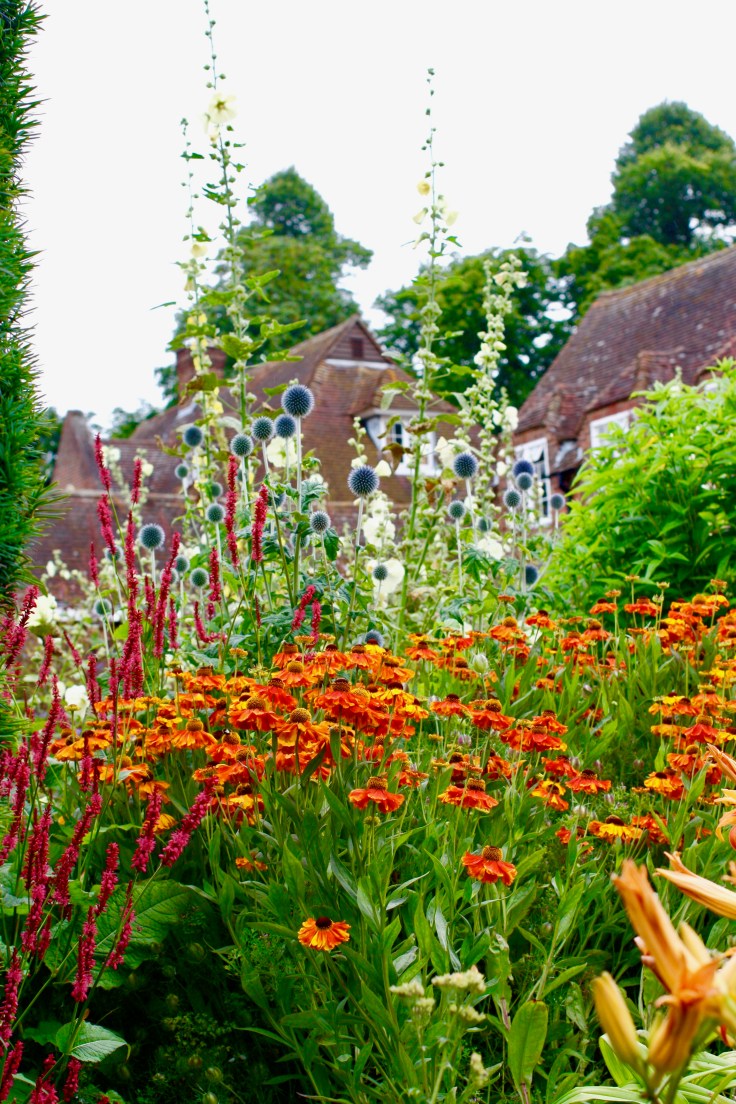
Like all cooking and baking, the end results are always, always about using the best quality ingredients you can source. Pick your own raspberries, buy them from a local farmer at the market, buy organic ones from the supermarket or as a last resort, use top quality frozen berries. Choose a hand-crafted spirit or a nice bottle of rosé.

Legend Raspberry Jam Recipe

Makes about 12 small jars (125 ml) of jam or six to eight larger jars.

Ingredients

  • 16 cups raspberries
  • 4 cups sugar
  • Juice from ½ lemon
  • ½  cup Legend Slowpoke Farm Berry Vodka (or another berry-infused spirit, Kirsch or a nice dry rosé)

Directions

1. In a large mixing bowl, combine all ingredients. Using your hands, crush the raspberries until completely broken down.

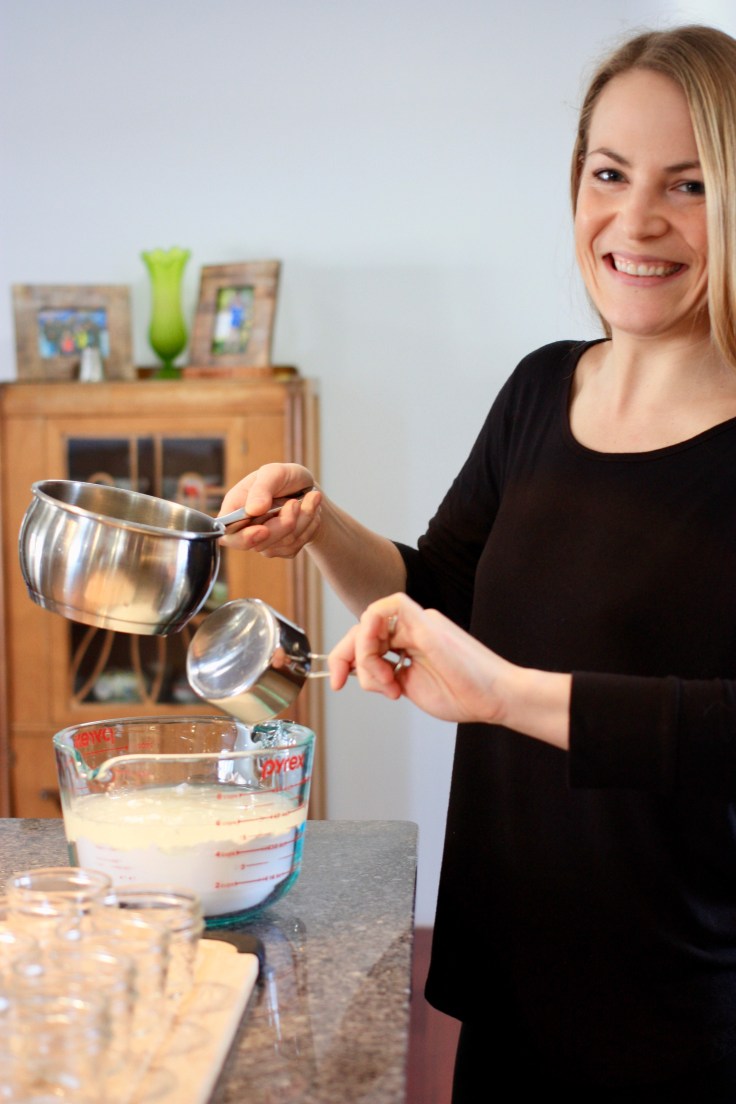
2. Transfer the raspberry mixture to a large saucepan and bring it to a boil over high heat, stirring often with a wooden spoon. Reduce the heat to medium-high and continue to stir until the jam has thickened, about 12 minutes. During this 12 minutes, I like to ladle about the half the jam mixture through a sieve placed over the boiling jam to remove some of the raspberry seeds.

3. Transfer the jam to a sterile airtight container and let it cool to room temperature. Store in the refrigerator and use within a month.

4. If you wish to store the jam for up to a year as I do, follow these canning instructions.

Tip

To check if the jam has set, place a teaspoon of jam onto a chilled plate and place in the freezer for a few minutes. Using your finger, push through the jam. If it wrinkles, it has set; if not, cook the jam for an additional minute or two.

Canning directions

  1. Fill a canner or stockpot half full with water. Place lid on canner. Heat to a simmer. Keep canning rack to the side until ready to use.
  2. Wash jars, lids and bands in hot, soapy water. Rinse well.
  3. Keep jars warm until ready to use, in order to minimize risk of breakage when filling with hot jam or jelly. Set the jars on a cookie sheet in a 250F degree oven.
  4. Boil some water in a kettle and pour over the lids placed in a heat-proof bowl. Set the bands aside in your work area. Use a canning magnet to easily remove the lids from the hot water with out touching them.

Fill your jars

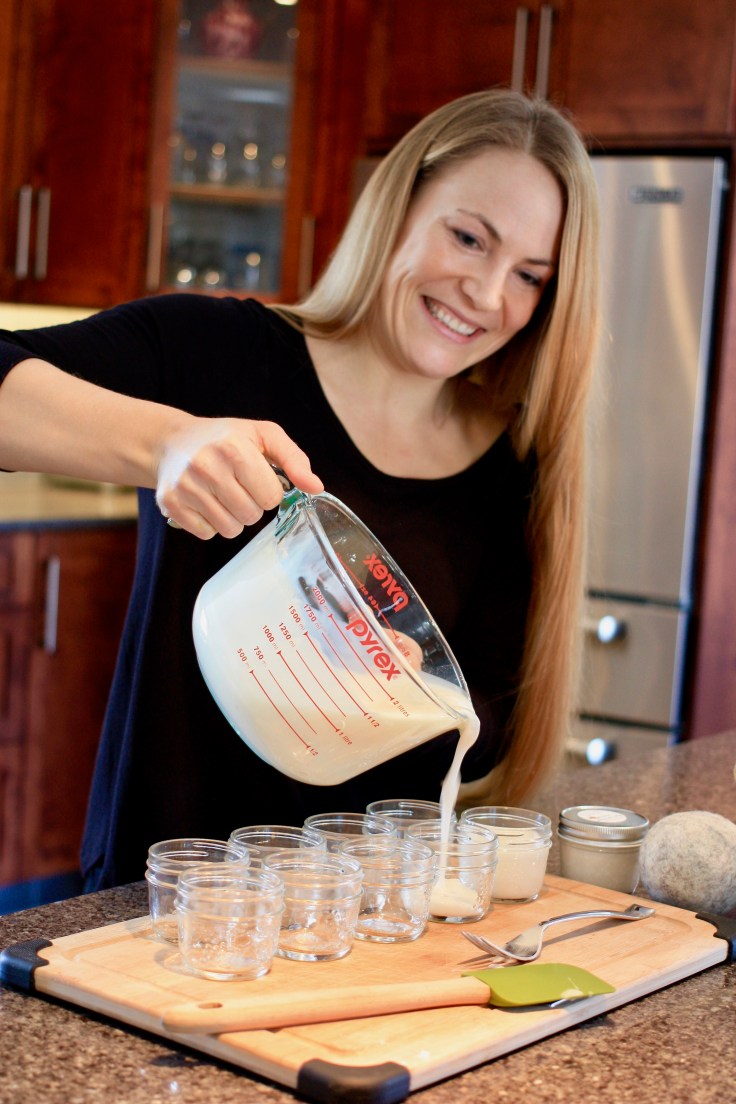
  1. Ladle hot jam into hot jars, one at a time, leaving 1/4 inch headspace. Wipe any jam or jelly from the rims of the jars. Center lids on jars. Twist on the bands until fingertip tight.
  2. Place six filled jars in the canning rack inside the canner, ensuring jars are covered by 1-2 inches of water. Place lid on canner. Bring water to gentle, steady boil. Repeat until all your jars have been boiled.
  3. Process jars in boiling water for 10 minutes. Remove jars and cool. Check lids for seal after 12 to 24 hours by pressing on centre of cooled lid. If the jar is sealed it will not flex up or down. Store any un-sealed jars in the fridge and use within a month.


Cardboard, duct tape and hope – Naramata cardboard boat race

IMG_0236.jpg
Never surrender
IMG_0114.jpg
Uber Canadian…celebrating 150 at Manitou Beach flying the cardboard flag proudly.
IMG_0306.jpg
Some solid engineering here and great paddling by the beaver
IMG_0061.jpg
The S.S. Sink  a Moose…this year’s winner
IMG_0072.jpg
Stanley Cup hats?
IMG_0163.jpg
Amigos before they sunk
IMG_0075.jpg
Shark heads proved to be a bad idea

IMG_0198.jpg

IMG_0214.jpg
Bermuda Triangle
IMG_0087.jpg
Prow detail
IMG_0115.jpg
This team launched before the bell and quickly sank re “Cheaters Never Prosper” right?
IMG_0194.jpg
Bail, bail, bail
IMG_0246.jpg
Better engineering next year Dad

IMG_0253.JPG

IMG_0230.jpg
Que Syrah indeed
IMG_0270.jpg
Pirate Power — The Zac Pearl stayed upside right

Naramata Peach Spice Cake

IMG_8031.jpg

It has to be tasted to be believed. This rustic-looking cake belies its simple appearance. It is a toothsome combination of ingredients such as cocoa, cinnamon, fresh-ground nutmeg made light and moist with fresh eggs, butter, grapeseed oil and buttermilk. The smell from the oven is as enticing as it gets. Take it up a notch by soaking the cakes in a glaze made with peach jam and spices. Blow it into orbit with a fluffy caramel cream cheese frosting and give it some delicious crunch with rosemary toasted pine nuts and fresh summer flavours with dynamite organic peaches from Naramata’s T NT Farm and you have something worth the afternoon it will take you to bake it and a run-on sentence worth running on about.

This amazing creation, which I Naramatified, is from British Columbian Tessa Huff and her spectacular Layered cookbook. In a Julie and Julia type scenario I’ve been baking my way through her cake cookbook, adding a few custom touches here and there and sourcing my ingredients locally. This recipe gets a 12 out 10. Enough hyperbole…let’s get cracking. There are six separate recipes to tackle…none of them hard: Spice cake, peach glaze, rosemary pine nuts, salted caramel sauce and Swiss meringue buttercream. You will need a two 8-inch cake pans for this beauty that serves 12 to 15 peeps.


IMG_7954.jpg

Spice Cake ingredients

  • 2 3/4 cups cake flour
  • 1 tablespoon unsweetened cocoa powder
  • 1 tablespoon ground cinnamon
  • 2 teaspoons baking powder
  • 1 teaspoon ground ginger
  • 1 teaspoon baking soda
  • 1/2 teaspoon salt
  • 1/2 teaspoon freshly ground nutmeg
  • 1/4 teaspoon ground cloves
  • 3/4 cup unsalted butter, room temperature
  • 1/4 cut grapeseed oil
  • 2 cups granulated sugar
  • 1 teaspoon pure vanilla
  • 4 large eggs (I walk out to my yard, and get them from my chickens Maria and The Baroness…bragging a little)
  • 1 1/4 cups buttermilk (from the store…I don’t have a cow yet)

Directions

Preheat the oven to 350F, grease and flour two 8-inch cake pans and line with parchment rounds.

Sift together the flour, cocoa powder, cinnamon, baking powder, ginger, baking soda, salt, nutmeg and cloves and set aside.

In the bowl of a stand mixer fitted with the paddle, beat the butter on medium. Add the oil and sugar. Turn the mixer to medium high and mix for 3 minutes. Turn mixer to low, add the vanilla and eggs, one at a time. Scrape down the bowl.

Turn mixer to low and add the flour mixture alternating with the buttermilk in three batches. Only mix for 30 seconds or until just combined.

Divide the batter between the prepared pans and bake for 25 to 28 minutes, or until a toothpick inserted into the centre of the cakes comes out clean. While the cakes are baking work on the peach glaze as you will need to spread it over the cakes as soon as they come out of the oven.

IMG_7963.jpg

Peach glaze ingredients

  • 1 cup peach jam
  • 1/2 teaspoon cinnamon
  • 1/2 teaspoon ground ginger
  • 1/8 teaspoon freshly grated ginger

Directions

Combine the jam, cinnamon, ginger and nutmeg in a saucepan. Heat over medium until the jam melts…five minutes or so. Strain the mixture through a fine sieve set over a bowl to remove any solids. Evenly pour the warm peach glaze over the top of the two cakes just after they come out of the oven. Let them cool completely on a wire rack before removing the cakes from their pans. Do not turn the cakes upside down to remove as the tops will be sticky. Rather pry them up with the parchment or a lifter.

IMG_7987.jpg
Cakes just out of the oven with their glaze.

IMG_7969.jpg

Rosemary pine nuts ingredients

  • 1/2 cup pine nuts
  • 1 tablespoon Okanagan honey
  • 1 teaspoon rosemary (you can use dried)
  • 1/4 teaspoon salt

Directions

Heat a heavy-bottomed skillet over medium-high heat. Reduce the heat to medium and dry-roast the nuts for about three minutes. Add the honey, rosemary and salt and stir until nuts are evenly coated. Cook, stirring for another 3 minutes. Remove from the heat and spread on piece of parchment paper to cool and dry … about 10 minutes.

IMG_7982.jpg

Salted caramel sauce ingredients

  • 3/4 cup granulated sugar
  • 2 tablespoons light corn syrup
  • 1/2 cup of heavy cream at room temperature
  • 2 tablespoons unsalted butter, diced
  • 3/4 teaspoon sea salt
  • 1 teaspoon vanilla extract (or vanilla bean paste which I use exclusively as it’s better…Nielsen-Massey is great.)

Directions

Place the sugar, corn syrup and 2 tablespoons of water in a heavy-bottomed small saucepan. Stir. Heat over high heat, stirring occasionally swirling the pan, until in turns a medium golden amber colour…8 to 10 minutes. The sugar mixture will begin to rapidly boil before slowing down and darkening in colour. Remove from the heat and whisk in the cream. Be careful as it will foam up and sputter. Add the butter and stir until melted. Add the salt and vanilla and stir. Pour into heat-safe container and let if cool or refrigerate. It will thicken as it cools.

IMG_7990.jpg

Vanilla swiss meringue buttercream

  • 1/2 cup plus egg whites
  • 1  cup granulated sugar
  • 1 1/2 cups unsalted butter (very important that it be at room temperature or it won’t combine properly) cubed
  • 1 1/2 teaspoons pure vanilla extract or vanilla bean paste

Directions
Place the egg whites and sugar in the bowl of a stand-mixer. Whisk them together by hand to combine. Make a double boiler by filling a medium pot filled with water over medium-high heat. Place the mixer bowl on top of the pot. The bottom of the pot should not touch the water.

Whisk intermittently and heat the egg mixture to 160F (candy thermometer) or until it is hot to the touch. Carefully fit the mixer bowl onto the stand mixer and whip with the wire attachment on high speed for 8 to 10 minutes, until it holds medium-stiff peaks. The bowl should be back to room temperature at this point. Stop the mixer and swap out the whisk attachment for the paddle.

With the mixer on low, add the cubed butter, a few tablespoons at a time then the vanilla. Once incorporated, turn up the mixer speed to medium-high and beat until the buttercream is silky smooth, 3 to 5 minutes.

IMG_8003.jpg

Caramel Cream Cheese Frosting ingredients

  • 4 ounces cream cheese, softened
  • 2 cups vanilla swiss meringue buttercream
  • 1/4 cup salted caramel sauce

Directions

In the bowl of stand mixer with the paddle, beat the cream cheese on medium until smooth, add the buttercream and caramel sauce and mix until combined.

Some assembly required

Level the layers. Place a layer on a cake plate and spread half of the frosting over it. Top with the next layer of cake and frost the top with the remaining frosting. Arrange peach slices from one or two peaches on top (I resorted to frozen peaches from T NT as it will be August before nice new fresh ones are ready) and garnish with a generous handful of the rosemary pine nuts.

IMG_8015.jpg

IMG_8042.jpg

Amaretti Amaretto limone tarts

IMG_5964.jpg
IMG_5970.jpg
Not to be all fancy pants Italian, these lovely tart lemon tarts have almonds three ways in the buttery tart shells…crushed Amaretti biscuits, Amaretto liqueur and ground almonds (almond flour). The lemon curd uses fresh eggs and freshly squeezed lemon juice. Topping them off is a small cloud of Amaretto meringue topping.
IMG_5863.jpg
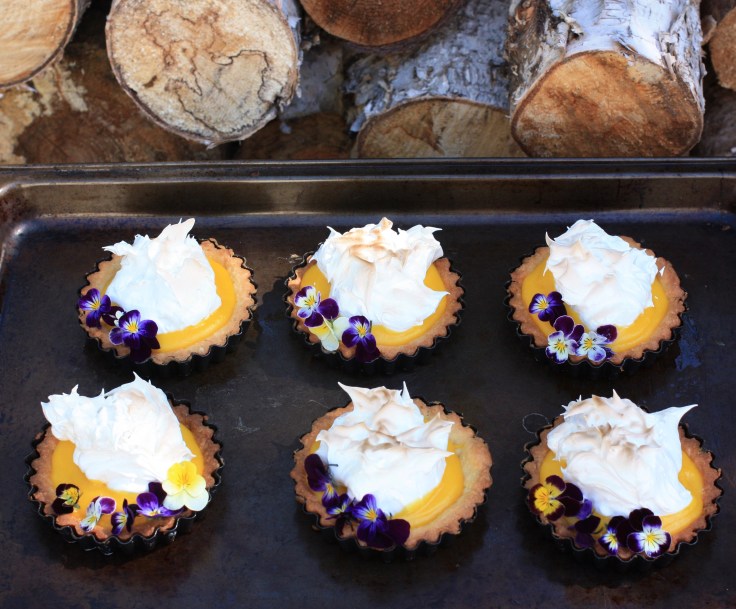
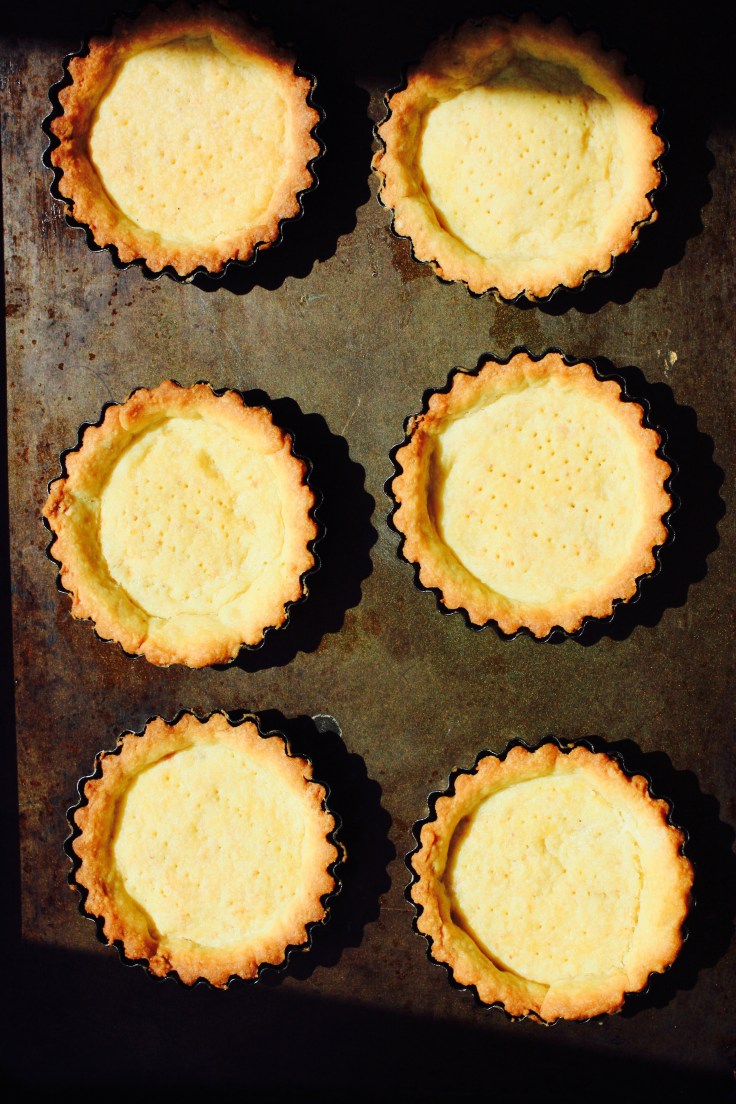
Tart shell ingredients
Makes eight 4-inch tart shells or six 6-inch shells
  • 1 cup all-purpose flour
  • 1/3 cup finely ground blanched almonds
  • 2 tablespoons finely ground amaretti cookies (I bought mine at La Cucina in Penticton.) Look for them in an Italian store. (Place a handful of amaretti in between sheets of parchment and crush them with a rolling pin)
  • 14 tablespoons unsalted butter, cut into 1-inch cubes, softened but still cold
  • 1/3 cup plus 1 tablespoon confectioners’ sugar
  • 1 large egg yolk
  • 1 tablespoon heavy cream
  • 1 tablespoon Amaretto liqueur

Directions

  1. In a small bowl, whisk together flour, almonds, and ground cookies; set aside.

  2. Place butter in the bowl of an electric mixer. Sprinkle over confectioners’ sugar and toss, using your hands, until butter is fully coated. Attach bowl to mixer fitted with paddle attachment and beat on medium speed until butter and sugar are well combined.

  3. Scrape down sides of bowl, add egg yolk, and continue beating until combined. Reduce speed to medium-low and slowly add the flour mixture; beat until well combined. Scrape down sides of bowl and add heavy cream and Amaretto; beat until well combined. Form dough into a large ball using your hands. Wrap with plastic wrap and refrigerate 3 hours or overnight if you make the day before.

  4. Lightly flour a work surface. Turn dough out onto floured work surface and cut into 6 or 8 pieces, depending on the size of tart shell you select. Gently knead each piece of dough into a smooth disc, using a spatula to turn dough, as it will be sticky. Add more flour to work surface if necessary. Cover each piece with plastic wrap and refrigerate dough until chilled, about 10 minutes.

  5. Using a rolling pin, roll each piece of dough into a 6-inch or 8-inch round, about 1/8-inch thick. Transfer each round to a 4-inch or 6-inch tart pan with a removable bottom and gently press into tart pan. Roll a rolling pin over each tart shell, pressing lightly to trim any excess dough; discard.

    IMG_5952.jpg

  6. Place tart pans on a baking sheet and prick the bottom of each tart pan with a fork; transfer baking sheet to refrigerator and chill 30 minutes.

  7. Meanwhile, preheat oven to 375 degrees. Transfer baking sheet to oven and bake tart shells until golden brown, about 15 minutes, rotating baking sheet halfway through baking. Remove from oven and let cool completely.

    IMG_5962.jpg

 Lemon curd ingredientsIMG_5889.jpg
  • 3/4 cup fresh lemon juice (from 3 to 6 lemons depending on their size)
  • Grated zest of two of the lemons
  • 2 large eggs
  • 7 large egg yolks (reserve whites for meringue topping) ((Come on Maria…please lay one more egg as I only have 6…Yippeeee…good chicken)
  • 3/4 cup sugar
  • 4 tablespoons unsalted butter, softened

IMG_5943.jpg

Directions

In a small bowl, combine the lemon juice and zest and let sit for 10 minutes.

In a medium nonreactive bowl, whisk the eggs, egg yolks and sugar until combined. Add the lemon juice/zest and whisk until combined.

Set the bowl over a pan of simmering water. Cook stirring constantly until the mixture has thickened…about 6 minutes.

Remove the bowl from the pan and whisk in the butter. Strain the mixture through a sieve into a bowl.

Press plastic wrap onto the surface of the lemon curd to stop a nasty skin from forming. Set aside at room temp. until you have made the meringue and are ready to assemble the tarts.

IMG_5934.jpg
Lots of egg photos…eggs as art when you have your own chickens.

Amaretto meringue ingredients

  • The 7 large egg whites you have reserved
  • 1 3/4 cup of sugar
  • 1/2 teaspoon cream of tartar
  • 1 tablespoon plus 1 teaspoon of Amaretto liqueur

Directions

Whisk egg whites and sugar together in a nonreactive mixing bowl and set over a saucepan of simmering water. Cook, whisking constantly until the sugar is dissolved and mixture reaches 140 degrees…about 6 to 8 minutes.

Remove the bowl from the pan, with an electric mixer with the whisk attachment, beat the mixture on high until stiff peaks form adding the cream of tartar after about 3 minutes. Mix a further 3 minutes and then add the Amaretto and mix just to incorporate.

Some assembly required

Add the warm lemon curd to the pre-baked tart shells. Drop a dollop of meringue on top of the lemon curd and place under a preheated broiler until the meringue is lightly browned.

These tarts should be eaten within 24 hours (no problemo).

(You will have left over meringue…unavoidable to have enough yolks to make the curd…you can make meringue cookies with the leftovers. You may also have leftover lemon curd. Refrigerate and enjoy like pudding.)

IMG_5981.jpg

The Kingdom of Naramata’s Crown Maker

IMG_4902.jpg
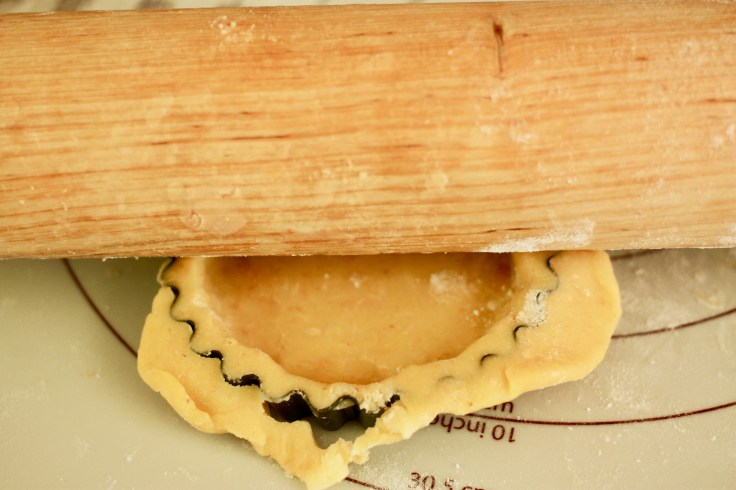
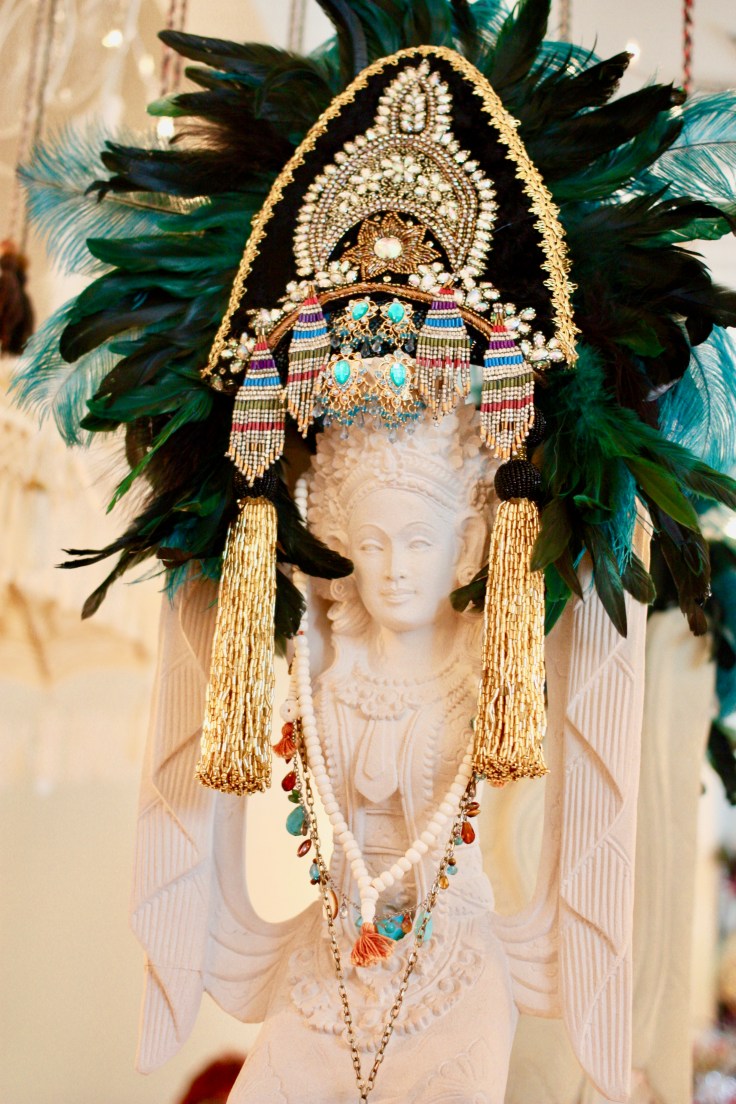
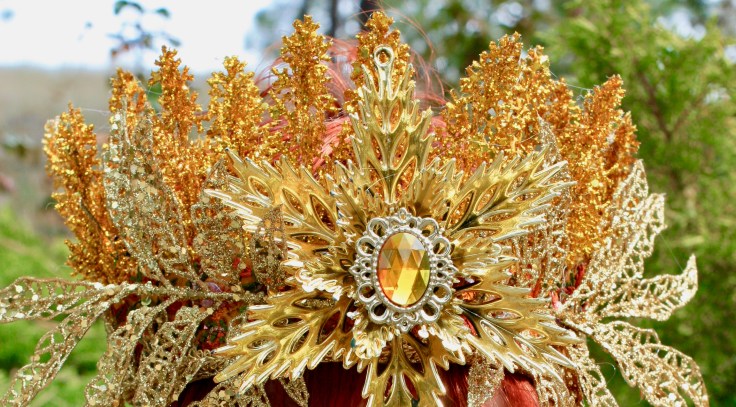
Rather prosaically, a Crown Maker is called a jeweller but I think this intricate art form needs a more suitable moniker. How about latin? Factorem Coronam comes closer to capturing the magic of this sorcery. Naramata’s Queen of Crowns is Darlene Jones and here are some of her diadems to die for.

IMG_4927.jpg
No shrinking violets allowed.
IMG_4960.jpg
Fairy tale right?

IMG_4948.jpgIMG_4954.jpg

IMG_4890.jpg
Ice Queen
IMG_4942 2.jpg
How exotic is this one?
IMG_4899.jpg
Even her deer creations sport crowns.
IMG_4883.jpg
Detail from a sun goddess crown.


window-candy_0262.jpeg
Darlene herself sporting one of her amazing creations.


Dubbed by her daughter as a “Glue Ru”, she has perfected the art of making the ordinary extraordinary in her jewel box Naramata studio. Within minutes I was trying on crowns, hats and headpieces with the artist who believes in making the world a more colourful and sparkling place.

IMG_4953.jpg
Here she has transformed a photograph of her grandmother and given her some bling. Darlene looks like her. 

“As you can see I’m a magpie and am very attracted to sparkle,” says Darlene who gets lost for hours in her art. She also gets huge satisfaction when her “earth mother-type friends transform themselves into goddesses,” with the addition of a crown. “It touches something childlike in them and it’s amazing to see what happens when they see themselves as beautiful. I’m a big advocate for big girl dress-up.”

IMG_4887 3.jpg
Crowing selfie.
IMG_4915 3.jpg
Darlene’s dazzling studio.
IMG_4997 2.jpg
A crown fan from way back, this is my coronal, or nuptial crown beautifully made by my mother-in-law.
IMG_4986.jpg
This little number came home with me. This is a perfect example of why blogging costs me money but pays me in so many other ways. Thanks Darlene. Happy to have more of your flamboyant art. 

In an English Country Garden – and in mine

IMG_5513.JPG
Surveying my Naramata garden

England’s Amberley Castle wildlife…

I love English country gardens and my own. Our English relatives John and Ann, indulging me in my passion, always plan a visit to extraordinary gardens when we come and spending time in their own lovely garden with its roses and pond is an enormous pleasure. I bring home inspiration, seeds, garden ornaments, pieces of flint and photos. Here are some of my favourites and how we’ve worked at Canadianizing them.

IMG_4262.jpg
Amberley Castle tree fort

.

IMG_6426.jpg
Naramata tree fort…called The Skyroom
IMG_1704.jpg
Chartwell House
4G2R7380.jpg
Former Calgary garden
IMG_0727.jpg
My house…The Handyman built this round gate
IMG_1344.jpg
Kent Castle falconry exhibit
IMG_1791.jpg
Hunting free in my garden
IMG_1324.jpg
Flower border I wish to copy
IMG_9637.jpg
Naramata garden in the morning
IMG_4862.jpg
English garden path
IMG_8763.jpg
Naramata garden path
IMG_4834.jpg
English roses
IMG_2792.jpg
Naramata rose
IMG_4875 2.jpg
Admitting defeat… this just ain’t going to happen in Naramata

5 Reasons To Make Your Own Stock

image1.JPG
Chef Mike Sonier tells us that making your own cooking stock is not all smoke and mirrors and is worth the effort.

Aromas of the best kitchens

A simmering stock pot filling your kitchen with the rich, deep, complex aromas of chicken beef or vegetable stock flavoured with herbs is reason enough to master this basic cooking art. A conversation with Chef Mike Sonier, owner of Naramata’s Knotweed Restaurant reveals other equally compelling reasons to make your own stock.

IMG_2682.jpg

  1. Health benefits 

“Take a look at the ingredients in store-bought packaged stock,” says Chef Mike. “You will find MSG, salt and a bunch of other preservatives to make it shelf stable. When you make your own stock there are huge health benefits.”

Stock made from bones is packed with minerals from calcium to magnesium, sulphur to silicon, and things like glucosamine. Basically it contains all the stuff we’re told to buy in expensive synthetic mineral supplement form for joints and arthritis, except it’s cheap, natural food and very easily digested.

If simmered long enough, stock is packed with gelatin. Gelatin supports skin and hair health, digestion, cellulite, tightens loose skin and is awesome for joint pain and inflammation.

  1. Cost effective 

Stock is the cheapest nutrient-dense food per cup.

Chef Mike says stock is an effective way of using materials that don’t have a direct food use without these items going to waste. Bones, chicken carcasses, limp vegetables and wilted herbs can all be used.

IMG_2685.jpg

  1. Sustainable cooking practices

In addition to saving money, using the bones, scraps, and less than perfect vegetables reduces food waste. As you cook, save those odd carrot heels, the greens not quite fit for a salad, the stems of mushrooms, ribs of kale and collard greens, and pieces of onion Put all of these things, gradually, as you produce them, into a gallon-sized plastic bag and keep it in the freezer. When it’s full, you make vegetable stock. If you also happen to have the carcass of a roast chicken left over, you make chicken stock.

food-safety1.jpg

  1. Quality of food, quality of taste

There are few other flavoring components that have such a dramatic impact on the quality of finished dishes, according to Chef Mike. Stocks are the backbone of quality soups, sauces and braising liquids.

  1. Amp up your cooking skills

An understanding of stocks and sauces will take your cooking to the next level and learning to prepare them will help build fundamental culinary skills.

Stock and Stir

Now that we have the why covered; Chef Mike will teach us the how at the next Naramata Blend cooking class. Mike will team up with Legend Distilling Owner Dawn Lennie to offer a cooking/mixology foundation course that will teach us how to make beautiful rich stocks and sauces and a Rosemary Swizzle cocktail.

Participants will enjoy a serving of Salt Spring Island mussels in a cream sauce paired with the special cocktail using Legend Distilling’s Doctor’s Orders Gin and Elephant Island Crabapple dessert wine and take home a recipe package.


Chef Mike honed his skills in his travels around Canada in the Maritimes, Toronto, Ottawa, Banff and British Columbia destinations such as Whistler, Vancouver and the Kootenays. Working with chefs in restaurants and consulting and catering along the way he compiled dishes and techniques to coax the most flavours out of a wide-range of ingredients before opening Knotweed.

IMG_3188.jpg
Some of Legend’s distilling equipment

Legend Distilling produces unique beautifully hand-crafted spirits with premium locally-sourced ingredients.

11224397_10153878599347985_2313354585742353493_o.jpg
Legend Distilling’s killer view

The class will take place at Legend Distilling March 28th and tickets are available at:

https://www.eventbrite.com/e/naramata-blend-cooking-class-series-presents-stock-and-stir-french-technique-stock-and-sauce-basics-tickets-32193988085

Post class I will post about making stock and share some of Mike’s tips.


Naramata’s Queen of Green Cleaning making her mark by taking your’s out

IMG_3683.jpg
Wayce Bartels making a batch of her All Natural Deodorant in her Naramata kitchen.

Wayce Bartels’ cottage industry making all natural home products, like many such businesses, was born out of a desire for products to meet her own needs which she then shared with family that generated word-of-mouth and voila…Made With Love is cleaning up.

“I’ve always been pretty natural,” says Wayce. “We eat healthy and local, I use little make-up and when I do it’s all natural. I decided to take a good look around the house to see what else I could change. How important is our washing? Think about your clothes and sheets and how they contact your skin.”

Regular detergents are loaded with alcohol, dyes and artificial scents, she says. “The stronger a product smells the worse it is for you.”

Wayce says that many “all natural” cleaning products marketed in stores are not really so natural and devoid of toxins, allergens and carcinogens nor are they sustainable and economical.

FullSizeRender.jpg
Some of Wayce’s products.

After extensive research and experimentation she settled on using soap berries in her liquid laundry soap.

Soap berries gave her a natural, biodegradable and petroleum-free laundry soap alternative. They grow as a fruit on trees in Nepal and India.  The tree itself is from the genus Sapindus. Soap berries contain large amounts of saponins in their shells, which are a natural surfactant. Surfactants are compounds that lower the surface tension of a liquid, and so can be used as detergents or foaming agents.

To get technical, surfactants break the surface tension of the water to penetrate the fibers of your clothing, lifting stains from the fabric and leaving dirt suspended in the water that is rinsed away.

Wayce’s Made With Love Soap Berry liquid laundry soap is gentle on both clothes and skin, making them ideal for those with sensitive skin and allergies. Because they are so mild, they are perfect for baby clothes and even cloth diapers. Soap berries are also great for septic and grey water systems. Unlike commercial soaps, that have artificial foaming agents, soap berries do not produce lots of bubbles or foam so will work well in HE washers. While commercial detergents and soaps have marketed heavily around that visual, foam simply is not an indicator of cleaning power.

The berries are wild-harvested, meaning they are gathered from wild trees grown without any kind of chemicals, fertilizers, or pesticides. Saponin actually tastes bad to insects so no pesticides are needed and the trees naturally love poor uncultivated soil.

That’s all well in good but the stuff’s got to work well. I gave it a six load whirl and so far so good. She adds some essential oils (like lavender, lemon or grapefruit) from Naramata’s Pure Potent WOW to the liquid Soap Berry so your clothes smell nice or you can go with unscented.

“My husband works in mining and getting his socks clean was my ultimate test,” she says. “Whites stay white.”

IMG_3698.jpg
Wayce’s deodorant is made with coconut oil, arrowroot powder and organic baking soda. Aluminum-free, it has a nice coconut smell and is soft on your skin.

She sells her laundry soap in 500 ml jars for $12 and each jar will do 40 loads of washing. She accepts the mason jars back for a dollar off your next one.

IMG_3734.jpg
Pure wool dryer balls

Another product in her green clean arsenal are wool dryer balls that she makes from Alberta wool. Six to nine dryer balls will help fluff up clothes, prevent static and actual reduce dryer time, saving energy, says Wayce.

How dryer balls work

Dryer balls are used to help dry clothes more quickly than usual as well as to soften fabrics in the dryer. When you load a big armful of wet towels into the dryer they will flop and tumble around. Normally fabric will stick together in the dryer, slowing down the drying process.

When you add dryer balls into your clothes dryer the balls will get in-between the towels and clothing. The balls will separate and pull them apart with their weight. This in turn allows more hot air in and around your laundry helping the dryer to heat your laundry more quickly and suck the evaporated water out of the dryer more efficiently.

Good in theory so put it to the test

I washed two loads of six towels and tried them in the dryer with and without the Made by Love dryer balls. The load with the dryer balls was done about eight minutes sooner than the load without. Claim proven. That is a good energy savings right there and the towels in the dryer ball load came out nice and fluffy. Savings are even greater when you think of all the dryer sheets you don’t have to buy. The balls will last from 500 to 1,000 loads before needing to be replaced. A few drops of essential oils on the balls will make your clothes smell nice too.

IMG_3741.jpg

“I buy the wool from a custom woollen mill in Alberta and its nice to shape and work with,” she says. “My husband helps me make the balls if I pour him some wine. They are time consuming and hand crampy to make.”

Wayce sells her dryer balls on Etsy and all her products locally at Perseus Winery, pop-up markets at Legend Distilling and through contacting her on fb page.

She also makes and sells canned goods and dried fruit from locally sourced produce. Her salsas are garnering a loyal following and sell-out.

IMG_3744.jpg
Wayce and one of her egg laying pals.

Kermit has it all wrong, it’s easy to be green when there are local products that are economical, do the job well and are good for you and the environment.

Do not leave this cake out in the rain, takes so long to bake it sure but mostly it will make you happy, two slices happy

IMG_3256.jpg
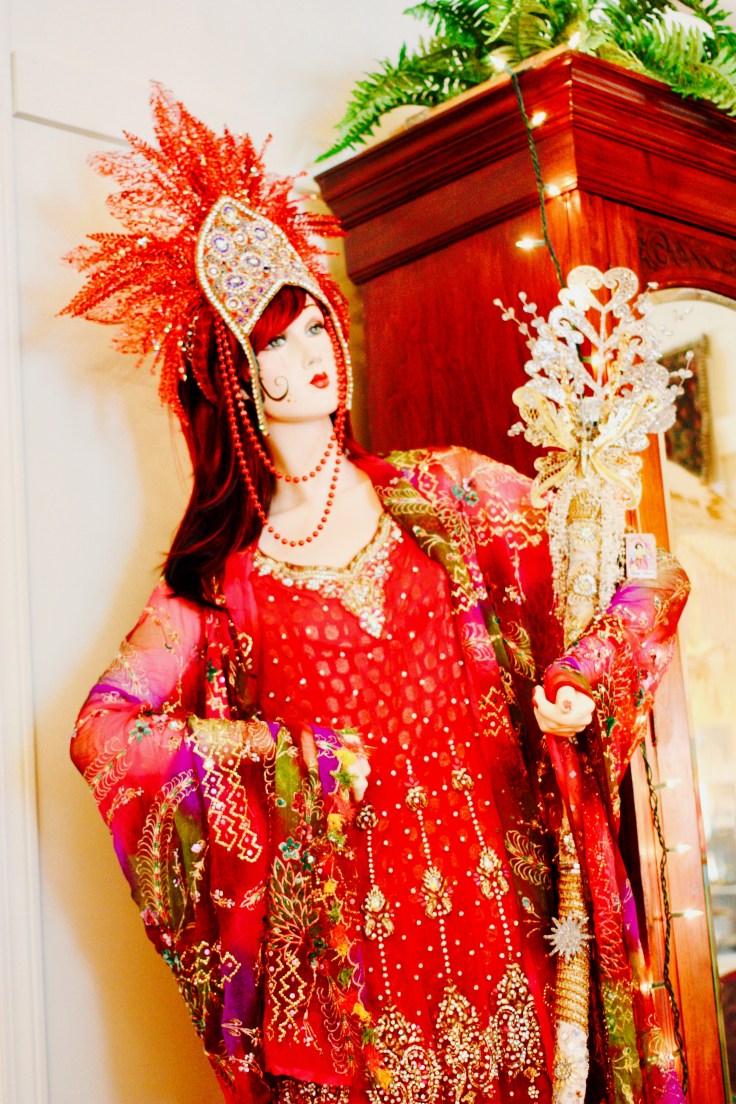
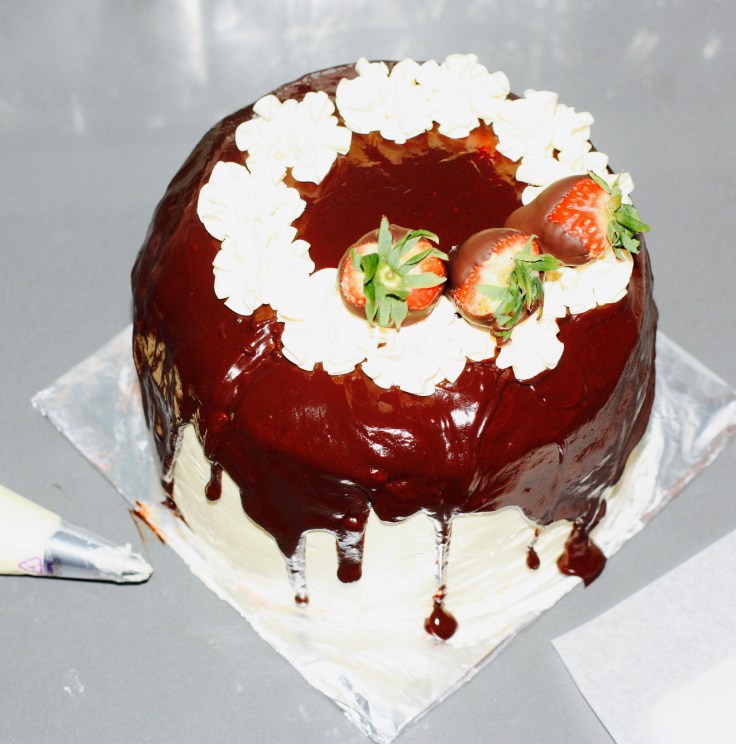
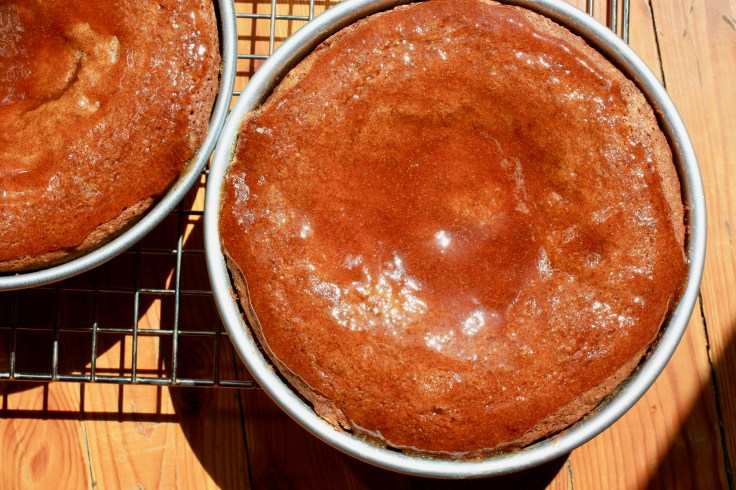
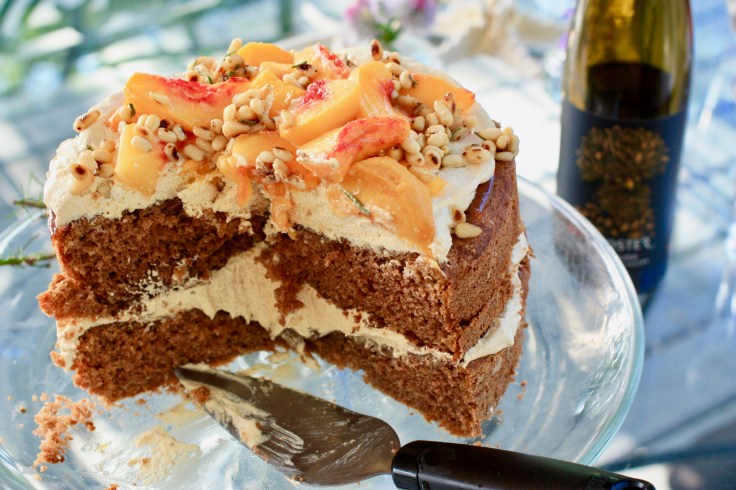
“Cake is happiness! If you know the way of the cake, you know the way of happiness! If you have a cake in front of you, you should not look any further for joy!”
― C. JoyBell C.

From start to chocolatey towering finish, this velvety white chocolate, rich dark chocolate, strawberry filled, Swiss meringue vanilla buttercream topped, chocolate glazed, chocolate-covered strawberry four-layer Neapolitan Cake took six hours to bake and assemble. I can’t think of a better way to spend six hours can you?

There are a total of five recipes involved including two cake recipes that will give you a pretty dramatic piece of cake when sliced with alternating layers of white chocolate and dark chocolate cake. I can totally picture an evening dress and a tuxedo to celebrate its formal look whereas expanding sweatpants are probably a better option.

IMG_3209.jpg

White Chocolate Cake

  • 5 large egg whites (My eggs came from Bella Wines farm…thanks Jay!)
  • 3/4 cup whole milk
  • 2 3/4 cup (360 g) cake flour
  • 1  1/4 cups (250 g) granulated sugar
  • 1 tablespoon plus 1/2 teaspoon baking powder
  • 1/2 teaspoon salt
  • 3/4 cup (170 g) unsalted room temperature butter
  • 1 1/2 teaspoons pure vanilla extract
  • 6 ounces (170 g) white chocolate, melted and cooled
  • Note — you will also need a jar of (80 ml) strawberry preserves for assembling the cake and 12 strawberries

Directions

Preheat oven to 350F. Grease and flour two 8-inch cake pans.

Stir together the egg whites and 1/4 cup of the milk in a small bowl, set aside. Sift the flour, sugar, baking powder and salt into the bowl of a stand mixer fitted with the paddle attachment. Mix on low until combined. With the mixer on low add the butter, vanilla and the remaining 1/2 cup of milk until the dry ingredients are moistened. Turn the mixer to medium and mix for about a minute until combined. Stop the mixer, scrape down the bowl.

Turn the mixer to medium. Add the egg white mixture in three parts, mixing for about 20 seconds after each addition. Stop the mixer, scrape down. Add the white chocolate and mix until just combined.

Evenly divide the batter between the two prepared pans. Bake for 25 to 28 minutes or until a toothpick inserted into the centre of the cakes comes out clean. Cool on a wire rack for 10 minutes before removing the cakes from their pans.

Yipeee…you have completed one recipe at this point!

IMG_3213.jpg

Chocolate Cake

  • 2 1/2 cups all-purpose flour
  • 1 cup unsweetened high-quality cocoa powder
  • 2 1/2 teaspoons baking powder
  • 1 teaspoon salt
  • 3/4 teaspoon baking soda
  • 1/2 cup plus 2 tablespoons (150 ml) grapeseed oil (could use canola)
  • 2 cups (400 g) granulated sugar
  • 2 large eggs
  • 1 large egg yolk
  • 2 teaspoons pure vanilla extract
  • 1/2 teaspoon pure almond extract
  • 1 1/2 cups whole milk
  • 1 cup hot strong-brewed coffee

Directions

Grease and flour two 8-inch cake pans. Your oven will also be at 350 F for these layers.

Sift together the flour, cocoa powder, baking powder, salt and baking soda, set aside.

In the bowl of a stand mixer fitted with the paddle, beat together the oil and sugar on medium for 2 minutes. Add the eggs, egg yolk, vanilla and almond extract. Stop the mixer and scrape bowl.

Turn the mixer to low and add the flour mixture in three batches, alternating with the milk, beginning and ending with the flour mixture. Stop the mixer and scrape bowl. With the mixer on low, stream the coffee. Mix on medium-low for no more than 30 seconds or until combined.

Evenly divide the batter between the prepared pans and bake in a 350 F oven for 25 to 28 minutes or until a toothpick inserted into the centre of the cakes comes out clean. Let them cool on a wire rack for 10 to 15 minutes before removing the cakes from the pans.

IMG_3230.jpg
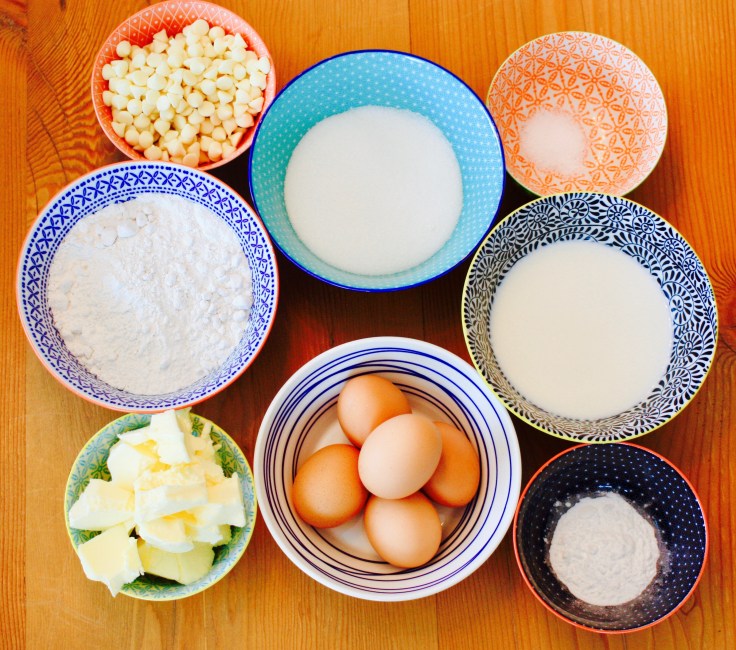
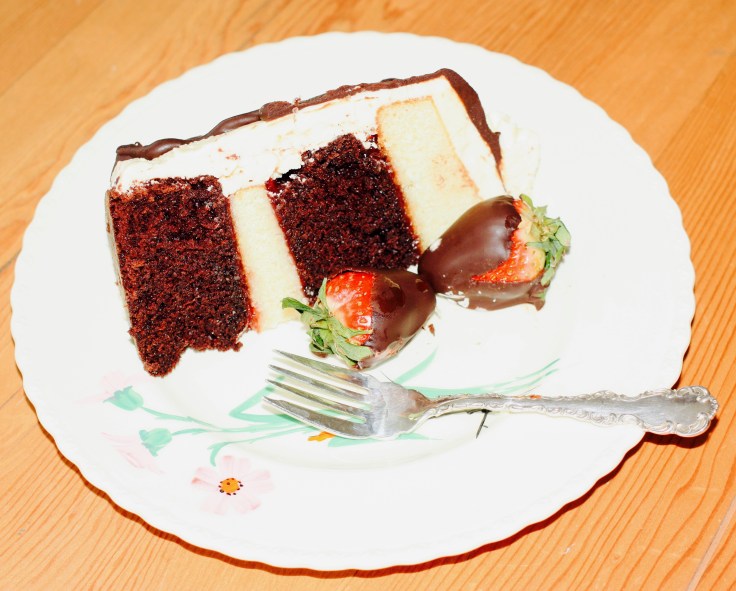
Chocolate-dipped strawberries

  • 1 1/3 cups (8 ounces/ 226 g) chopped semisweet chocolate
  • 12 medium strawberries, washed and dried well

Directions

Melt the chocolate in the top portion of a double boiler. Line a baking sheet with parchment paper. Remove the chocolate from the heat and dip each strawberry into the chocolate one at a time and set it on the parchment paper to dry and harden.

IMG_3224.jpg

Vanilla swiss meringue buttercream

  • 1/2 cup plus 2 tablespoons egg whites
  • 1 1/4 cups granulated sugar
  • 2 cups unsalted butter (very important that it be at room temperature or it won’t combine properly) cubed
  • 2 teaspoons pure vanilla extract
  • Note…you may end up making two batches to fully cover your cake and have enough left over for the rosettes…

Directions
Place the egg whites and sugar in the bowl of a stand-mixer. Whisk them together by hand to combine. Make a double boiler by filling a medium pot filled with water over medium-high heat. Place the mixer bowl on top of the pot. The bottom of the pot should not touch the water.

Whisk intermittently and heat the egg mixture to 160F (candy thermometer) or until it is hot to the touch. Carefully fit the mixer bowl onto the stand mixer and whip with the wire attachment on high speed for 8 to 10 minutes, until it holds medium-stiff peaks. The bowl should be back to room temperature at this point. Stop the mixer and swap out the whisk attachment for the paddle.

With the mixer on low, add the cubed butter, a few tablespoons at a time then the vanilla. Once incorporated, turn up the mixer speed to medium-high and beat until the buttercream is silky smooth, 3 to 5 minutes.

Some Assembly Required

Once the cakes are cool, level them and choose which layer will be at the bottom. Place it on a cake plate. Spread on about 1/3 cup of strawberry preserves. Place the second layer of cake on top, alternating between the white and dark chocolate cakes and repeat. Smoothly frost the cake with the buttercream and refrigerate it, uncovered until firm.

Chocolate Glaze

  • 2/3 cup (4 ounces/115 g) chopped semisweet chocolate
  • 1/2 cup (120 ml) heavy cream
  • 1/4 cup light corn syrup
  • 1 teaspoon pure vanilla extract
  • 1/8 teaspoon salt

Directions

Place the chocolate, cream and corn syrup in a small saucepan. Heat over medium-low until the cream begins to steam and the chocolate starts to melt. Remove from the heat and stir in the vanilla and salt until combined. Cool to room temperature, about 10 minutes.

More Assembly

Starting with about 1/2 cup at a time, pour the chocolate glaze into the centre of the frosted cake and use an offset spatula to spread it around the top allowing it to drip over the edges. Add more glaze until you like the way it looks.

IMG_3238.jpg

Fill a pastry bag with a star tip with the remaining buttercream. After the glaze has set, pipe rosettes around the top edge of the cake. Place the chocolate-dipped strawberries on the rosettes.

Voila!

IMG_3264.jpg

“Your good friend has just taken a piece of cake out of the garbage and eaten it. You will probably need this information when you check me into the Betty Crocker Clinic.” Cynthia Nixon

IMG_3248.jpg


Blog at WordPress.com.

Up ↑