Hawaii or the Big Island is known for a lot of things including the famous Chelsea cookies invented by the chef of that name at the Island Lava Java, the go-to breakfast, lunch and dinner spot on Alii Drive facing the ocean.
It’s all Aloha
Lucky me and now lucky you. With a karma exchange I can share the Island Lava Java’s most popular and uber secret cookie recipe with you. We gave our trusty steads that we had ridden for a month (that we bought from some fellow Canadians who had purchased them new) to some Island Lava Java staff in need of wheels. We got the cookie recipe!
Rather than rent a car we do our bit for the environment and our legs and ride.
These cookies are best served right out of the oven. Island Lava Java will heat yours up for you if you ask…
1 cup room temperature unsalted butter (I used European butter re the superior taste)
1 1/4 cup brown sugar
3/4 cup white sugar
Add:
2 room temperature eggs one at a time
1/2 cup peanut butter
2 teaspoons vanilla
In a separate bowl combine:
2 1/2 cups all purpose flour
2 1/2 cups coconut flakes
2 cups oats
1 teaspoon baking soda
1/2 teaspoon ground cinnamon
1/4 teaspoon ground cloves
Add to butter mixture slowly Add 1 1/2 cups semi sweet chocolate chips last
Scoop the batter onto the prepared cookie sheets using an ice cream scoop. Squish the round cookies a bit flatter and garnish with coconut. Bake in a 350 F degree oven for 8 to 12 minutes. They should be lightly browned. Pour yourself a nice cup of Kona coffee and enjoy right from the oven. For the full meal deal, go to Island Lava Java’s site and click on their webcam and enjoy their view while you munch.
My swimming view from the pier. Swim first, Island Lava Java next.
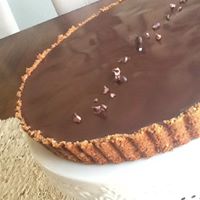
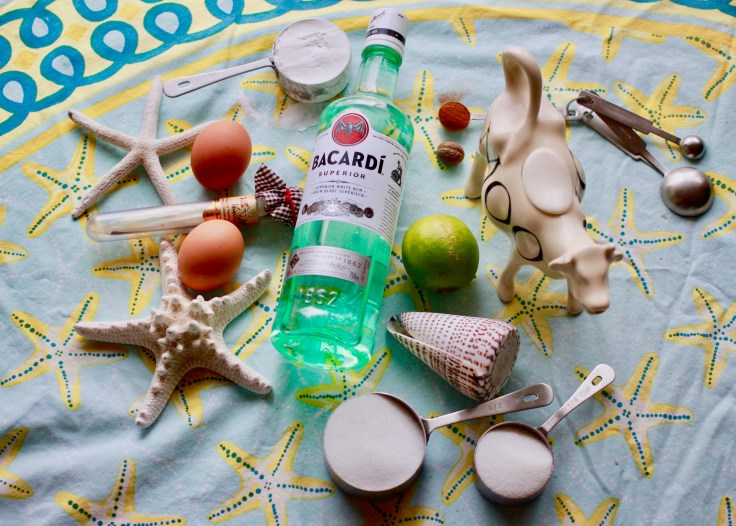
With all the flavours of Guadeloupe like rum, lime, vanilla and coconut, this is a tart to make on a cloudy November day.
Tourment d’amour, a tart-like cake that translates into the “agony of love,” has a back story that goes something like this. A Guadeloupe island woman with a French flair invents the best tart you’ve ever tasted in anticipation of her lover’s safe return from sea. Dude is a bit late showing up from his fishing to eat this world-ending tart so she freaked and took her own life when he didn’t arrive on the day he said he would. He shows up, finds her a goner and an even bigger tragedy, the tart very stale. Although the story is sad, the treat is anything but. I made it for the Handyman husband. He was in luck as was I. He arrived home from the hardware store just as they were coming out of the oven. No Tourment… just the love.
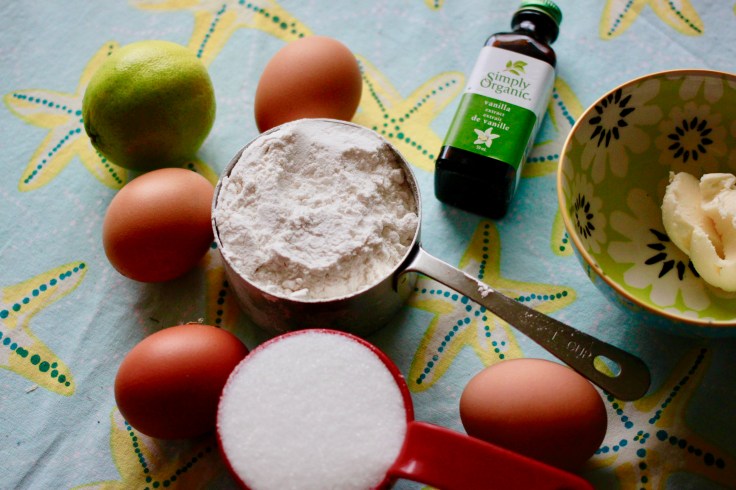
Guadeloupe is a French island so while the flavours (vanilla, coconut, lime and rum) are pure Caribbean, the base components (pâte brisée pastry, pastry cream, and Genoise sponge cake) are classic French. For that reason, the recipe is mildly challenging, but like the story goes, sometimes love hurts a bit. The end product is a sweet, tropical treat encased in a flaky pastry crust—with a creamy coconut jam center.
Makes seven to eight 4 ½-inch tarts
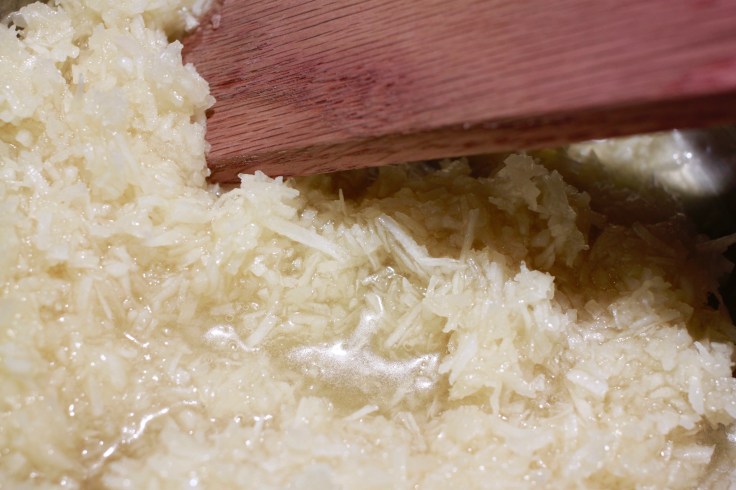
Coconut Jam ingredients
Coconut Jam: ½ cup sugar ⅓ cup coconut water 1¼ cup shredded coconut ½ tablespoon vanilla extract
Pastry dough ingredients
Short Crust Pastry Dough (Pâte Brisée): 1½ cups all-purpose flour 3½ ounces unsalted butter, cold and cut into small pieces Pinch of salt Ice water
Pastry cream ingredients
Pastry Cream: 2 cups milk ½ vanilla bean, cut lengthwise and seeds scraped out ¾ cup sugar, divided roughly in half ⅓ cup cornstarch 2 eggs ½ teaspoon cinnamon ¼ teaspoon grated nutmeg 2 tablespoons rum
Genoise ingredients
Genoise Sponge Cake 1 cup flour, sifted ⅔ cup sugar 4 eggs 1 teaspoon vanilla extract 2 tablespoons butter, melted Zest of one lime
Directions
Coconut Jam
Add sugar and coconut water to a small saucepan. Bring to a boil, and then stir in coconut and vanilla. Set aside and allow to cool.
Short Crust Pastry Dough
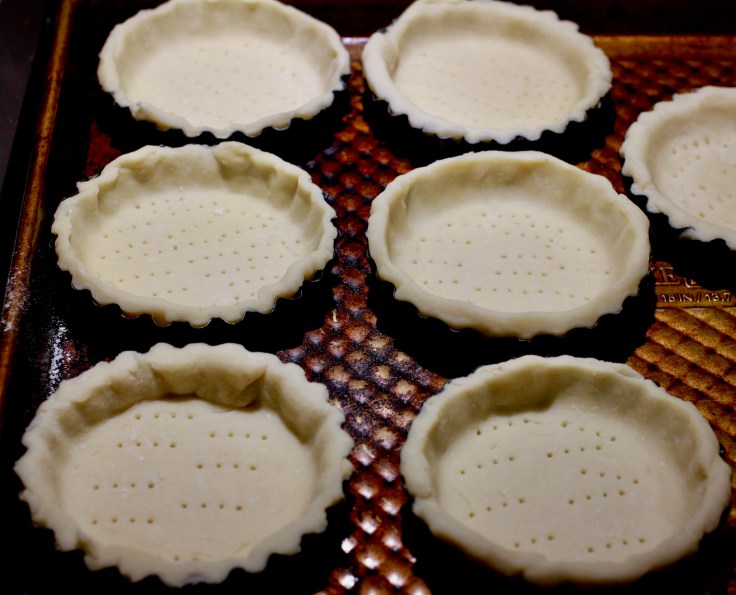
Sift flour and salt into to the bowl of a food processor. Add butter and pulse until mixture resembles fine breadcrumbs. Add one to three tablespoons of ice water, and pulse until it comes together (dough should stick together when you pinch it with your fingers). Wrap with plastic and chill for at least an hour. Meanwhile, butter and flour seven to eight 4 ½-inch pans and then set aside.
On a lightly floured surface, roll chilled dough out with a rolling pin to about ⅛-inch thick. With a fork, make small holes in the dough. Cut the dough into circles a about an inch wider than the pans, and then carefully transfer the circles to the pans, lightly pressing the dough into the edges. Roll a rolling pin over the top of the pans to remove any excess dough. Chill for at least 30 minutes.
To blind bake: Preheat oven to 350° F. Add coffee filters or parchment circles to the pans and fill with pie weights (to prevent dough from puffing up). Place tart pans on a baking sheet and bake for 15 to 20 minutes until lightly golden. Remove pie weights and papers, and set aside.
Pastry Cream
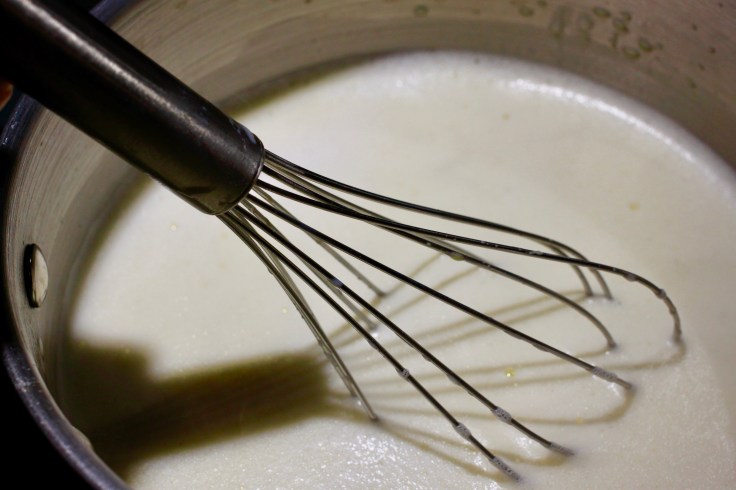
In a medium sauce pan, add milk, half the sugar, and vanilla bean seeds and pod, and then simmer on low. Meanwhile, in a medium bowl, whisk eggs, remaining sugar, and cornstarch until the mixture becomes pale yellow in color and ribbons when you drop a spoonful of it back into the bowl.
Once milk begins to boil, remove vanilla bean pod with a slotted spoon and then pour about a third of it into the egg mixture, stirring constantly. (This step is important to a good pastry cream. By tempering the egg mixture with this small amount of warm milk you will avoid having the eggs scramble.) Add mixture back into the sauce pan and continue to whisk until it starts to boil. Stir in cinnamon, nutmeg and rum. Place in a bowl and cover with plastic wrap that touches the surface of the pastry cream and refrigerate until ready to assemble the tarts.
Genoise Sponge Cake
In a stand mixer fitted with a whisk attachment, add eggs and sugar and mix on high speed for 10 minutes. Reduce to medium and mix for another 10 minutes. Stir in lime zest. Remove bowl from mixer and fold in sifted flour. Carefully fold in melted butter and vanilla extract until incorporated (do not over mix).
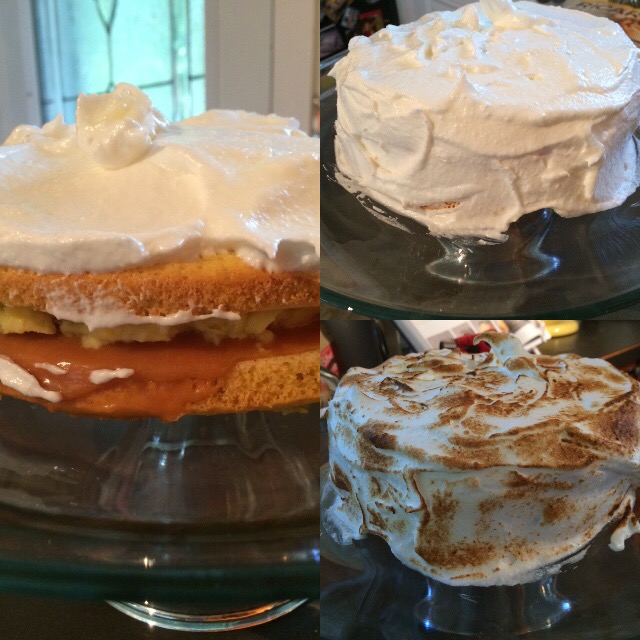
Some assembly required
Preheat oven to 350° F. Place pastry cream back into a stand mixer fitter with a paddle and beat until smooth again. Spoon equal amounts of coconut jam onto the bottom of each tart shell.
Divide pastry cream evenly among tarts, smoothing it overtop the jam.
Then spoon cake batter on top, completely covering the pastry cream.
Bake immediately (so you don’t lose the airy quality of the batter) for 25 to 30 minutes (rotating pans halfway through) until cake topping is lightly browned.
Just saying, I think if it were me I would have waited 10 minutes and eaten them all myself.
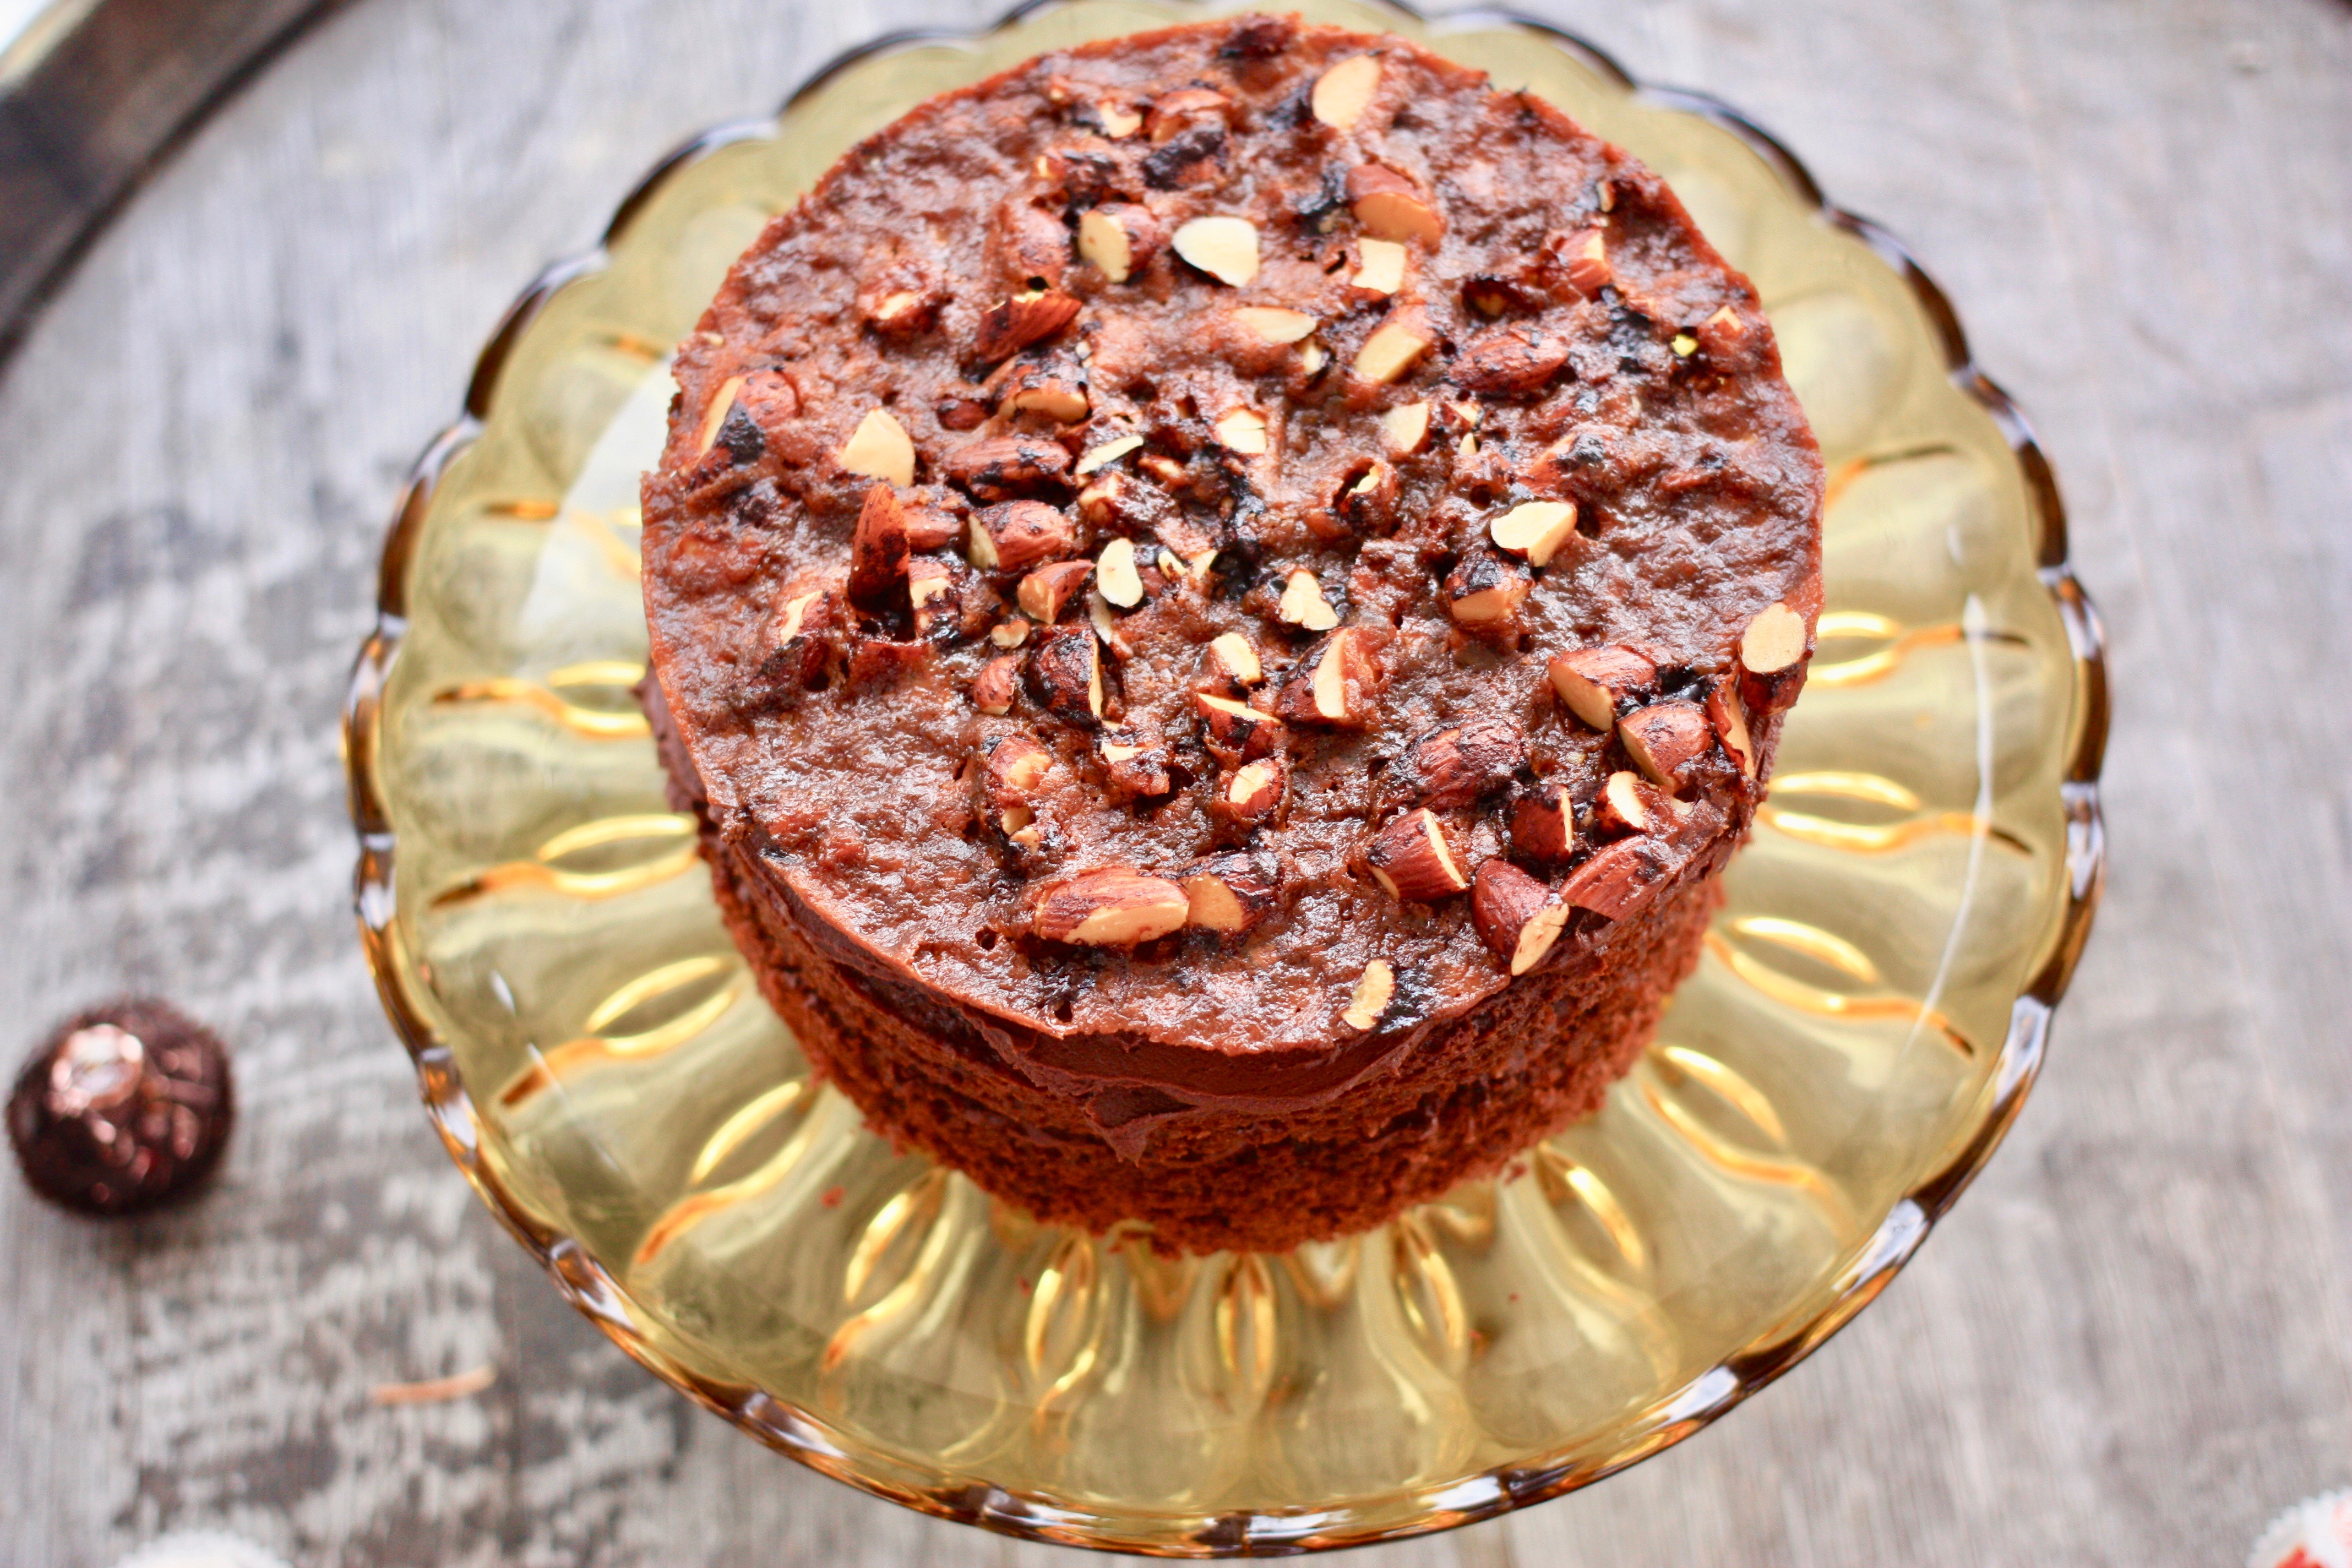
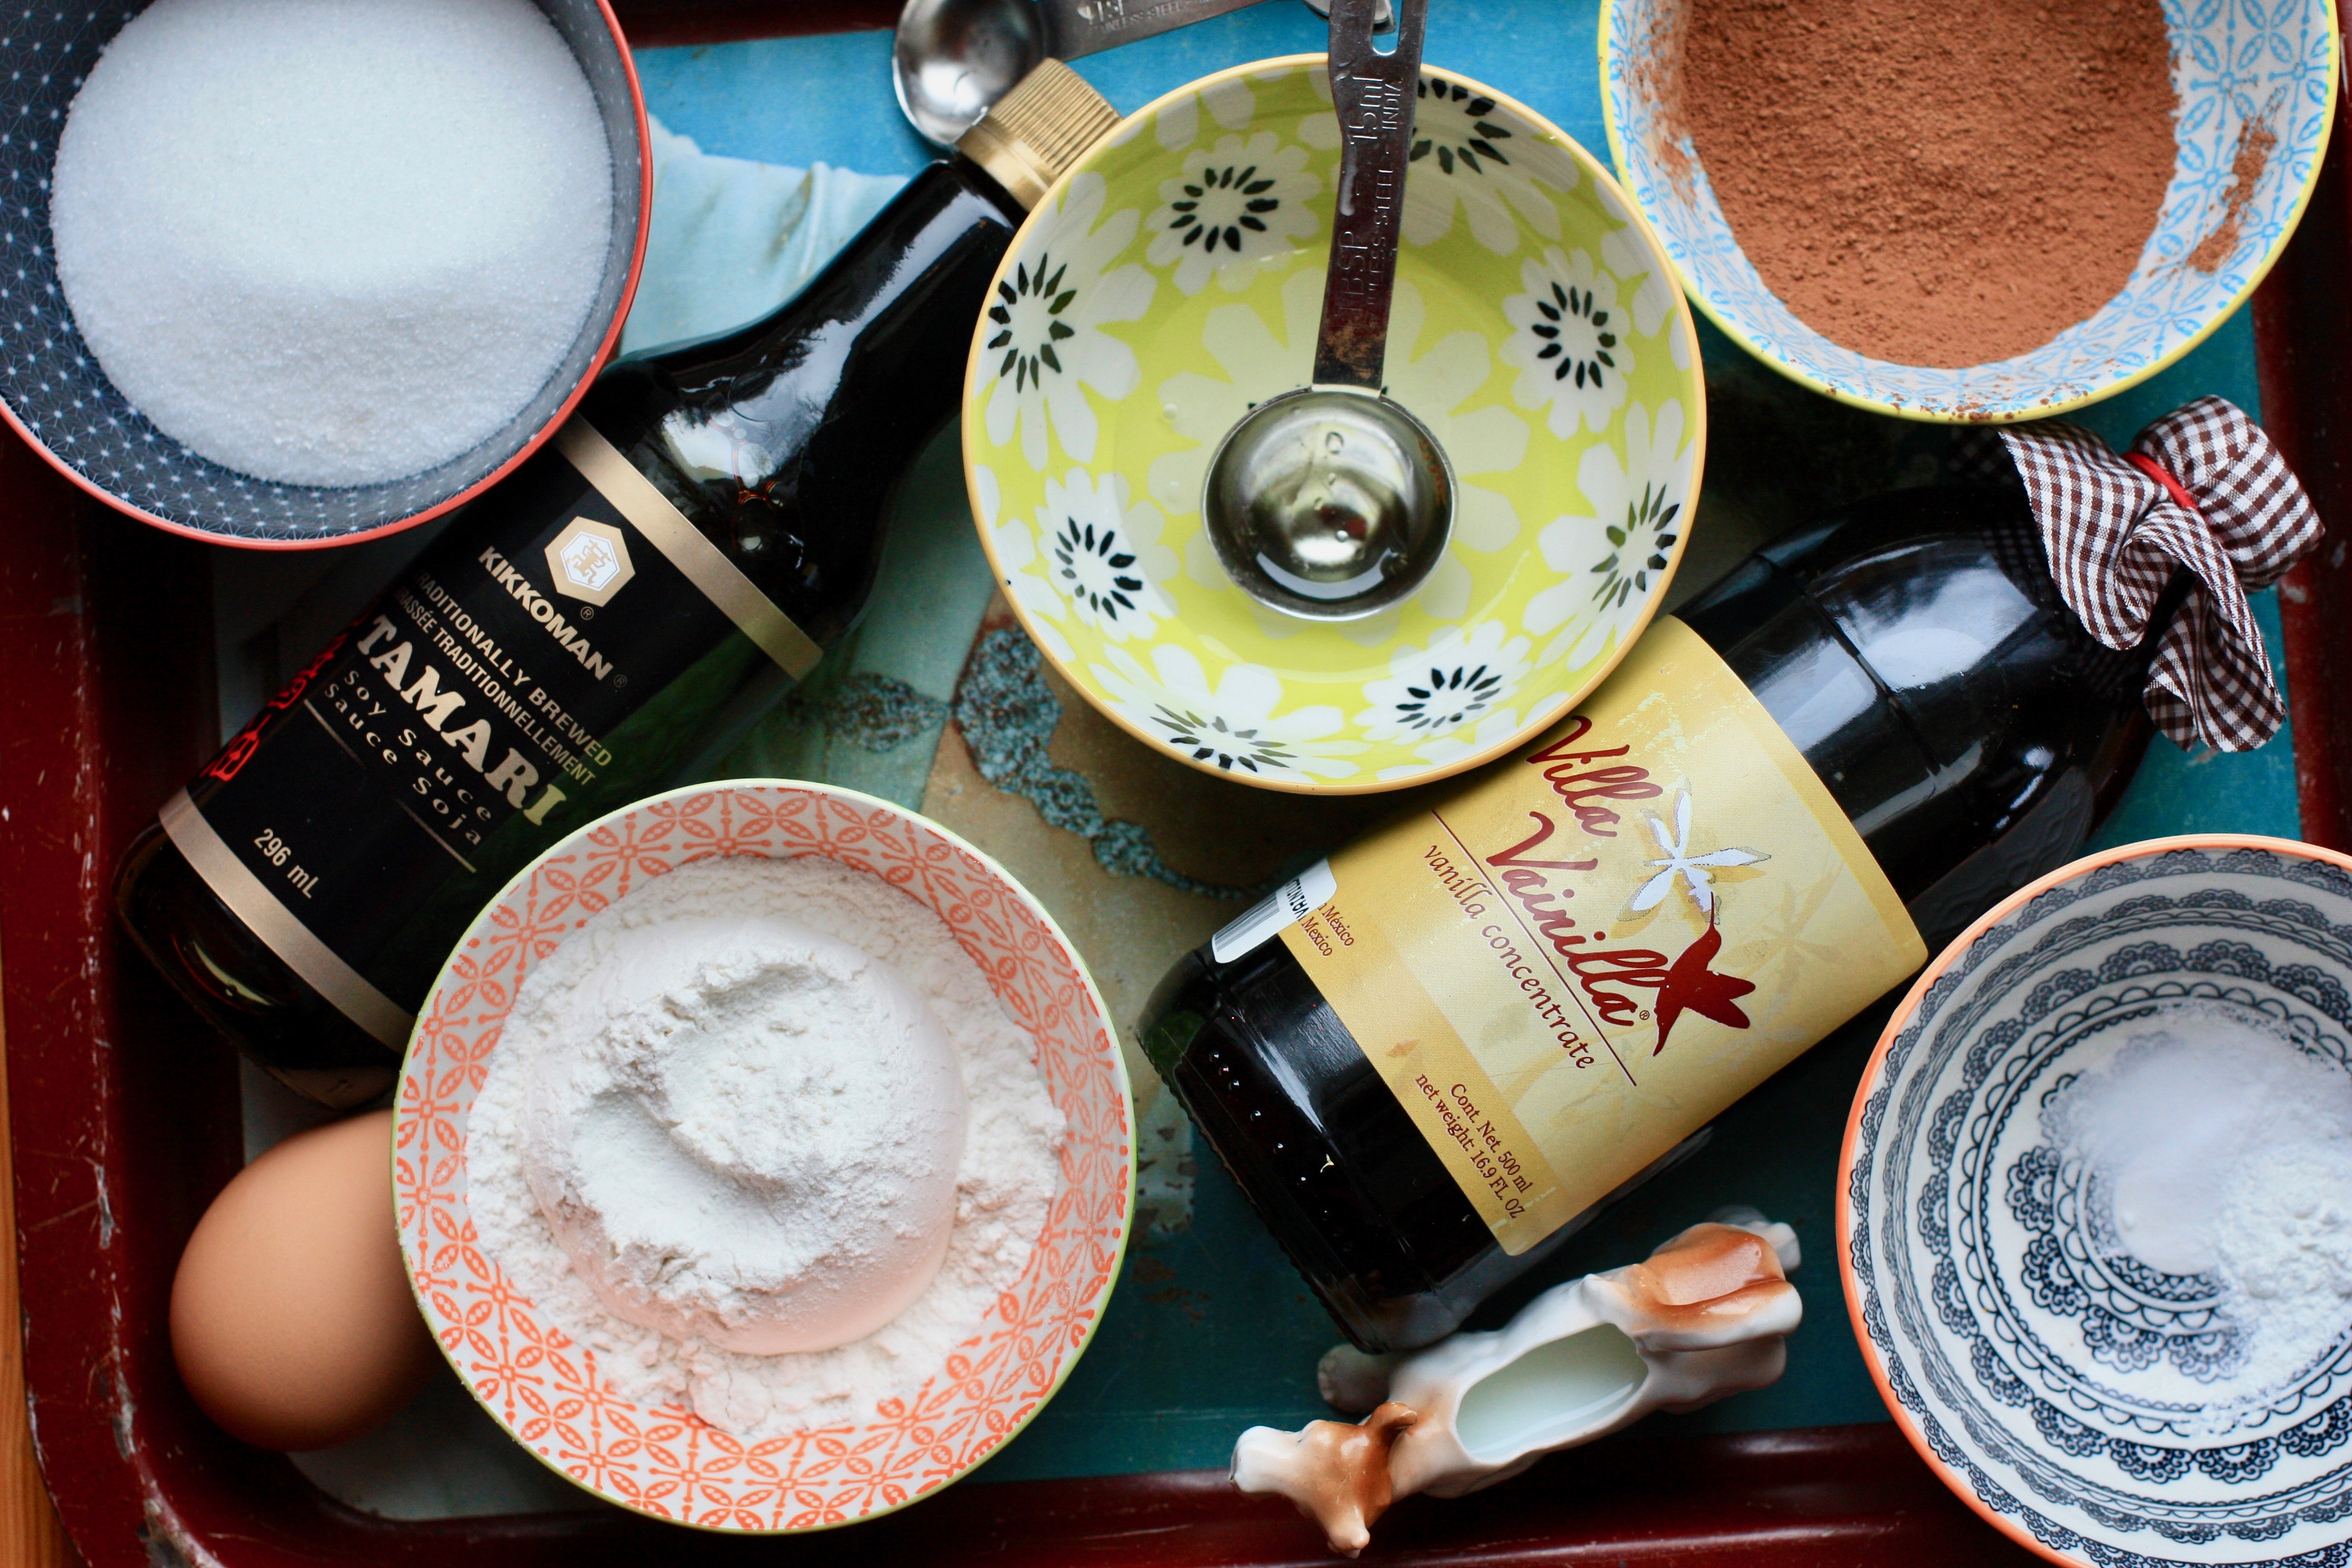
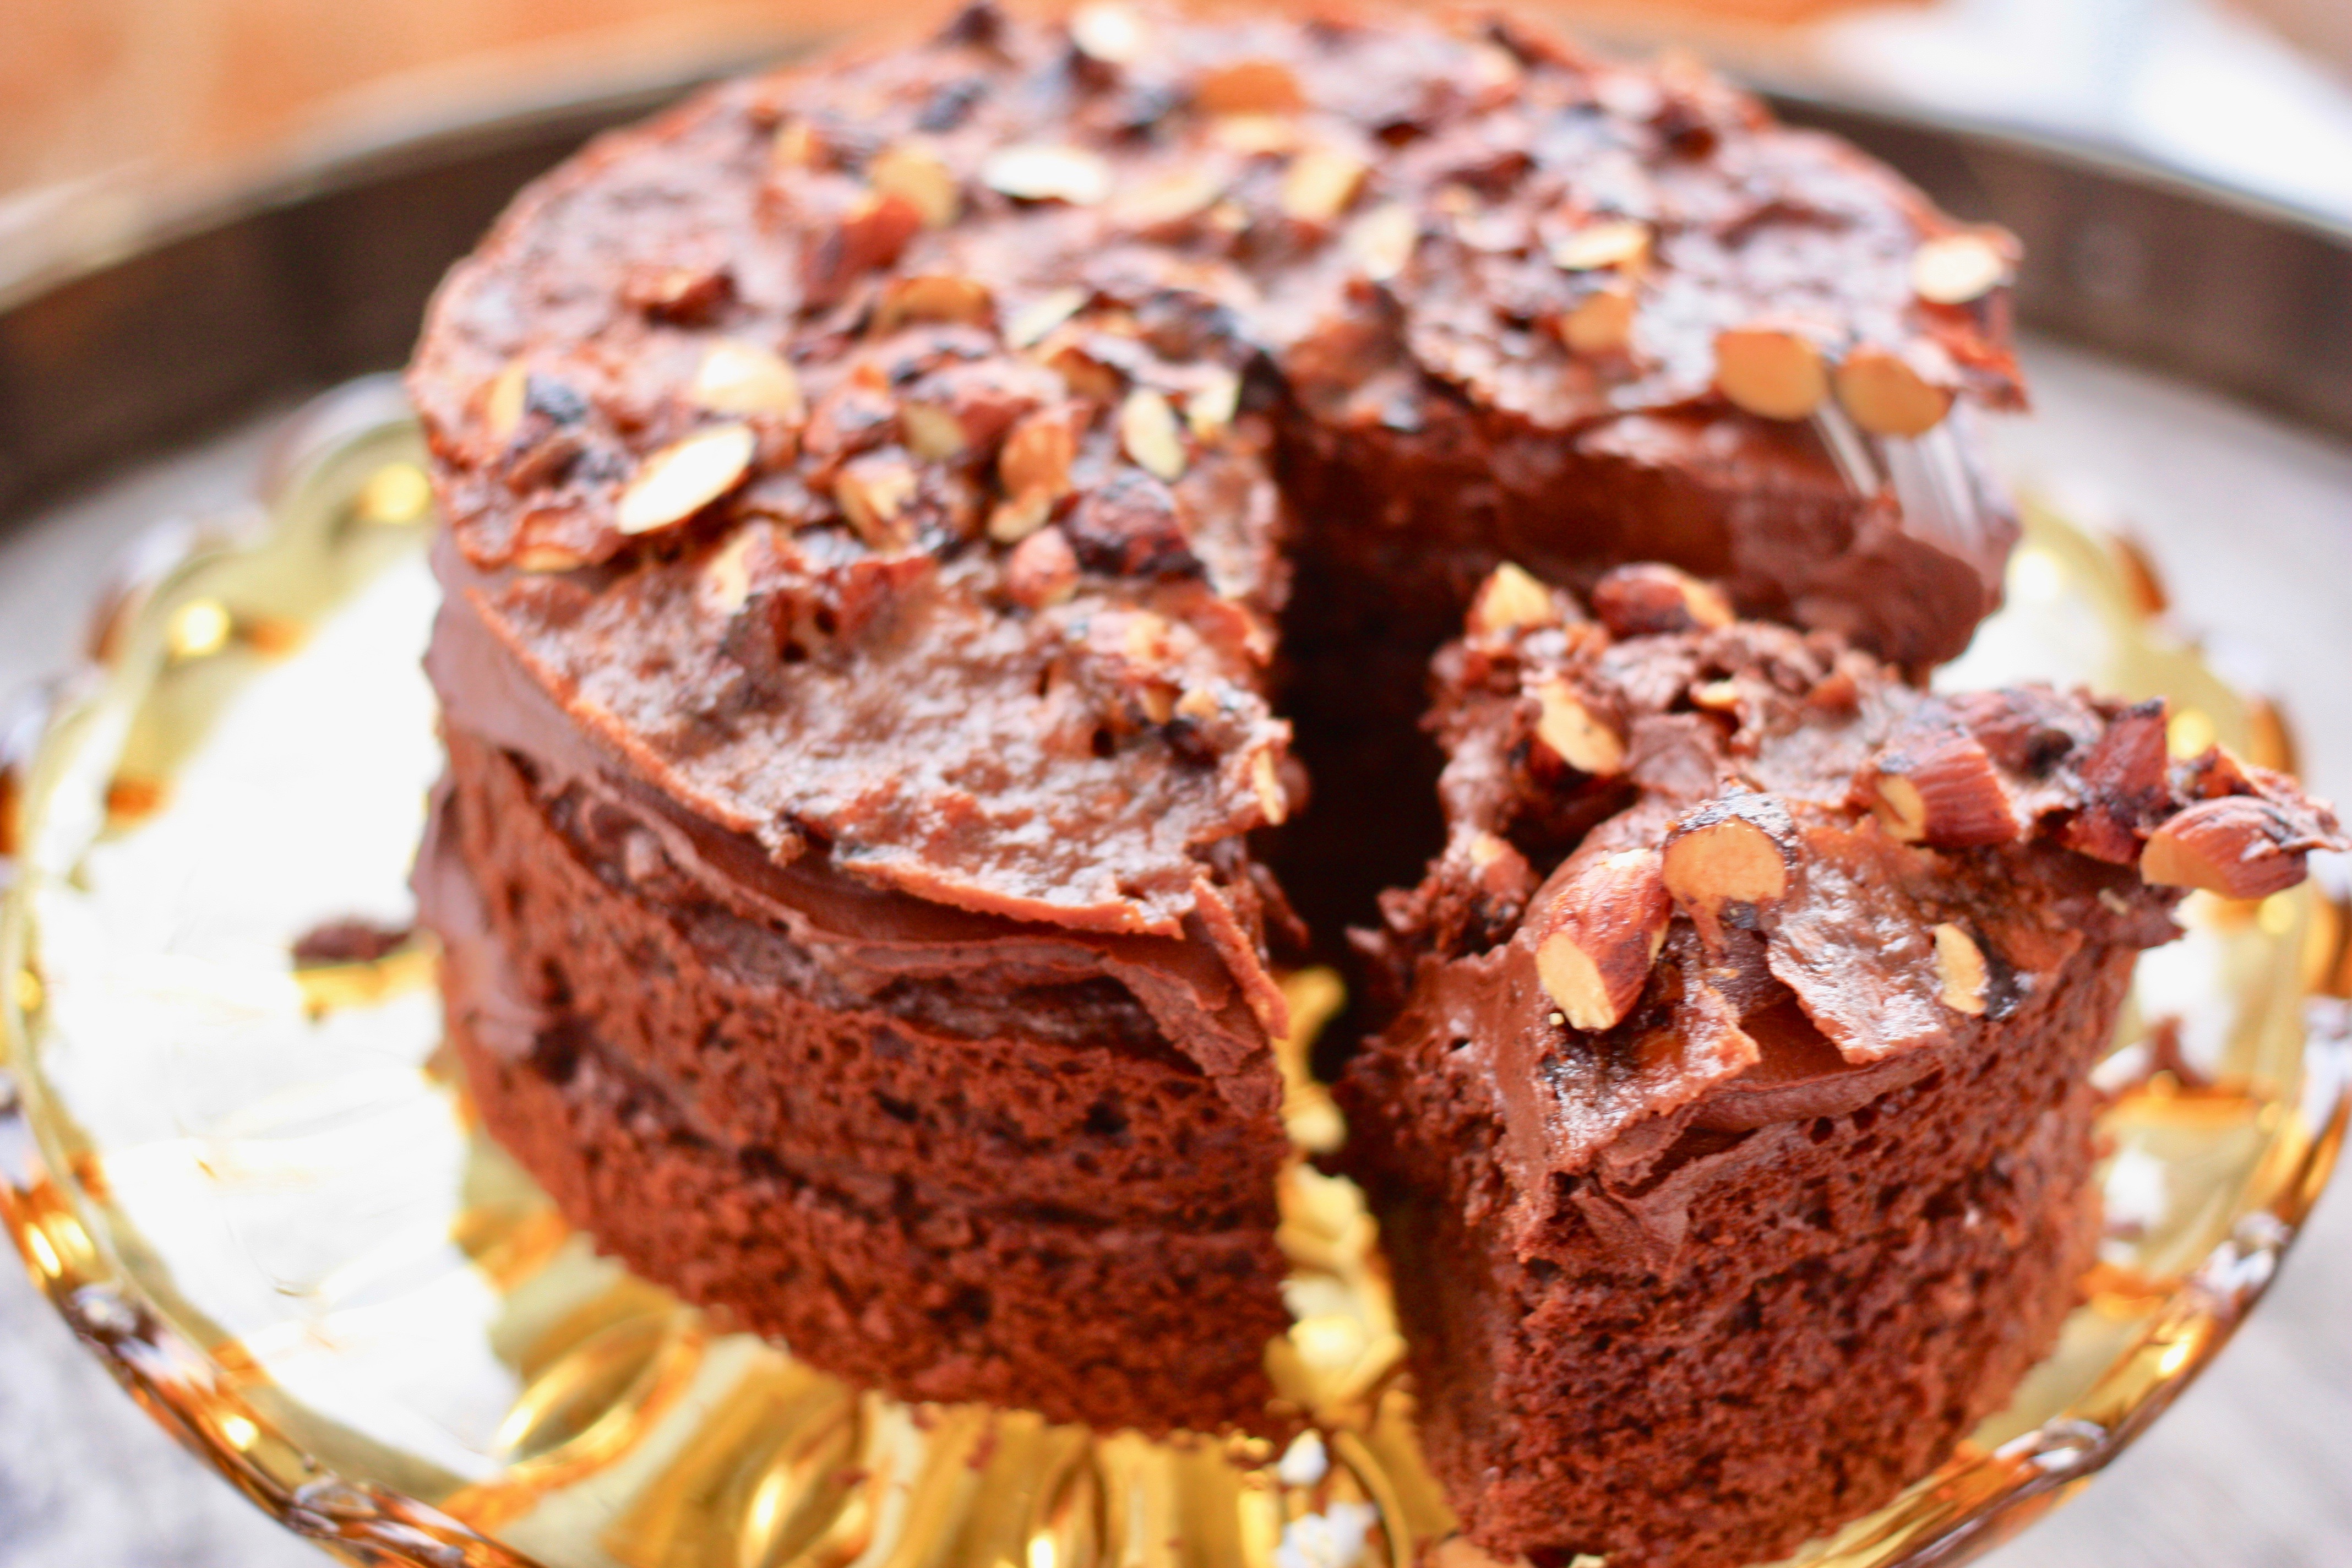
This rich and satisfying little chocolate cake has a secret sauce that makes it unforgettable. The salty component of this beauty comes from tamari (Japanese) soy sauce and it’s in the cake batter and the crunchy almond topper. Easy to make, this six-inch cake is perfect for eight small slices or four huge ones.
Tamari almonds
2 cups raw almonds
1 tbsp tamari or Japanese soy sauce
2 tbsp neutral oil, eg grapeseed
Preheat oven to 350°F. Place almonds on a baking tray. Pour over tamari or Japanese soy sauce and oil and mix through evenly. Spread almonds evenly in dish and roast until fragrant and crisp, about 15 minutes. Cool before storing in a sealed jar. They will keep for several weeks.
2. Chocolate Cake
Ingredients
1/2 cup all-purpose flour
3 tbsp cocoa powder sifted
1/4 tsp baking soda
1/4 tsp baking powder
1 egg
1/2 cup sugar
2 tbsp vegetable oil
1 tbsp tamari soy sauce
1 tsp vanilla extract
1/4 cup milk
Directions
With the rack in the middle position, preheat the oven to 350F. Butter the sides of a 6-inch springform or cake ring and line the bottom with parchment paper.
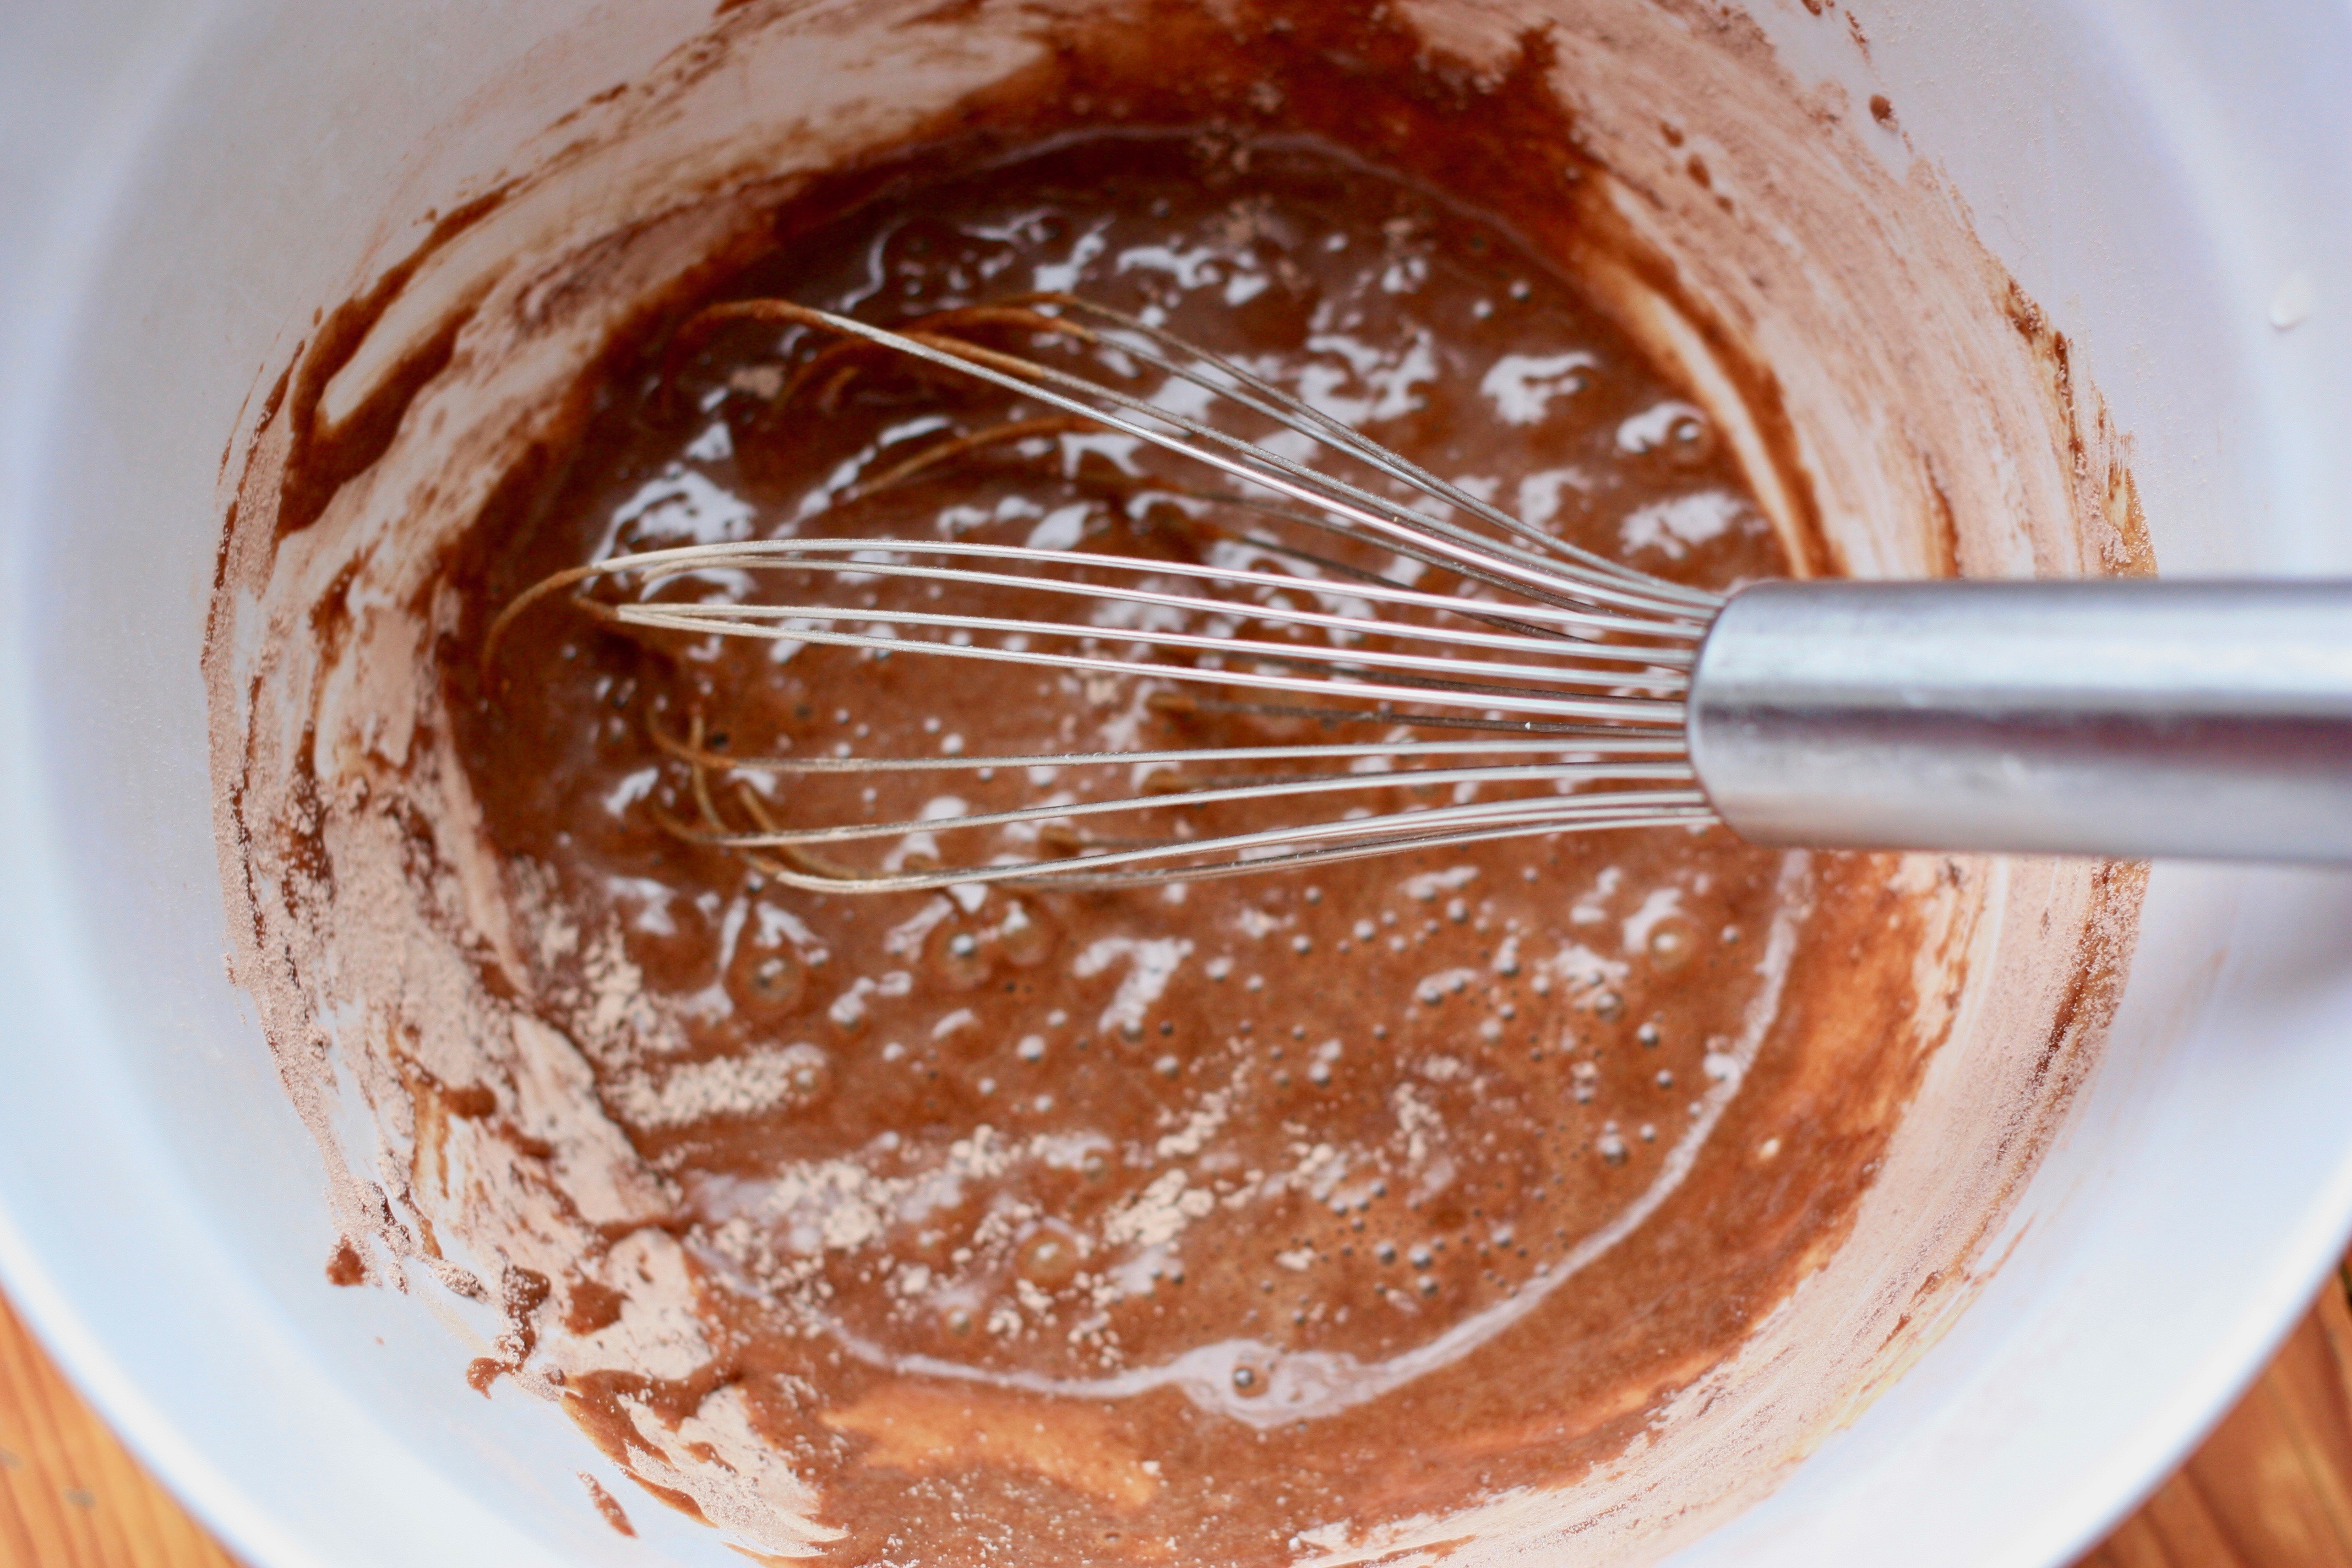
In a bowl, whisk together the egg, sugar, oil, soy sauce and vanilla. Stir in the dry ingredients alternately with the milk until smooth. Spoon into the prepared pan.
Bake for 35 minutes or until a toothpick inserted into the centre of the cake comes out clean. Let cool for 15 minutes. Unmould and let cool completely on a wire rack. Clean the ring or springform ring.
3. Almond Crisp
Ingredients
1 tbsp unsalted butter
2 tbsp brown sugar
1/2 tsp soy sauce
1 tbsp all-purpose flour
2 tbsp tamari almonds, coarsely chopped from step 1
Directions
Line a baking sheet with a silicone mat or parchment paper. Place the ring of the springform pan on the prepared sheet.
In a saucepan over medium-high heat, melt the butter with the brown sugar and soy sauce. Simmer for 30 seconds and remove from the heat. Stir in the flour. Working quickly, pour into the ring and spread into a thin layer. Sprinkle with the almonds.
Bake for 10 minutes in a 350F oven. Let cool completely on the baking sheet, then unmould.
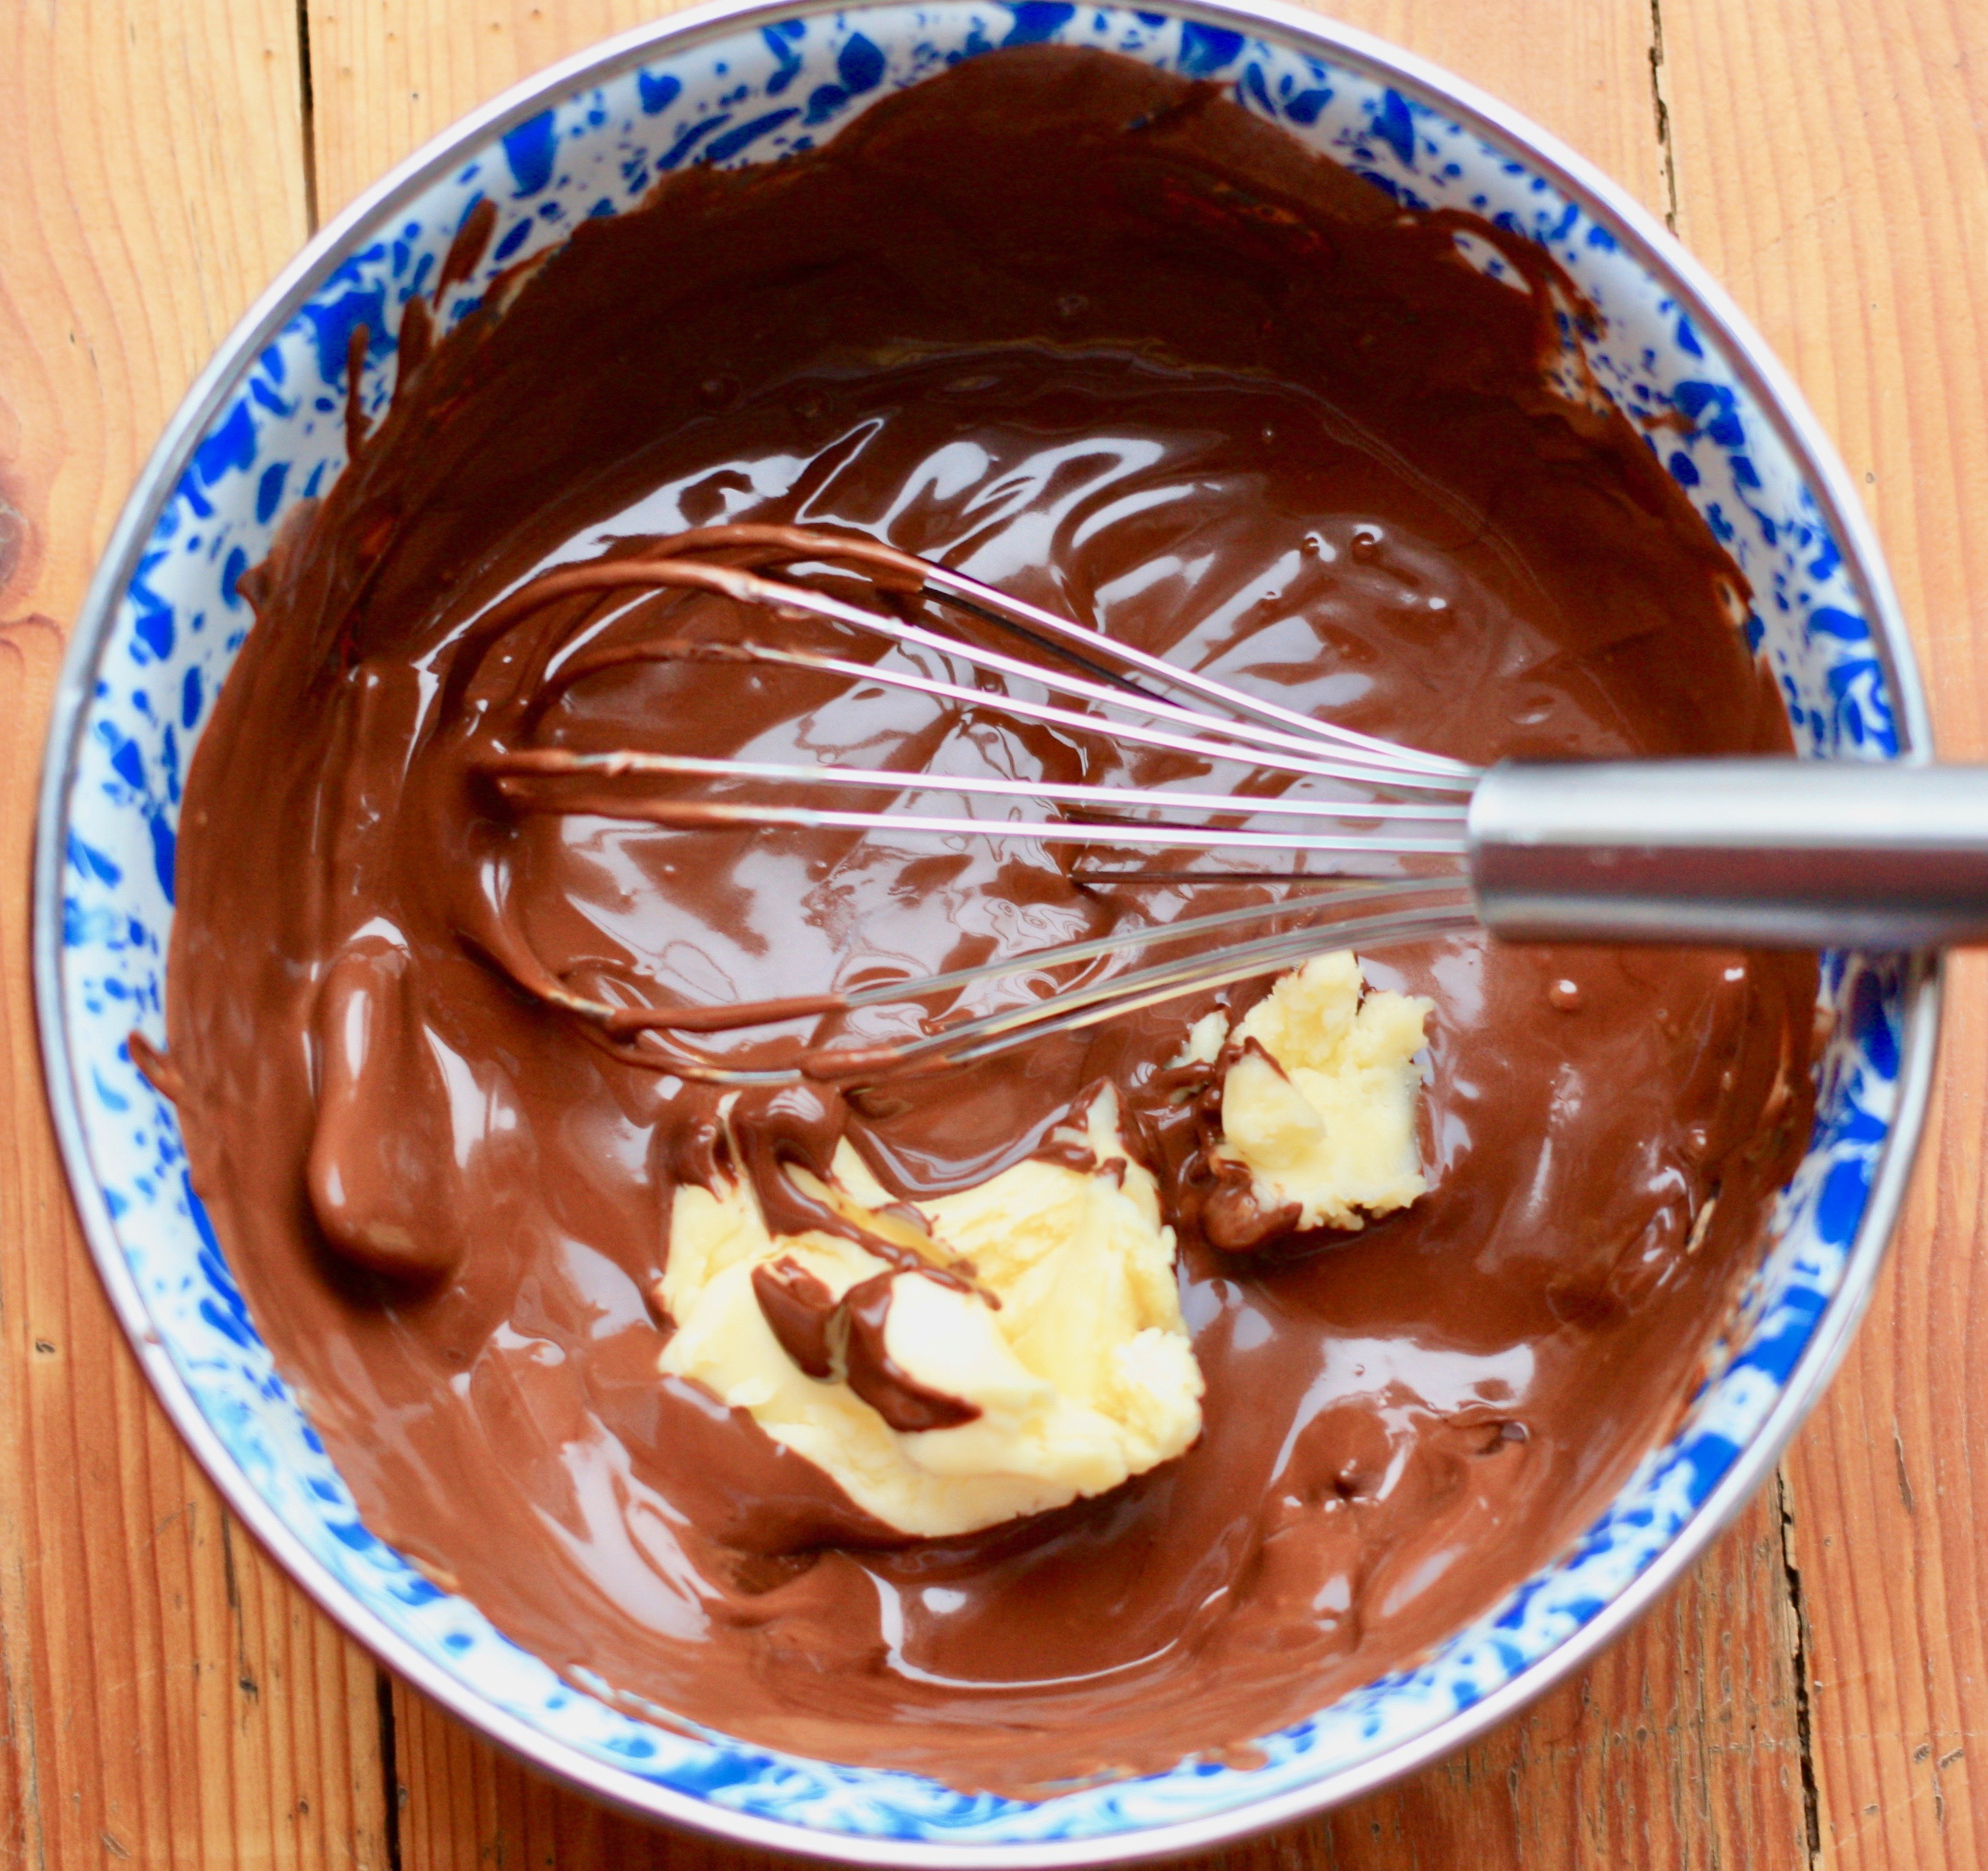
4. Ganache
Ingredients
170 grams good quality dark chocolate, chopped
2/3 cup 35% heavy cream
1/4 cup unsalted butter, softened
Directions
Place the chocolate in a bowl. In a saucepan, bring the cream to a boil. Pour over the chocolate and let melt for one minute without stirring. Using a whisk, stir until smooth. Stir in the butter. Cover and refrigerate for a half hour or until the ganache is spreadable.
Some Assembly Required
Slice the cake in half horizontally to obtain two layers. Spread the ganache onto each layer and stack them. Top with the almond crisp.
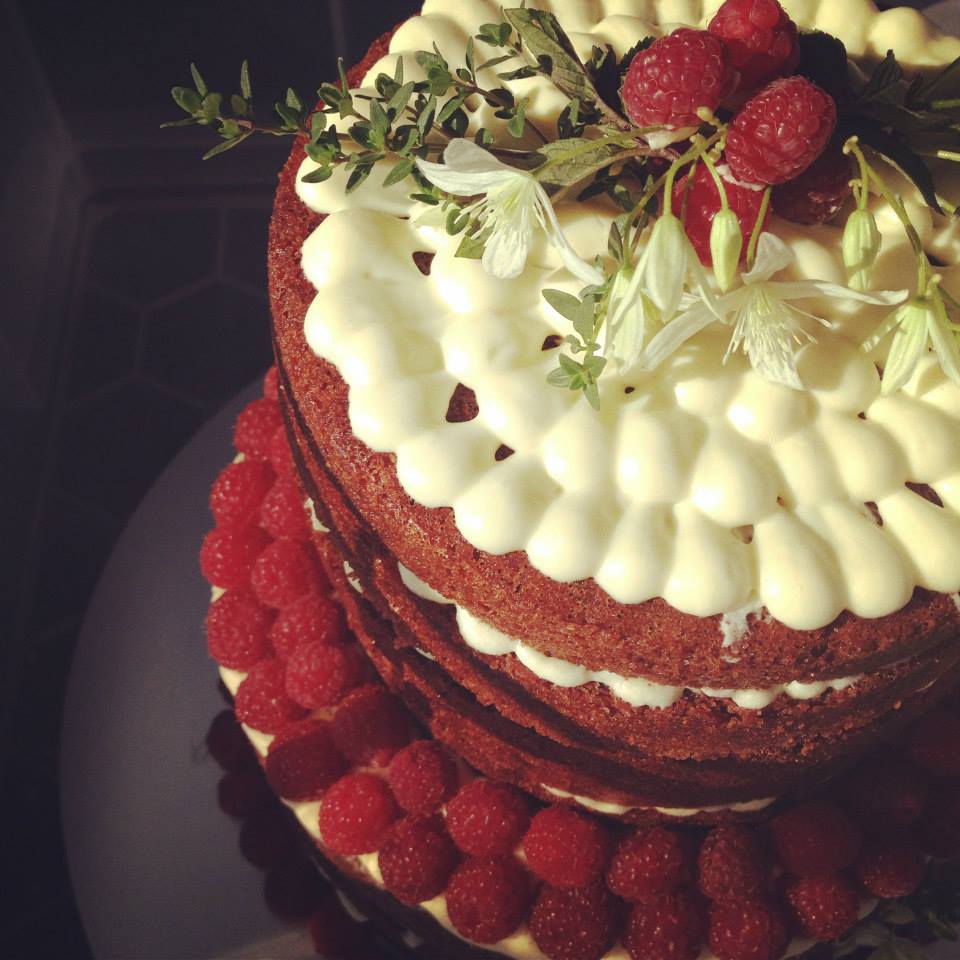
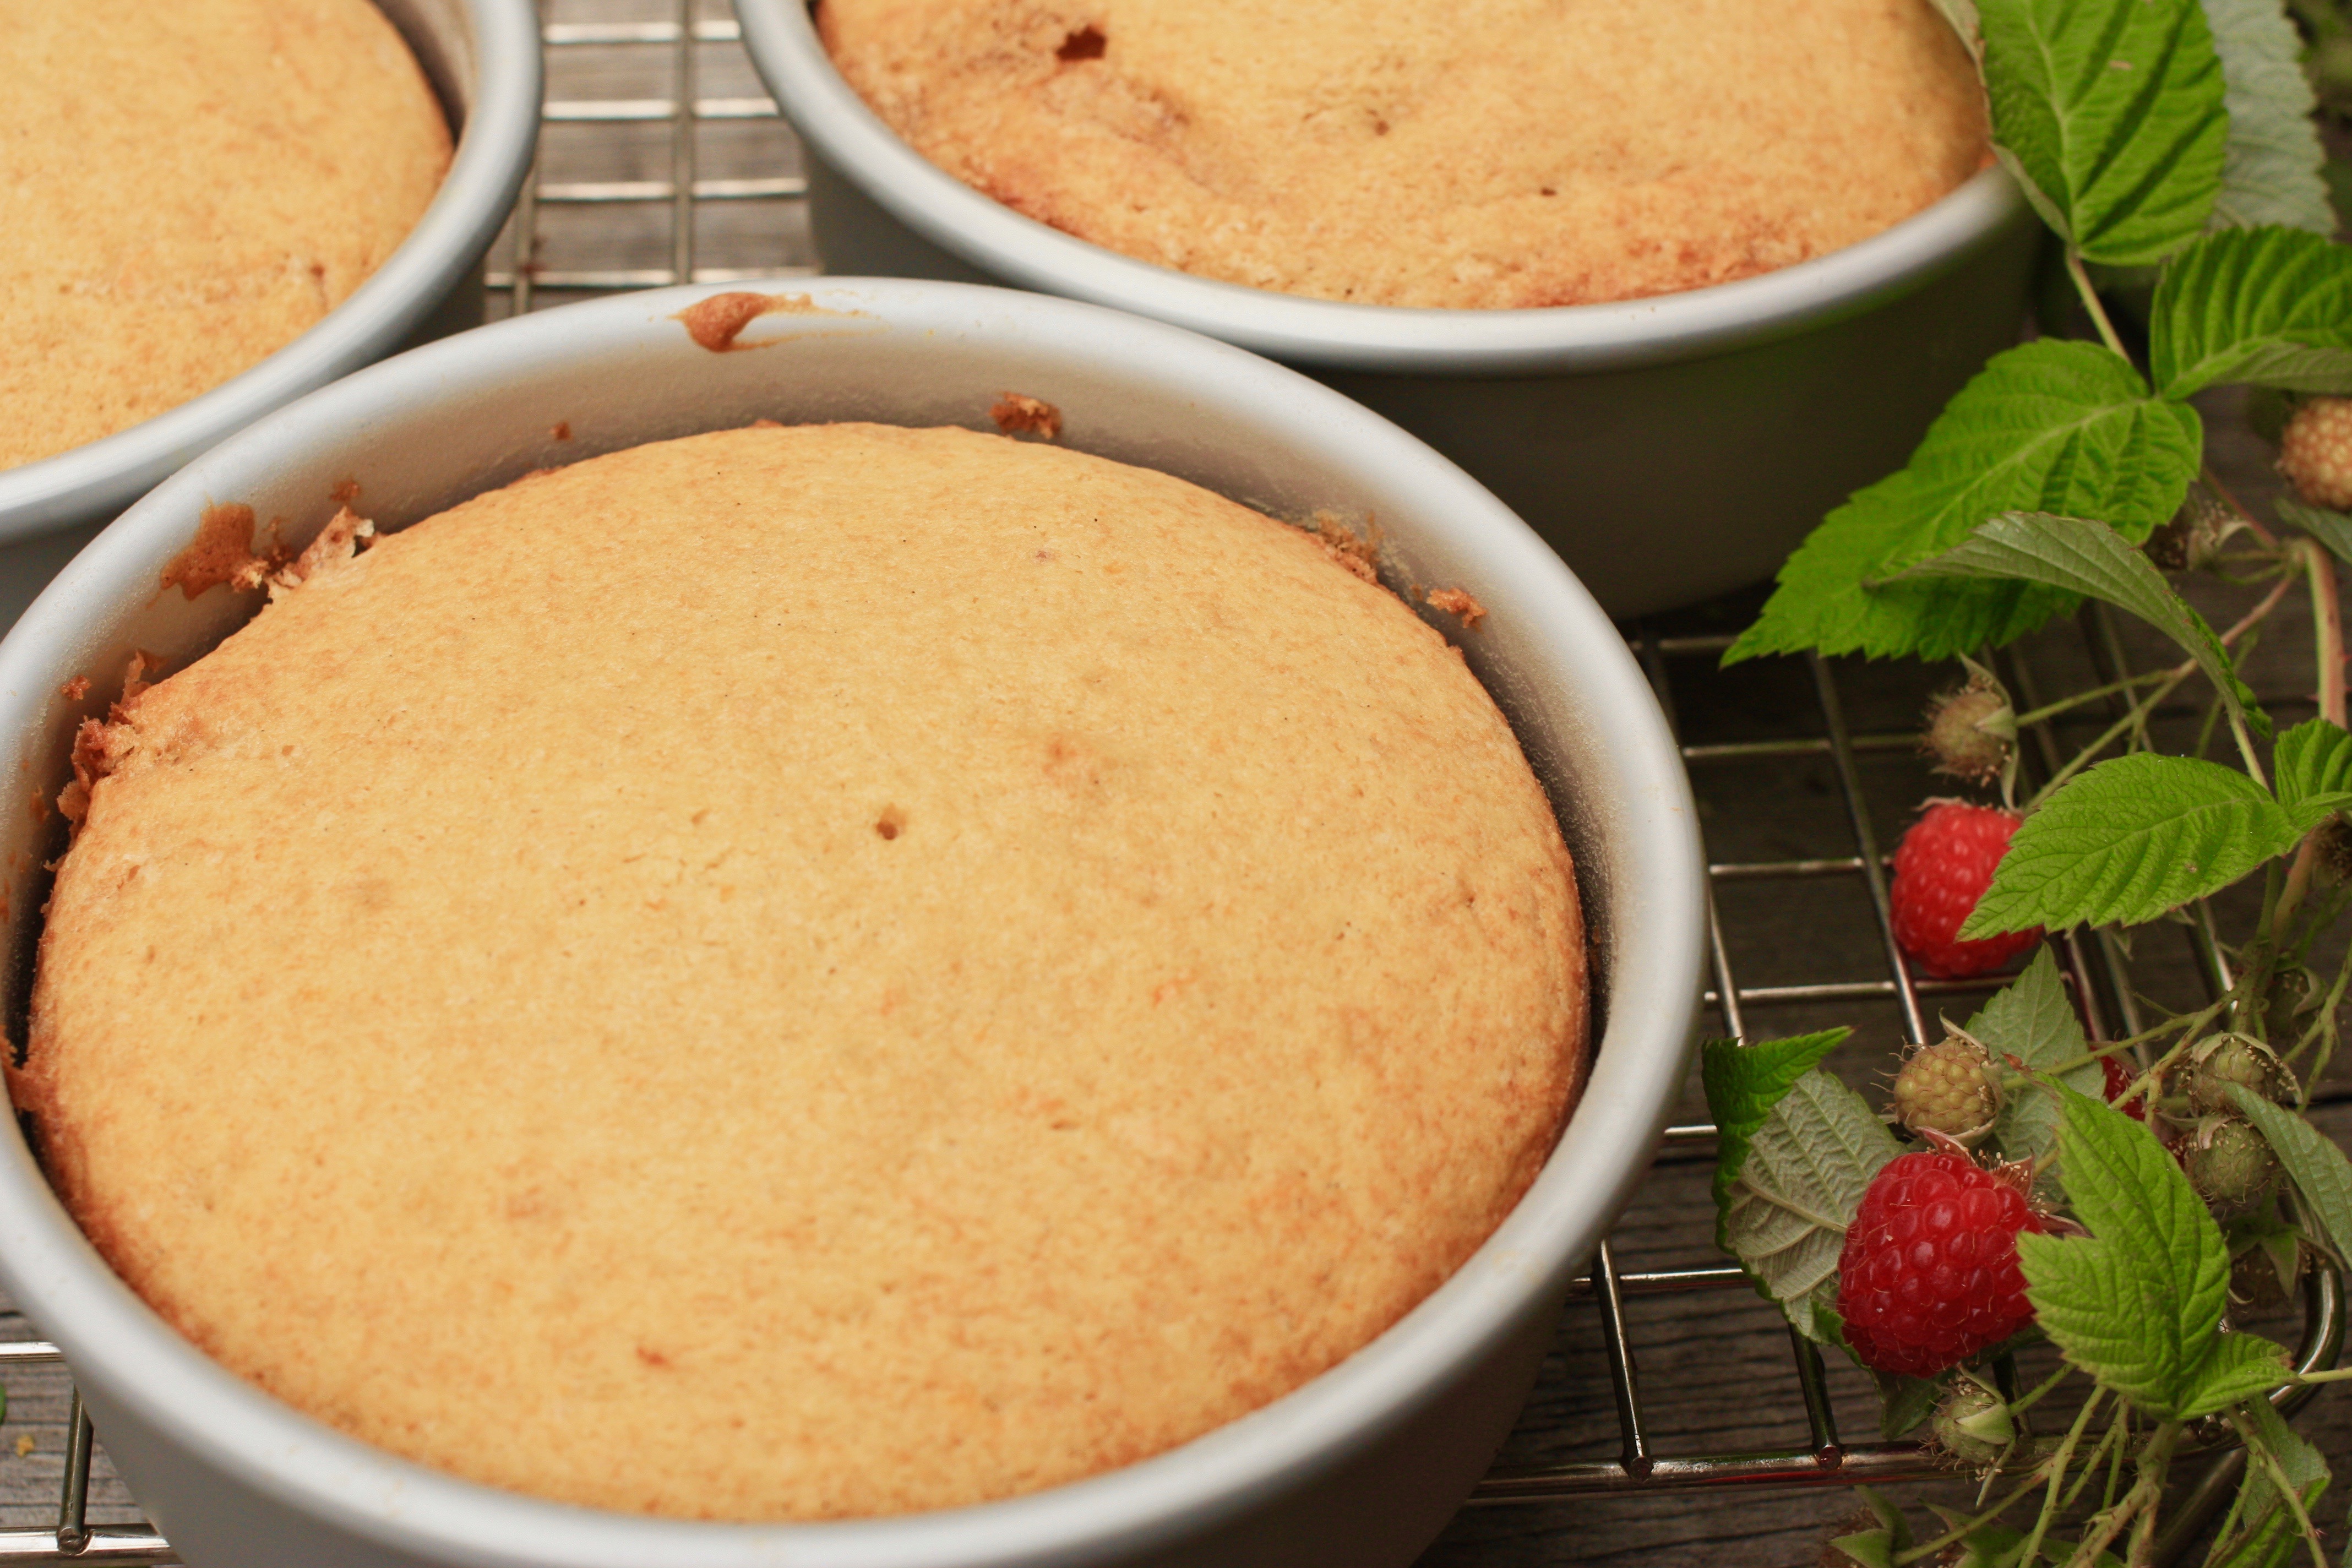
When you have a raspberry farm you seek out raspberry recipes. This one is a gem. The thyme and orange flavours add a lovely sharp counterpoint to the rich brown sugar buttermilk cake with raspberry filling. The only downside, it only uses a scant half cup of berries!
Orange thyme syrup
1/2 cup of fresh orange juice…use blood oranges if you can find them
1/2 cup sugar
5 to 8 sprigs fresh thyme
Combine the orange juice and sugar in a saucepan and bring them to a boil over medium-high heat. Reduce to a simmer and add the thyme. Simmer for 8 or 10 minutes. Remove from the heat and let steep until cool. Strain the syrup and discard the thyme. You can make this a day ahead and refrigerate if you are organized.
Brown sugar buttermilk cake
2 1/4 cups cake flour
1 1/2 teaspoons baking powder
1/2 teaspoon salt
1/4 teaspoon baking soda
3/4 cup room temp. unsalted butter
3/4 cup plus 2 tablespoons firmly packed brown sugar
1 1/2 teaspoons finely grated orange zest
1 teaspoon pure vanilla extract or vanilla bean paste
3 large farm-fresh organic eggs
1 large egg yolk
3/4 cup plus 2 tablespoons buttermilk
Preheat oven to 350F and grease and flour three 6-inch cake pans.
Sift together the flour, baking powder, salt and baking soda and set aside.
In the bowl of stand mixer with the paddle attachment, beat the butter until smooth. Add the sugars and orange zest. Turn the mixer to medium-high and mix until the butter is light and fluffy (5 minutes or so). Stop mixer and scrape down the bowl.
Turn the mixer to low and add the flour mixture in three batches, alternating with the buttermilk. Mix on medium for 30 seconds.
Evenly divide the batter in the three prepared pans. Bake for 23 to 25 minutes or until a toothpick inserted into the centre of the cakes comes out clean. Let them cool on wire racks for 15 minutes before removing from pans.
Raspberry Buttercream (Makes a bit over three cups…you will need 2 cups)
1/2 cup large egg whites
1 cup granulated sugar
1 1/2 cups unsalted butter at room temperature cubed
1 1/2 teaspoons vanilla extract
1/2 cup of fresh raspberries from your local farmer
2 teaspoons granulated sugar
Make the buttercream
Place the egg whites and sugar in the bowl of a stand-mixer. Whisk them together by hand to combine. Make a double boiler by filling a medium pot filled with water over medium-high heat. Place the mixer bowl on top of the pot. The bottom of the pot should not touch the water.
Whisk intermittently and heat the egg mixture to 160F (candy thermometer) or until it is hot to the touch. Carefully fit the mixer bowl onto the stand mixer and whip with the wire attachment on high speed for 8 to 10 minutes, until it holds medium-stiff peaks. The bowl should be back to room temperature at this point. Stop the mixer and swap out the whisk attachment for the paddle.
With the mixer on low, add the cubed butter, a few tablespoons at a time then the vanilla. Once incorporated, turn up the mixer speed to medium-high and beat until the buttercream is silky smooth, 3 to 5 minutes.
2. Make the raspberry puree
Blend the raspberries and 2 teaspoons of sugar together in a food processor until combined. Strain to remove seeds through a mesh sieve set up over a bowl. Add a 1/4 cup of this pureed mixture to 2 cups of the buttercream (you will have extra buttercream) until combined.
Some assembly required
Once the cakes have cooled, level them and choose which one will be at the bottom. Generously brush the cake layers with the orange thyme syrup. Place the bottom layer on a cake plate and spread on 3/4 cup of the raspberry buttercream with an offset spatula. Top with the next layer of cake and repeat with the buttercream, ending with the third layer. Use the remaining buttercream to fill in any gaps between layers and give the cake a rustic coat of icing.
Make the orange glaze
1 1/4 cups confectioner’s sugar sifted
2 tablespoons plus 1 teaspoon fresh orange juice (blood orange juice works well here if you can find it as gives the icing a nice colour)
In a small bowl, whisk the confectioner’s sugar and orange juice together until the sugar has dissolved. Pour the glaze onto the centre of the top of the cake and spread it evenly letting it drip over the edges.
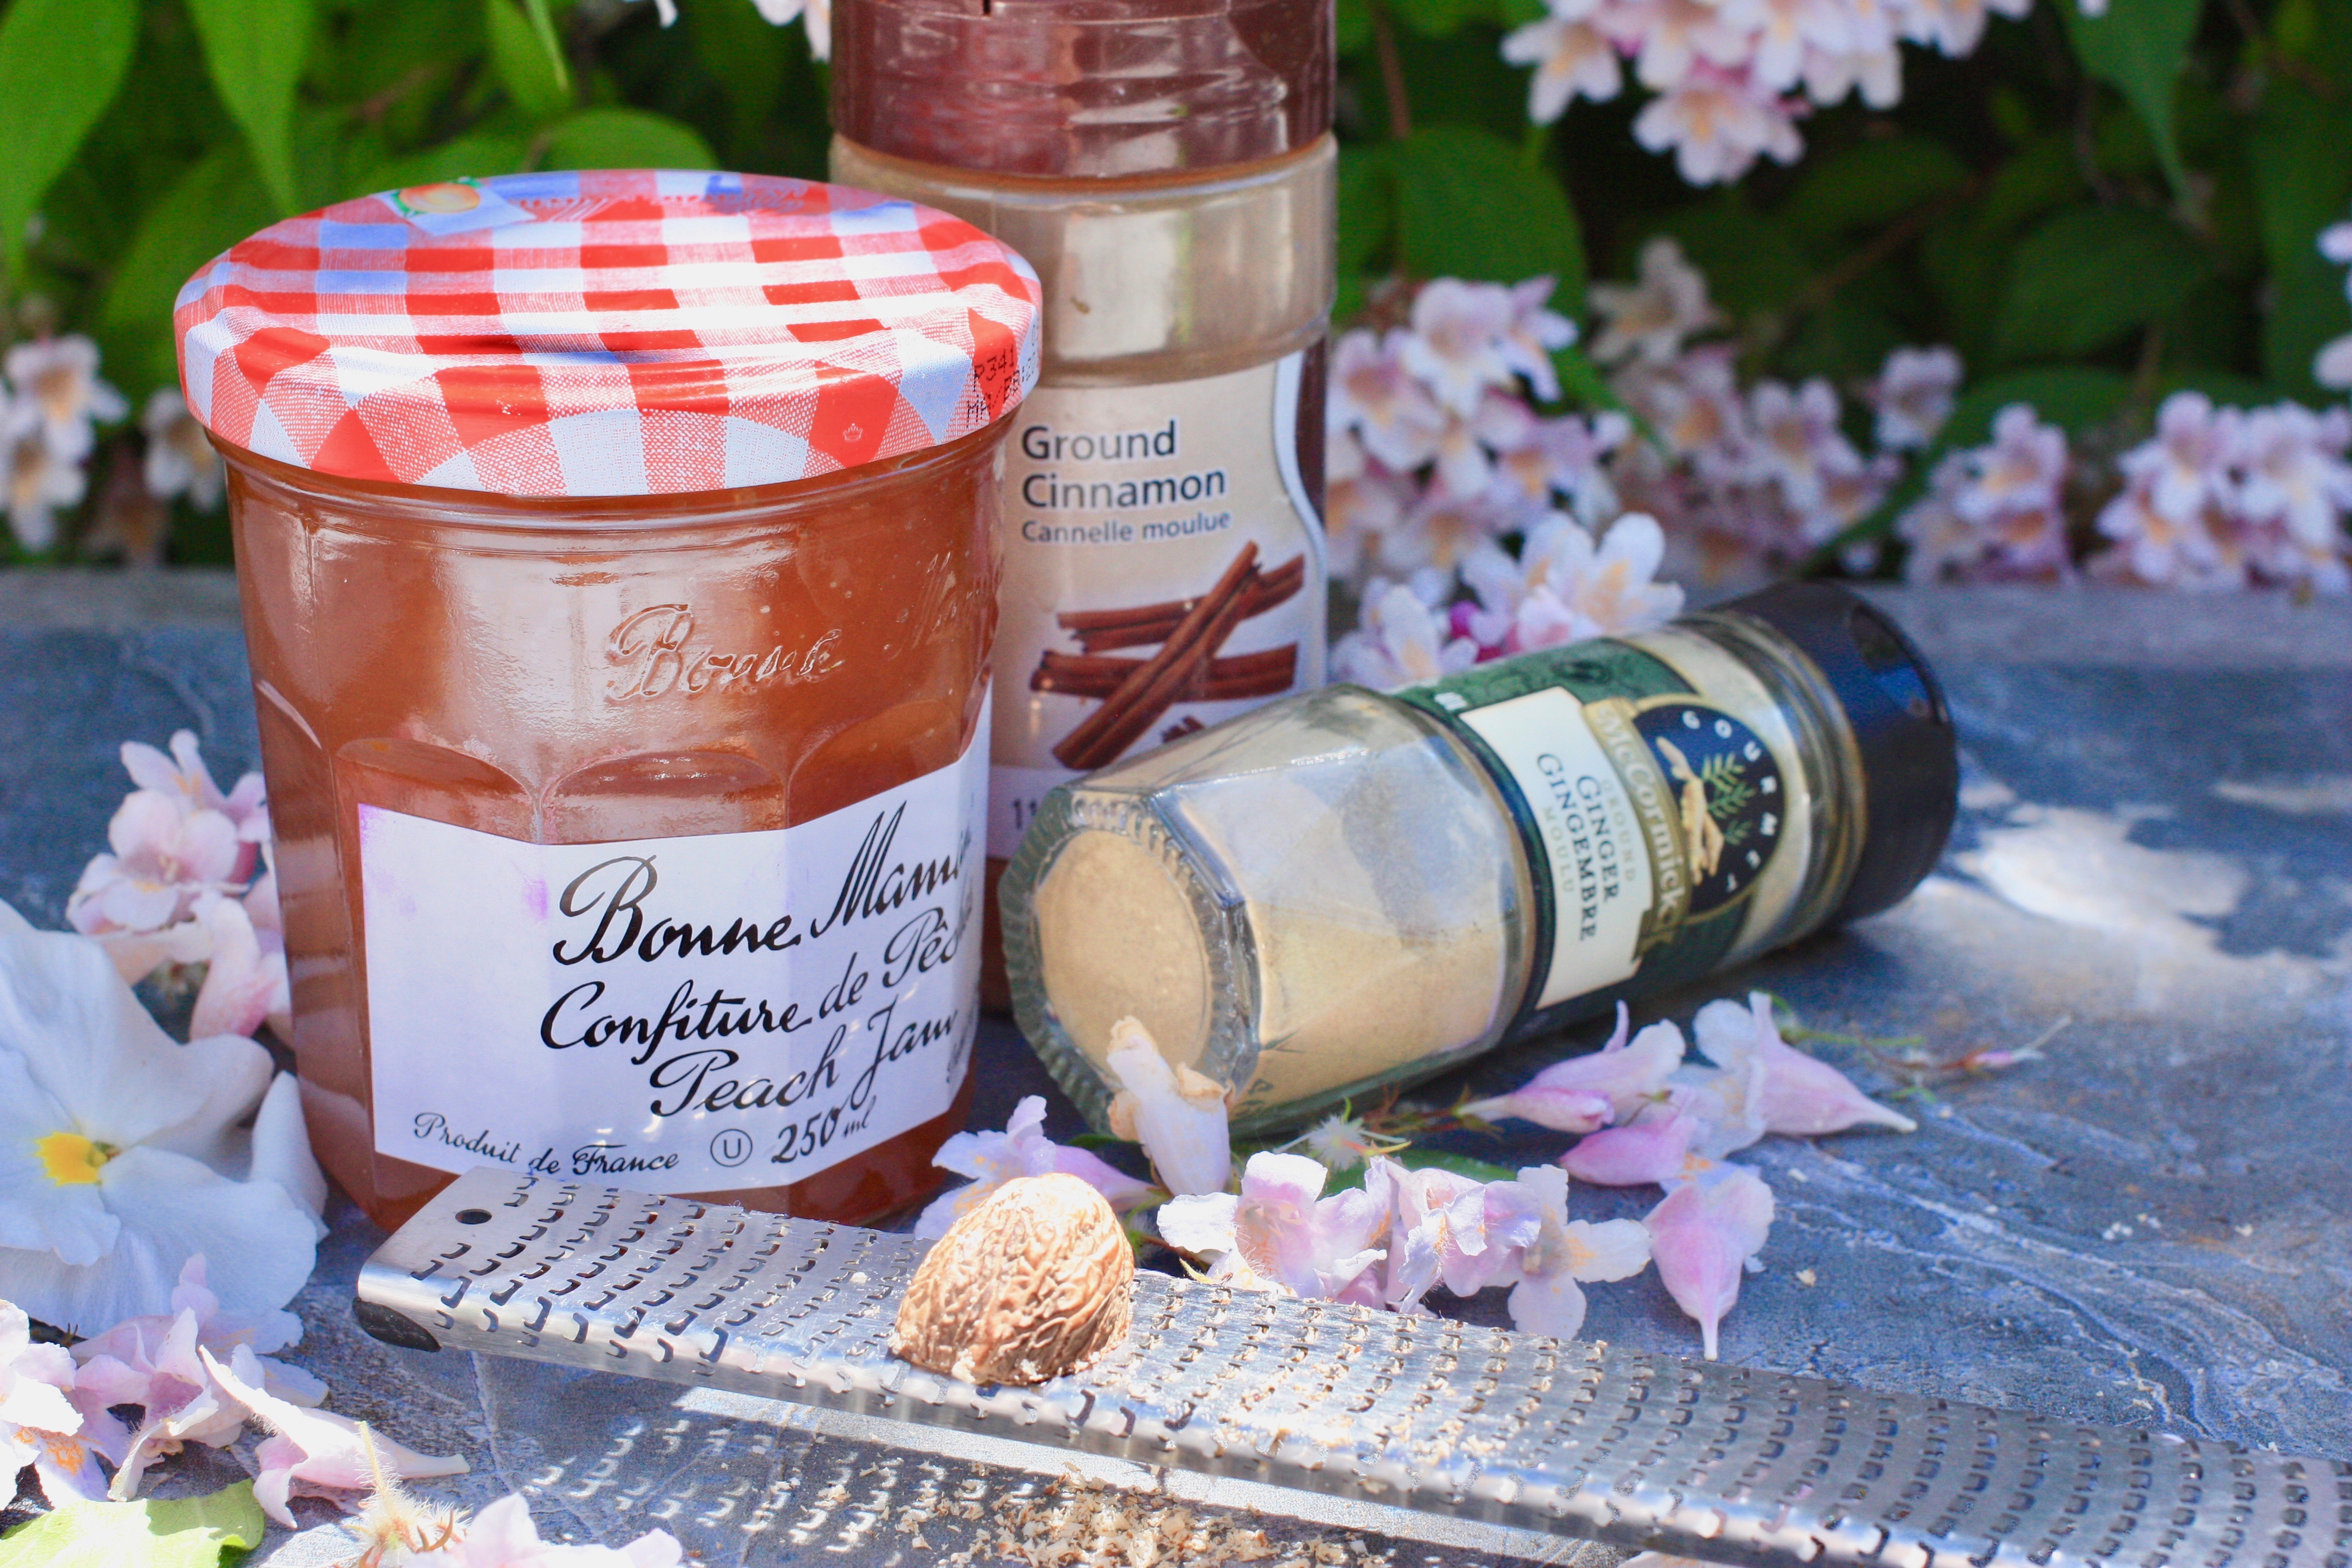
It has to be tasted to be believed. This rustic-looking cake belies its simple appearance. It is a toothsome combination of ingredients such as cocoa, cinnamon, fresh-ground nutmeg made light and moist with fresh eggs, butter, grapeseed oil and buttermilk. The smell from the oven is as enticing as it gets. Take it up a notch by soaking the cakes in a glaze made with peach jam and spices. Blow it into orbit with a fluffy caramel cream cheese frosting and give it some delicious crunch with rosemary toasted pine nuts and fresh summer flavours with dynamite organic peaches from Naramata’s T NT Farmand you have something worth the afternoon it will take you to bake it and a run-on sentence worth running on about.
This amazing creation, which I Naramatified, is from British Columbian Tessa Huff and her spectacular Layered cookbook. In a Julie and Julia type scenario I’ve been baking my way through her cake cookbook, adding a few custom touches here and there and sourcing my ingredients locally. This recipe gets a 12 out 10. Enough hyperbole…let’s get cracking. There are six separate recipes to tackle…none of them hard: Spice cake, peach glaze, rosemary pine nuts, salted caramel sauce and Swiss meringue buttercream. You will need a two 8-inch cake pans for this beauty that serves 12 to 15 peeps.
Spice Cake ingredients
2 3/4 cups cake flour
1 tablespoon unsweetened cocoa powder
1 tablespoon ground cinnamon
2 teaspoons baking powder
1 teaspoon ground ginger
1 teaspoon baking soda
1/2 teaspoon salt
1/2 teaspoon freshly ground nutmeg
1/4 teaspoon ground cloves
3/4 cup unsalted butter, room temperature
1/4 cut grapeseed oil
2 cups granulated sugar
1 teaspoon pure vanilla
4 large eggs (I walk out to my yard, and get them from my chickens Maria and The Baroness…bragging a little)
1 1/4 cups buttermilk (from the store…I don’t have a cow yet)
Directions
Preheat the oven to 350F, grease and flour two 8-inch cake pans and line with parchment rounds.
Sift together the flour, cocoa powder, cinnamon, baking powder, ginger, baking soda, salt, nutmeg and cloves and set aside.
In the bowl of a stand mixer fitted with the paddle, beat the butter on medium. Add the oil and sugar. Turn the mixer to medium high and mix for 3 minutes. Turn mixer to low, add the vanilla and eggs, one at a time. Scrape down the bowl.
Turn mixer to low and add the flour mixture alternating with the buttermilk in three batches. Only mix for 30 seconds or until just combined.
Divide the batter between the prepared pans and bake for 25 to 28 minutes, or until a toothpick inserted into the centre of the cakes comes out clean. While the cakes are baking work on the peach glaze as you will need to spread it over the cakes as soon as they come out of the oven.
Peach glaze ingredients
1 cup peach jam
1/2 teaspoon cinnamon
1/2 teaspoon ground ginger
1/8 teaspoon freshly grated ginger
Directions
Combine the jam, cinnamon, ginger and nutmeg in a saucepan. Heat over medium until the jam melts…five minutes or so. Strain the mixture through a fine sieve set over a bowl to remove any solids. Evenly pour the warm peach glaze over the top of the two cakes just after they come out of the oven. Let them cool completely on a wire rack before removing the cakes from their pans. Do not turn the cakes upside down to remove as the tops will be sticky. Rather pry them up with the parchment or a lifter.
Cakes just out of the oven with their glaze.
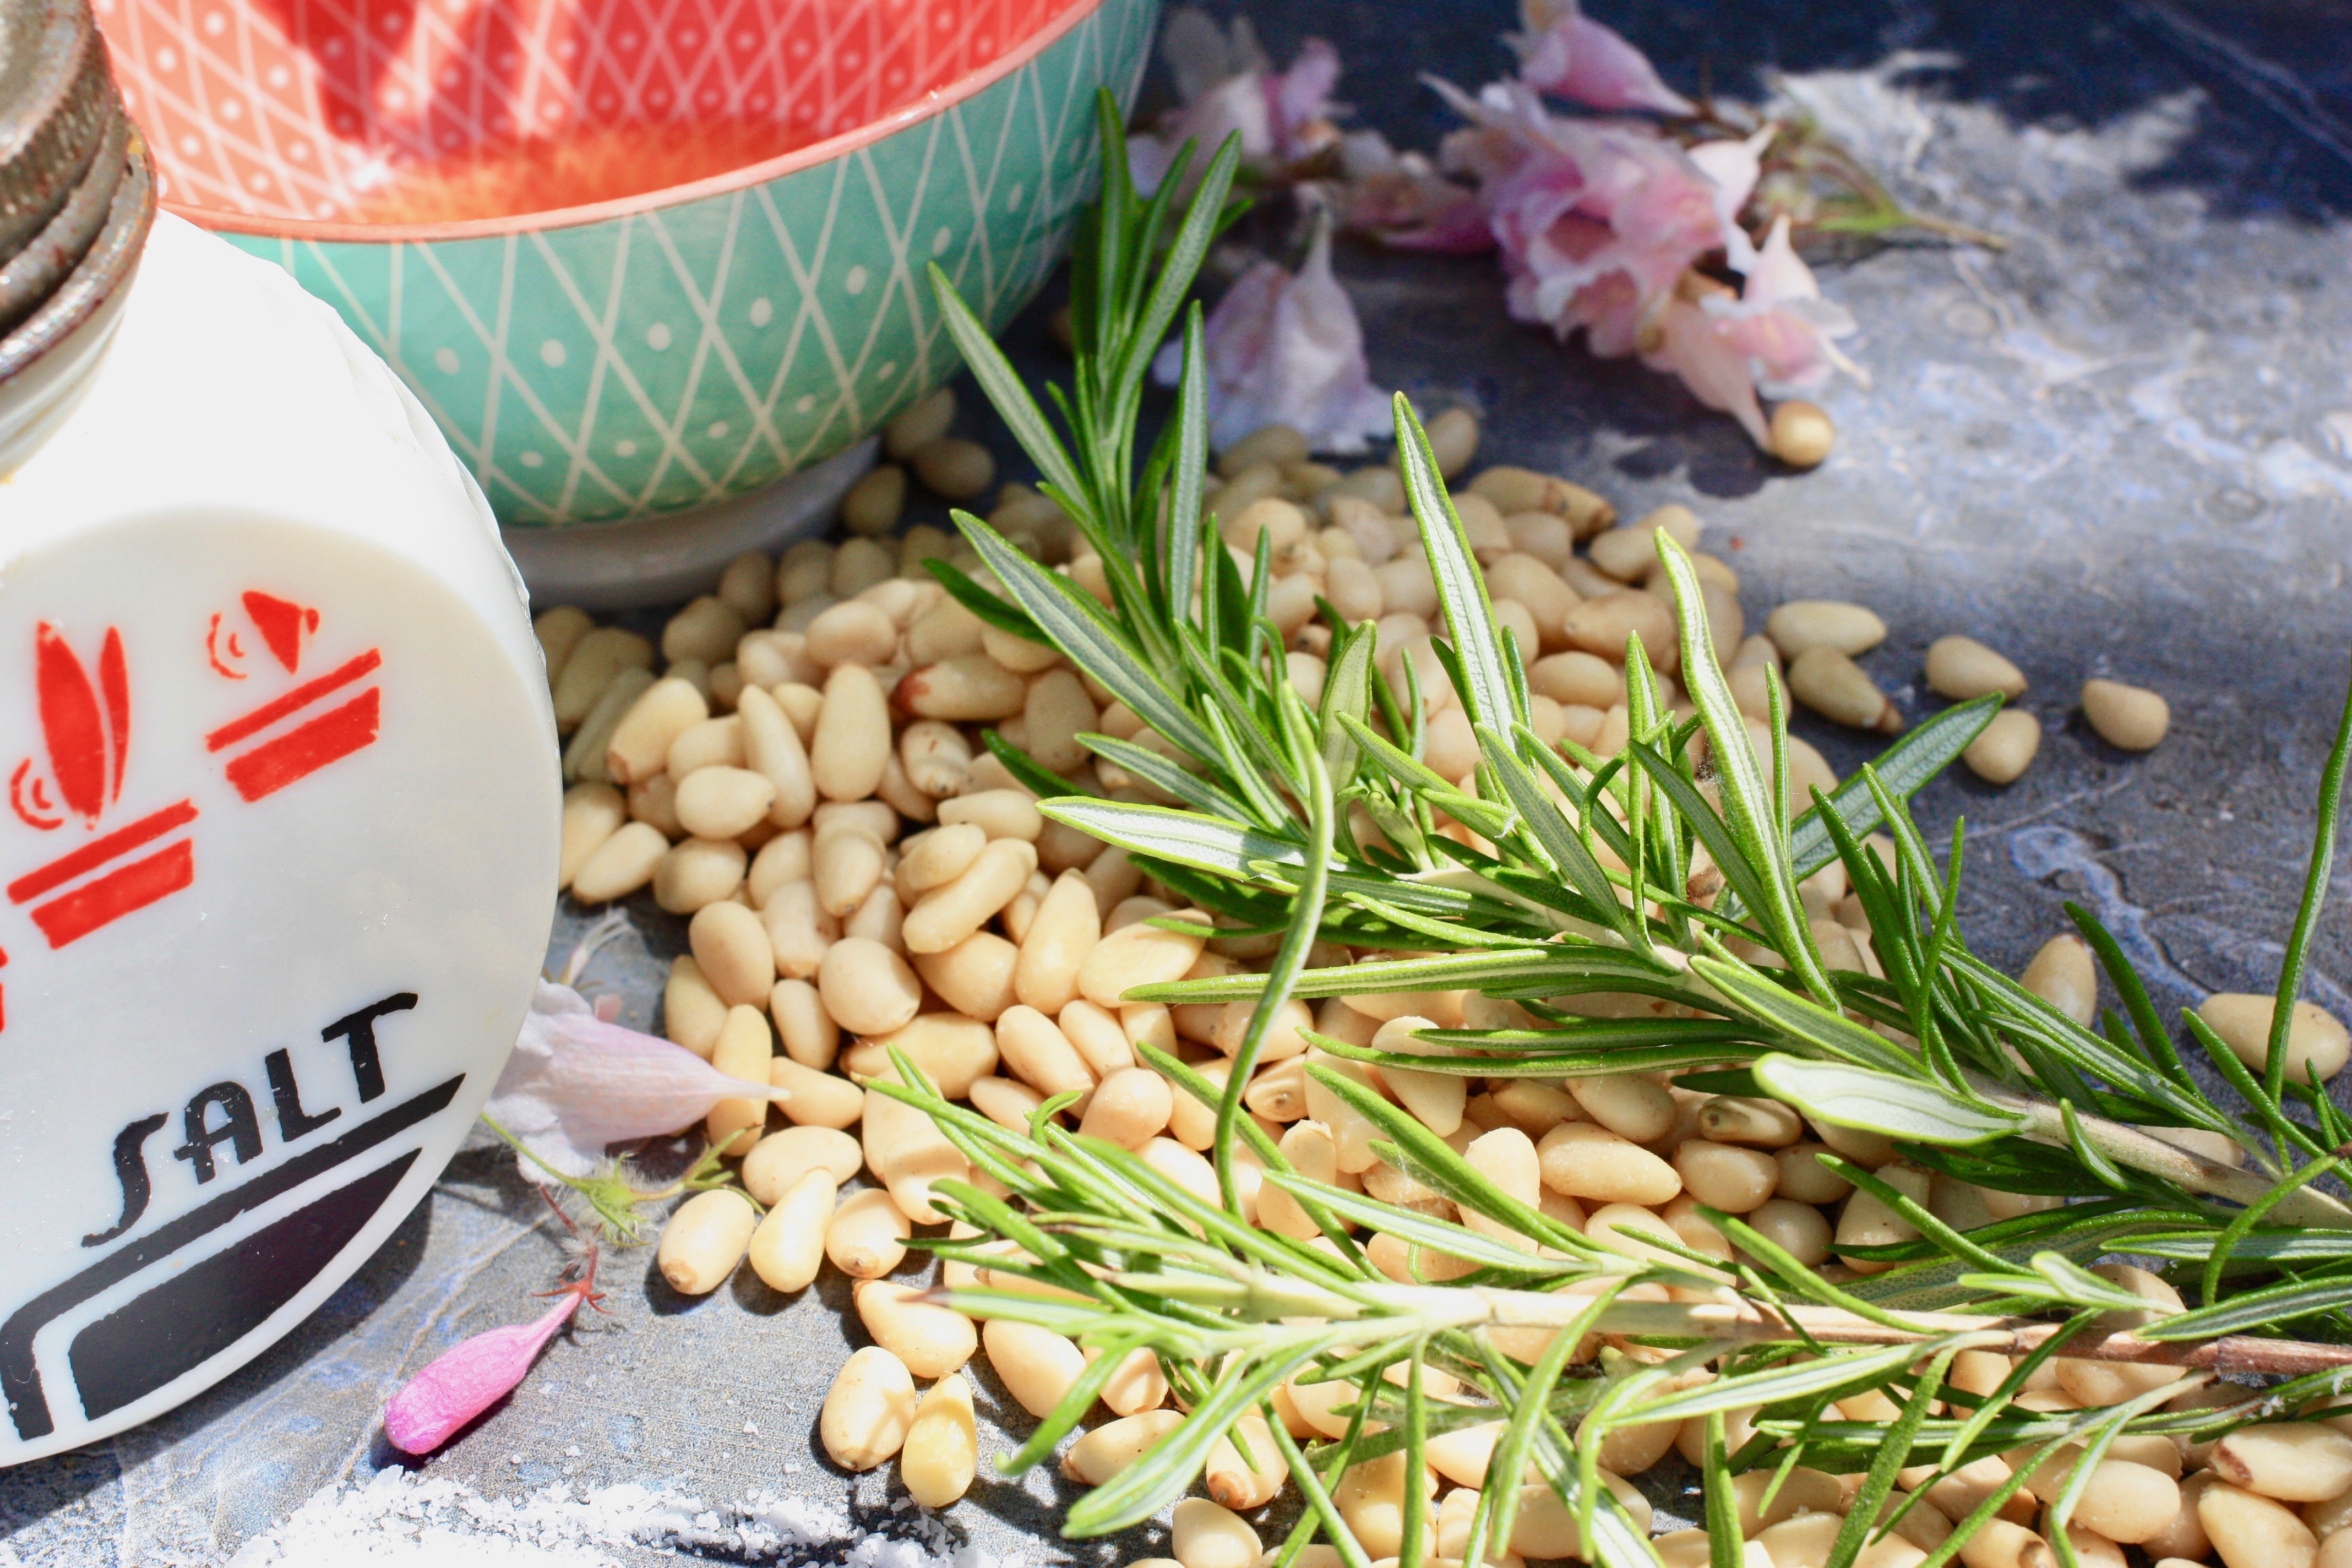
Rosemary pine nuts ingredients
1/2 cup pine nuts
1 tablespoon Okanagan honey
1 teaspoon rosemary (you can use dried)
1/4 teaspoon salt
Directions
Heat a heavy-bottomed skillet over medium-high heat. Reduce the heat to medium and dry-roast the nuts for about three minutes. Add the honey, rosemary and salt and stir until nuts are evenly coated. Cook, stirring for another 3 minutes. Remove from the heat and spread on piece of parchment paper to cool and dry … about 10 minutes.
Salted caramel sauce ingredients
3/4 cup granulated sugar
2 tablespoons light corn syrup
1/2 cup of heavy cream at room temperature
2 tablespoons unsalted butter, diced
3/4 teaspoon sea salt
1 teaspoon vanilla extract (or vanilla bean paste which I use exclusively as it’s better…Nielsen-Massey is great.)
Directions
Place the sugar, corn syrup and 2 tablespoons of water in a heavy-bottomed small saucepan. Stir. Heat over high heat, stirring occasionally swirling the pan, until in turns a medium golden amber colour…8 to 10 minutes. The sugar mixture will begin to rapidly boil before slowing down and darkening in colour. Remove from the heat and whisk in the cream. Be careful as it will foam up and sputter. Add the butter and stir until melted. Add the salt and vanilla and stir. Pour into heat-safe container and let if cool or refrigerate. It will thicken as it cools.
Vanilla swiss meringue buttercream
1/2 cup plus egg whites
1 cup granulated sugar
1 1/2 cups unsalted butter (very important that it be at room temperature or it won’t combine properly) cubed
1 1/2 teaspoons pure vanilla extract or vanilla bean paste
Directions
Place the egg whites and sugar in the bowl of a stand-mixer. Whisk them together by hand to combine. Make a double boiler by filling a medium pot filled with water over medium-high heat. Place the mixer bowl on top of the pot. The bottom of the pot should not touch the water.
Whisk intermittently and heat the egg mixture to 160F (candy thermometer) or until it is hot to the touch. Carefully fit the mixer bowl onto the stand mixer and whip with the wire attachment on high speed for 8 to 10 minutes, until it holds medium-stiff peaks. The bowl should be back to room temperature at this point. Stop the mixer and swap out the whisk attachment for the paddle.
With the mixer on low, add the cubed butter, a few tablespoons at a time then the vanilla. Once incorporated, turn up the mixer speed to medium-high and beat until the buttercream is silky smooth, 3 to 5 minutes.
Caramel Cream Cheese Frosting ingredients
4 ounces cream cheese, softened
2 cups vanilla swiss meringue buttercream
1/4 cup salted caramel sauce
Directions
In the bowl of stand mixer with the paddle, beat the cream cheese on medium until smooth, add the buttercream and caramel sauce and mix until combined.
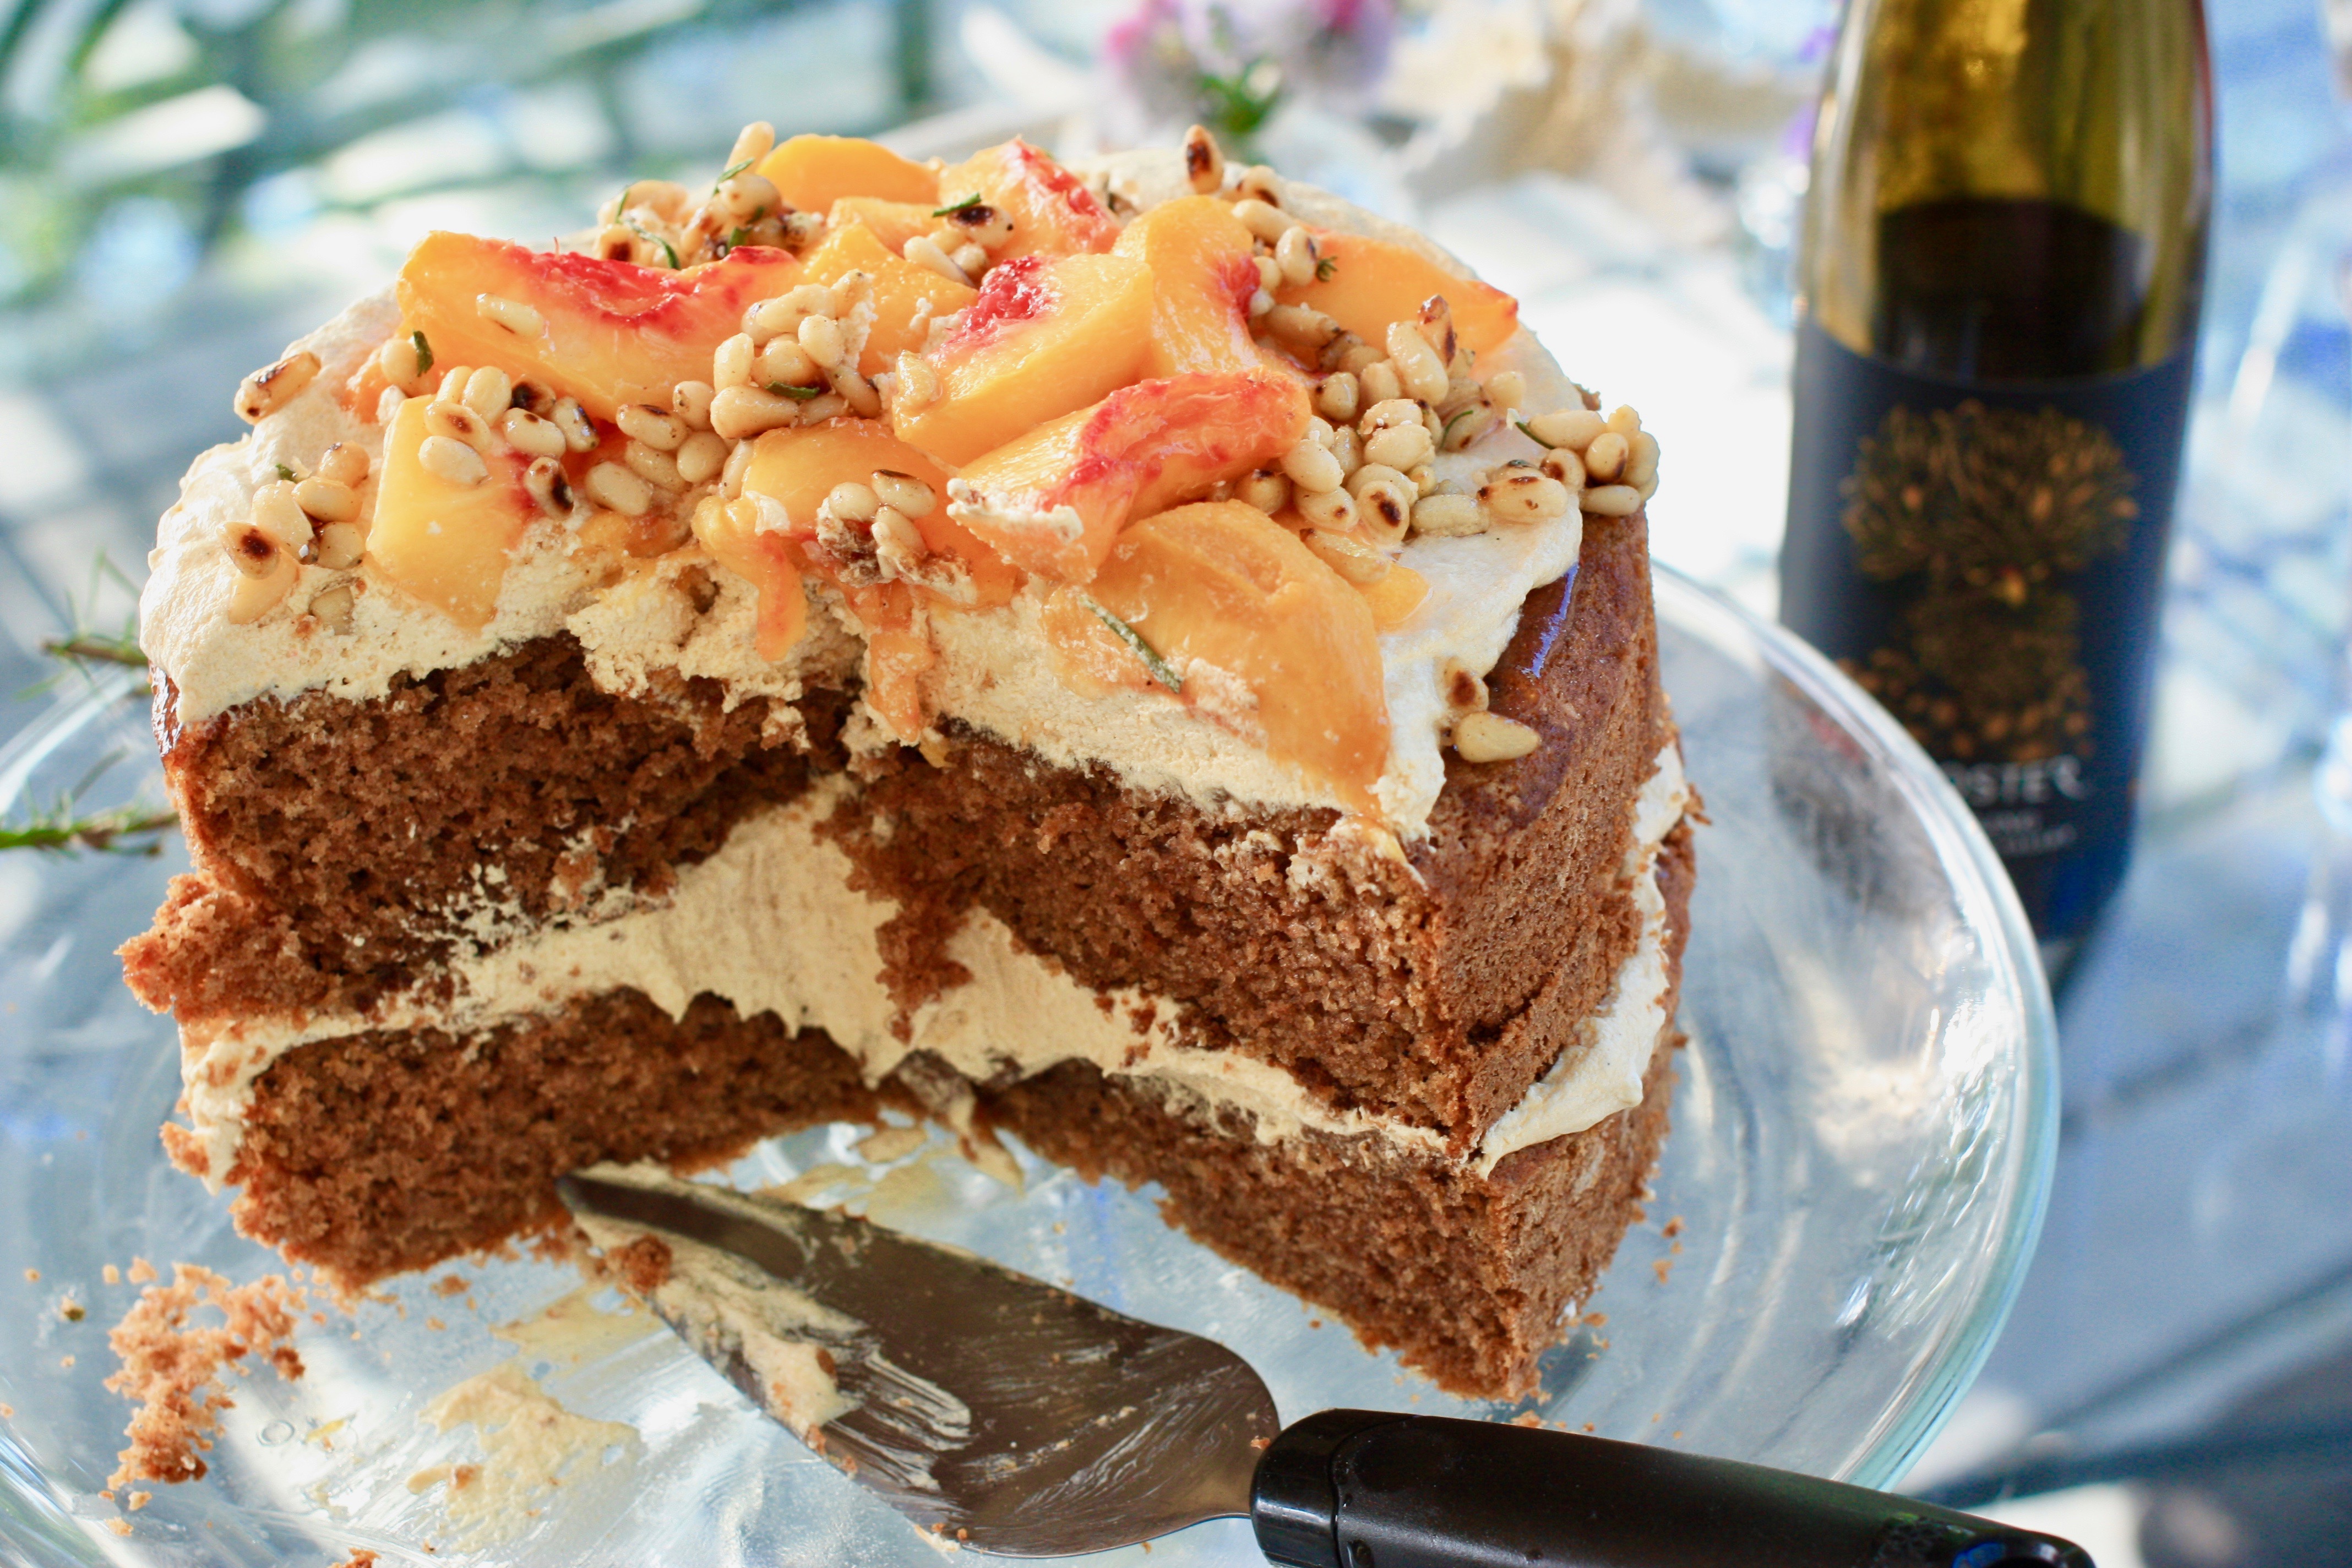
Some assembly required
Level the layers. Place a layer on a cake plate and spread half of the frosting over it. Top with the next layer of cake and frost the top with the remaining frosting. Arrange peach slices from one or two peaches on top (I resorted to frozen peaches from T NT as it will be August before nice new fresh ones are ready) and garnish with a generous handful of the rosemary pine nuts.
Strawberry shortcake with basil-infused whipping cream.
A house that smells deliciously yeasty of bread baking, or intensely chocolatey from the rich cake in the oven or of cinnamon from the sticky buns baking are the scents that make us the most nostalgic for our childhood. Dr. Alan Hirsch, a neurologist who studies such things tells us that the smells produced by baking have a particularly powerful effect on memory.
Baking is also about celebrating. Any event is made an occasion with a cake. Audrey Hebpburn was onto something when she said, “Let’s face it, a good, creamy chocolate cake does a lot for a lot of people.”
Baking is also about sharing. A four-layer cake with a filling, buttercream frosting, and elaborate decorations is not made to be be eaten solo.
Baking is also about science that seems more like magic when a sloppy cake batter rises in the oven and turns golden. It’s about the comforting rhythm of measuring, mixing and folding. It’s about taking an indulgent amount of your time to give pleasure to someone else. In the end, it’s very little about the eating.
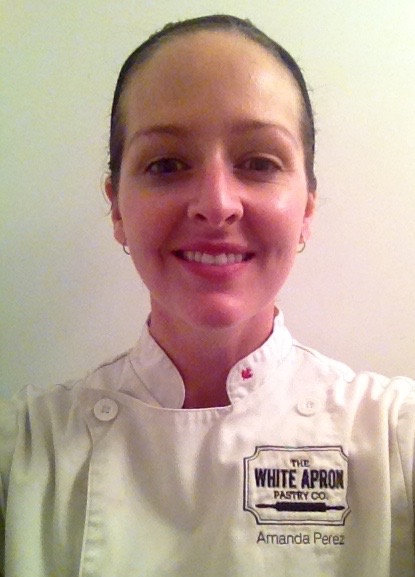
For some like Amanda Perez of Naramata’s The White Apron Pastry Co., baking becomes an avocation for many of these reasons so much so that she delved into as second career.
Work of art right? Photo: The White Apron Pastry Co.
How, why did you end up pursuing your career as a pastry chef?
I came into the culinary world in a roundabout way, as it seems that many chefs do. It wasn’t my first career — I actually already went to Simon Fraser, earned a degree in Communication, and worked in Public Relations/event planning for a number of years. But, I had always harboured a dream of going to pastry school, and I have always found comfort in baking. One day, I realized that although I liked my current job at the time, I wanted to feel passionate about how I spent my work day….and so, the pipe dream of going to pastry school became a reality. Many of the students in my class were career changers as well. After graduating with straight A’s from the grueling but exciting year-long foray into French Pastry, I worked at a number of high-end restaurants in Vancouver, mostly doing 5 pm – 2 am dinner service plating desserts, and then more prep, and eventually, becoming pastry chef for two restaurants in Vancouver.
Some of Amanda’s fabulous creations
Upon deciding to leave the coast and move to the Okanagan, I was offered the Pastry Chef role at Burrowing Owl in summer 2011. Instead, I accepted a Pastry Cook position at Mission Hill Family Estate, where I did the majority of the prep for the high end Terrace restaurant, as well as the large number of private functions, celebrity dinners, concert events etc. Every day I made beautiful crisp loaves of sourdough bread, which were served at lunch and dinner, as well as all of the desserts. I returned to Mission Hill in 2012, and that summer, found the little spot on Front Street in Penticton, recognizing it as a great spot for a tiny little pastry shop. The White Apron was born at that time.
What do you like most about having your business?
It feels good to create something. I worked for years in Public Relations, where my days were spent promoting other people’s products, and I felt like something was missing. It feels very satisfying to create something from start to finish. To work in a trade where there is so much creative license. To own my own business where I can have the flexibility to work around my family’s schedule (and our orchard, as well!) is a blessing to me and my family. And…..not having to do night shifts any more is pretty great. Plus, my husband has a pretty flexibly but demanding work schedule (he is a Financial Consultant with Investors Group), so having the flexibility to be able to stay home and raise our children while still working in the field I am passionate about is worth more than anything.
What are your future business plans?
After having my Front Street bakery for two years and recognizing the summers are where the business is at (and winters were too slow to even be financially worth opening), I decided that solely focussing on Farmers Markets and custom orders would be where I wanted to focus. I parted with my Front Street shop, moved our family to a property that is zoned to allow having a commercial kitchen on the premises (our previous home in the village wouldn’t allow one), and after a one year hiatus from orders while raising our Sous Chef #2, Zach, The White Apron is getting ready for business.
Currently, our garage space is being renovated into a commercial kitchen. I am at the electrical upgrade stage, and then the fun work begins. I plan to be open in May, and plan to do the Penticton Farmers Market, and quite likely, the Naramata Market as well. I am also taking wedding and special occasion orders now, and will again have a menu of holiday orders, particularly for Thanksgiving and Christmas. I look forward to possibly partnering up with B&B’s to offer my freshly baked brioche cinnamon rolls to guests and possibly even partnering with a couple wineries in the future as well!
Do you still enjoy baking?
I do! I bake as much as I can (which right now, is generally kid-friendly treats baked while the littlest one naps), and I am counting down the days to having my kitchen ready downstairs so that the real fun can begin! I should note that since selling my Front Street location, I haven’t been taking orders, because producing food that is to be sold from a home kitchen, is not permitted by Interior Health (or insurance companies).
Will you teach your kids to bake?
I already am! Clara helps me bake quite often and she is already learning a lot of valuable skills. Pretty impressive for a three-year-old. She loves scooping muffin batter with a portion scooper, cracking eggs and of course, taste testing.
What do you think is responsible for the increasing popularity of baking and cooking?
The Food Network has been instrumental in increasing the popularity for professional cooking. It is a bit of a double-edged sword though, because as great as it has been for increasing interest in the field, and in bringing attention to the effort and art that properly prepared food takes, it only shows the glamour and glitz and not the true experience and cost to those who choose it as a profession. This new popularity in baking and cooking has brought us a newfound interest in food in general, both in the preparation and consumption of it all.
Five tips for the home baker that will make a big difference to what they make?
1. Get a scale and use recipes that measure by weight rather than by volume. A cup of flour, scooped, can vary by as much as 20%, but 250g of flour will be 250g of flour no matter which way you scoop it.
2. Be confident. It’s just food. If you think a substitution or addition will work, try it. Recipes don’t have to be adhered to 100%. Have fun with it. And don’t bake when you’re rushed or in a foul mood!
3. Clean as you go. My favourite way of doing this is fill the sink with hot soapy water before you start cooking. Toss dirty dishes in the sink as you use them. Washing up is a breeze afterwards, and you’ll find you’ll bake or cook more often when you don’t dread the clean up. Also, start with a clean kitchen, with all your dishes put away.
4. Find a few websites and cookbooks that you trust, and use those when trying out new dishes. My favourites are www.food52.com, www.smittenkitchen.com and for baking/pastry, www.davidlebovitz.com
5. If you want to really go pro, scale out your ingredients in advance. At the very very least, gather all of your ingredients out on the counter before you start, and as you add each ingredient, put it away. I can admit to forgetting key ingredients by not doing this.
Five tools or pieces of equipment that you couldn’t live without?
Kitchen Aid mixer, bench scraper, my stack of glass mixing bowls, lots of rubber spatulas, and parchment paper.
Why should a home baker take a baking class?
Because it is fun! We don’t often get a chance as adults to take a class and learn something new. You’ll leave with a few new recipes, a few new techniques and an enjoyable afternoon out. Why not! I have taken a few classes myself for inspiration and just for fun, and never regret it.
Good advice. Check out the next Naramata-Blendbaking class with Chef Amanda teaching us how to make fancy French pastries.
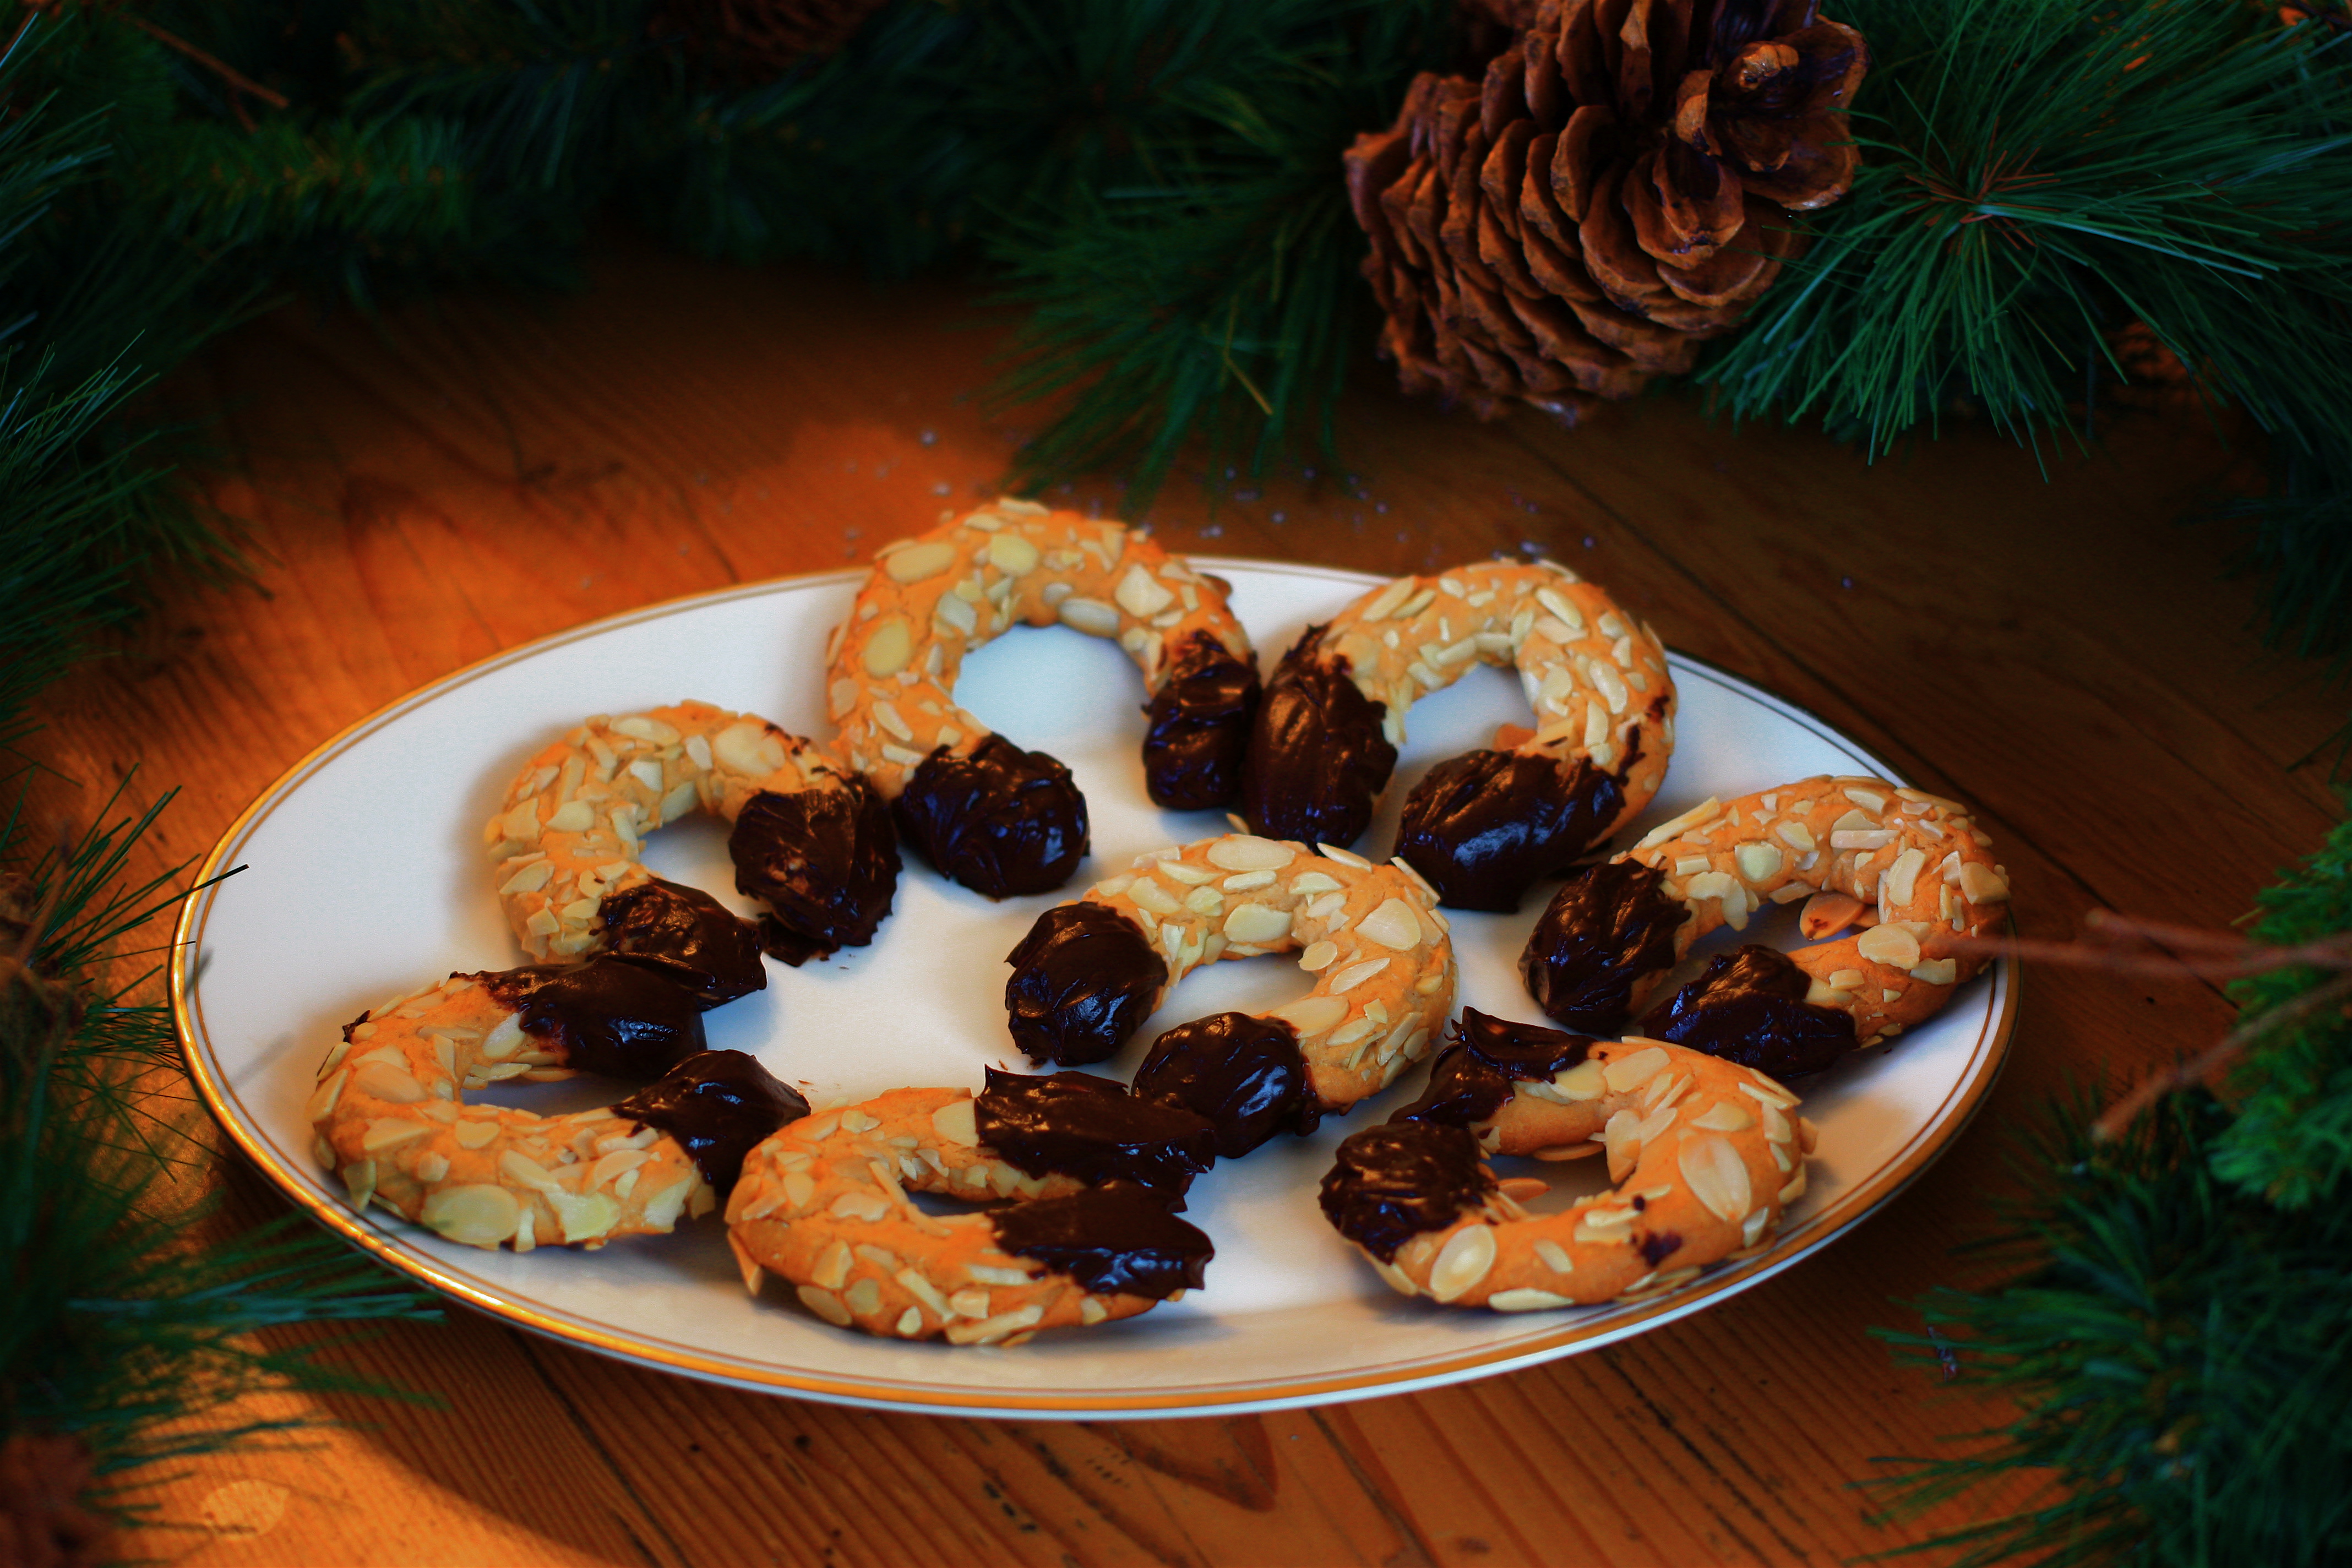
These German delicacies contain a hat trick of almonds – marzipan, ground almonds and sliced almonds and the horseshoe is then dipped in dark chocolate. Also call almond horseshoes or almond horns they are very easy to make. The key is to buy good quality marzipan. I bought mine at La Cucina European Market. Another tip is to work clean, as my pastry chef instructor drilled into us. By this I mean, make sure to clean out your bowl and beaters well using every scrap of your expensive ingredients in your cookies.
Ingredients
10 ounces good quality marzipan (almond paste), broken into 1-inch pieces
4 ounces finely ground almonds
2 tablespoons granulated sugar
1 large egg white
1 1/2 teaspoons pure almond extract
1 cup sliced almonds
4 ounces bittersweet chocolate, finely chopped
Directions
Adjust oven rack to middle position and preheat oven to 375°F. Line rimmed baking sheet with parchment paper. In bowl of standing mixer fitted with paddle attachment, mix marzipan, almonds and sugar on low speed until well combined (mixture may appear a bit dry at this point). Mix in egg white and almond extract until combined.
Toast sliced almonds in your preheated oven for 5 to 10 minutes until lightly browned. Divide dough into 12 equal portions (about 1 rounded tablespoon each). Working one at time, roll each ball into almonds as you shape it into 4 1/2-inch ropes with blunt ends. Shape rope into U shape and place on prepared baking sheet. Continue with remaining balls of dough, evenly spacing apart from each other.
Bake cookies until just beginning to turn golden, about 15 minutes. Let cool on pan 10 minutes, then transfer to cooling rack to cool completely, about 30 minutes.
In a medium bowl over pan of barely simmering water, melt half of chocolate, stirring gently, then add remaining chocolate and stir to melt. Dip ends of almond horns in chocolate and place back on parchment paper lined baking sheet. Chill cookies in fridge until set. Serve cookies at room temperature.
Give us our daily banana bread…but please add Quebec maple syrup.
Even non banana bread lovers will be won over with this Canadian version sweetened with maple syrup and topped with a maple, nut crumble. So good eh?
Don’t even consider using anything but real Quebec maple syrup.
Crumble
3/4 cup of nuts, lightly toasted and finely chopped. You can use walnuts, pecans or flaked or slivered almonds.
2 teaspoons of Quebec maple syrup
1/2 cup of brown sugar
1/4 cup all-purpose flour
1/4 tsp cinnamon
1/4 cup softened butter
Combine all ingredients except the butter in bowl. Add the butter and mix with your fingertips until the crumble is just moistened and set aside.
Bread
Preheat the oven to 350F and butter a six-cup (1.5 litre) 10 x 4-inch loaf pan and line it with a sheet of parchment paper, letting it hang over both the 10-inch sides.
1 1/4 cups very ripe bananas, mashed with a fork (about 3 bananas)
3/4 cup Quebec maple syrup (Aunt Jemima’s? Forgetaboutit)
1/2 cup butter, melted and cooled
2 eggs
2 cups all-purpose flour
1 tsp baking soda
1/4 tsp salt
Whisk together the bananas, maple syrup, butter and eggs and set aside. In a large bowl, combine the flour, baking soda and salt. With a wooden spoon or spatula, stir in the banana mixture until the batter is just moistened.
Spread the batter in the prepared pan. Sprinkle on the maple crumble. Bake for about 1 hour and 15 minutes or until a skewer inserted in the middle of the loaf comes out clean. Cool completely on a wire rack before lifting from the pan by the parchment paper.
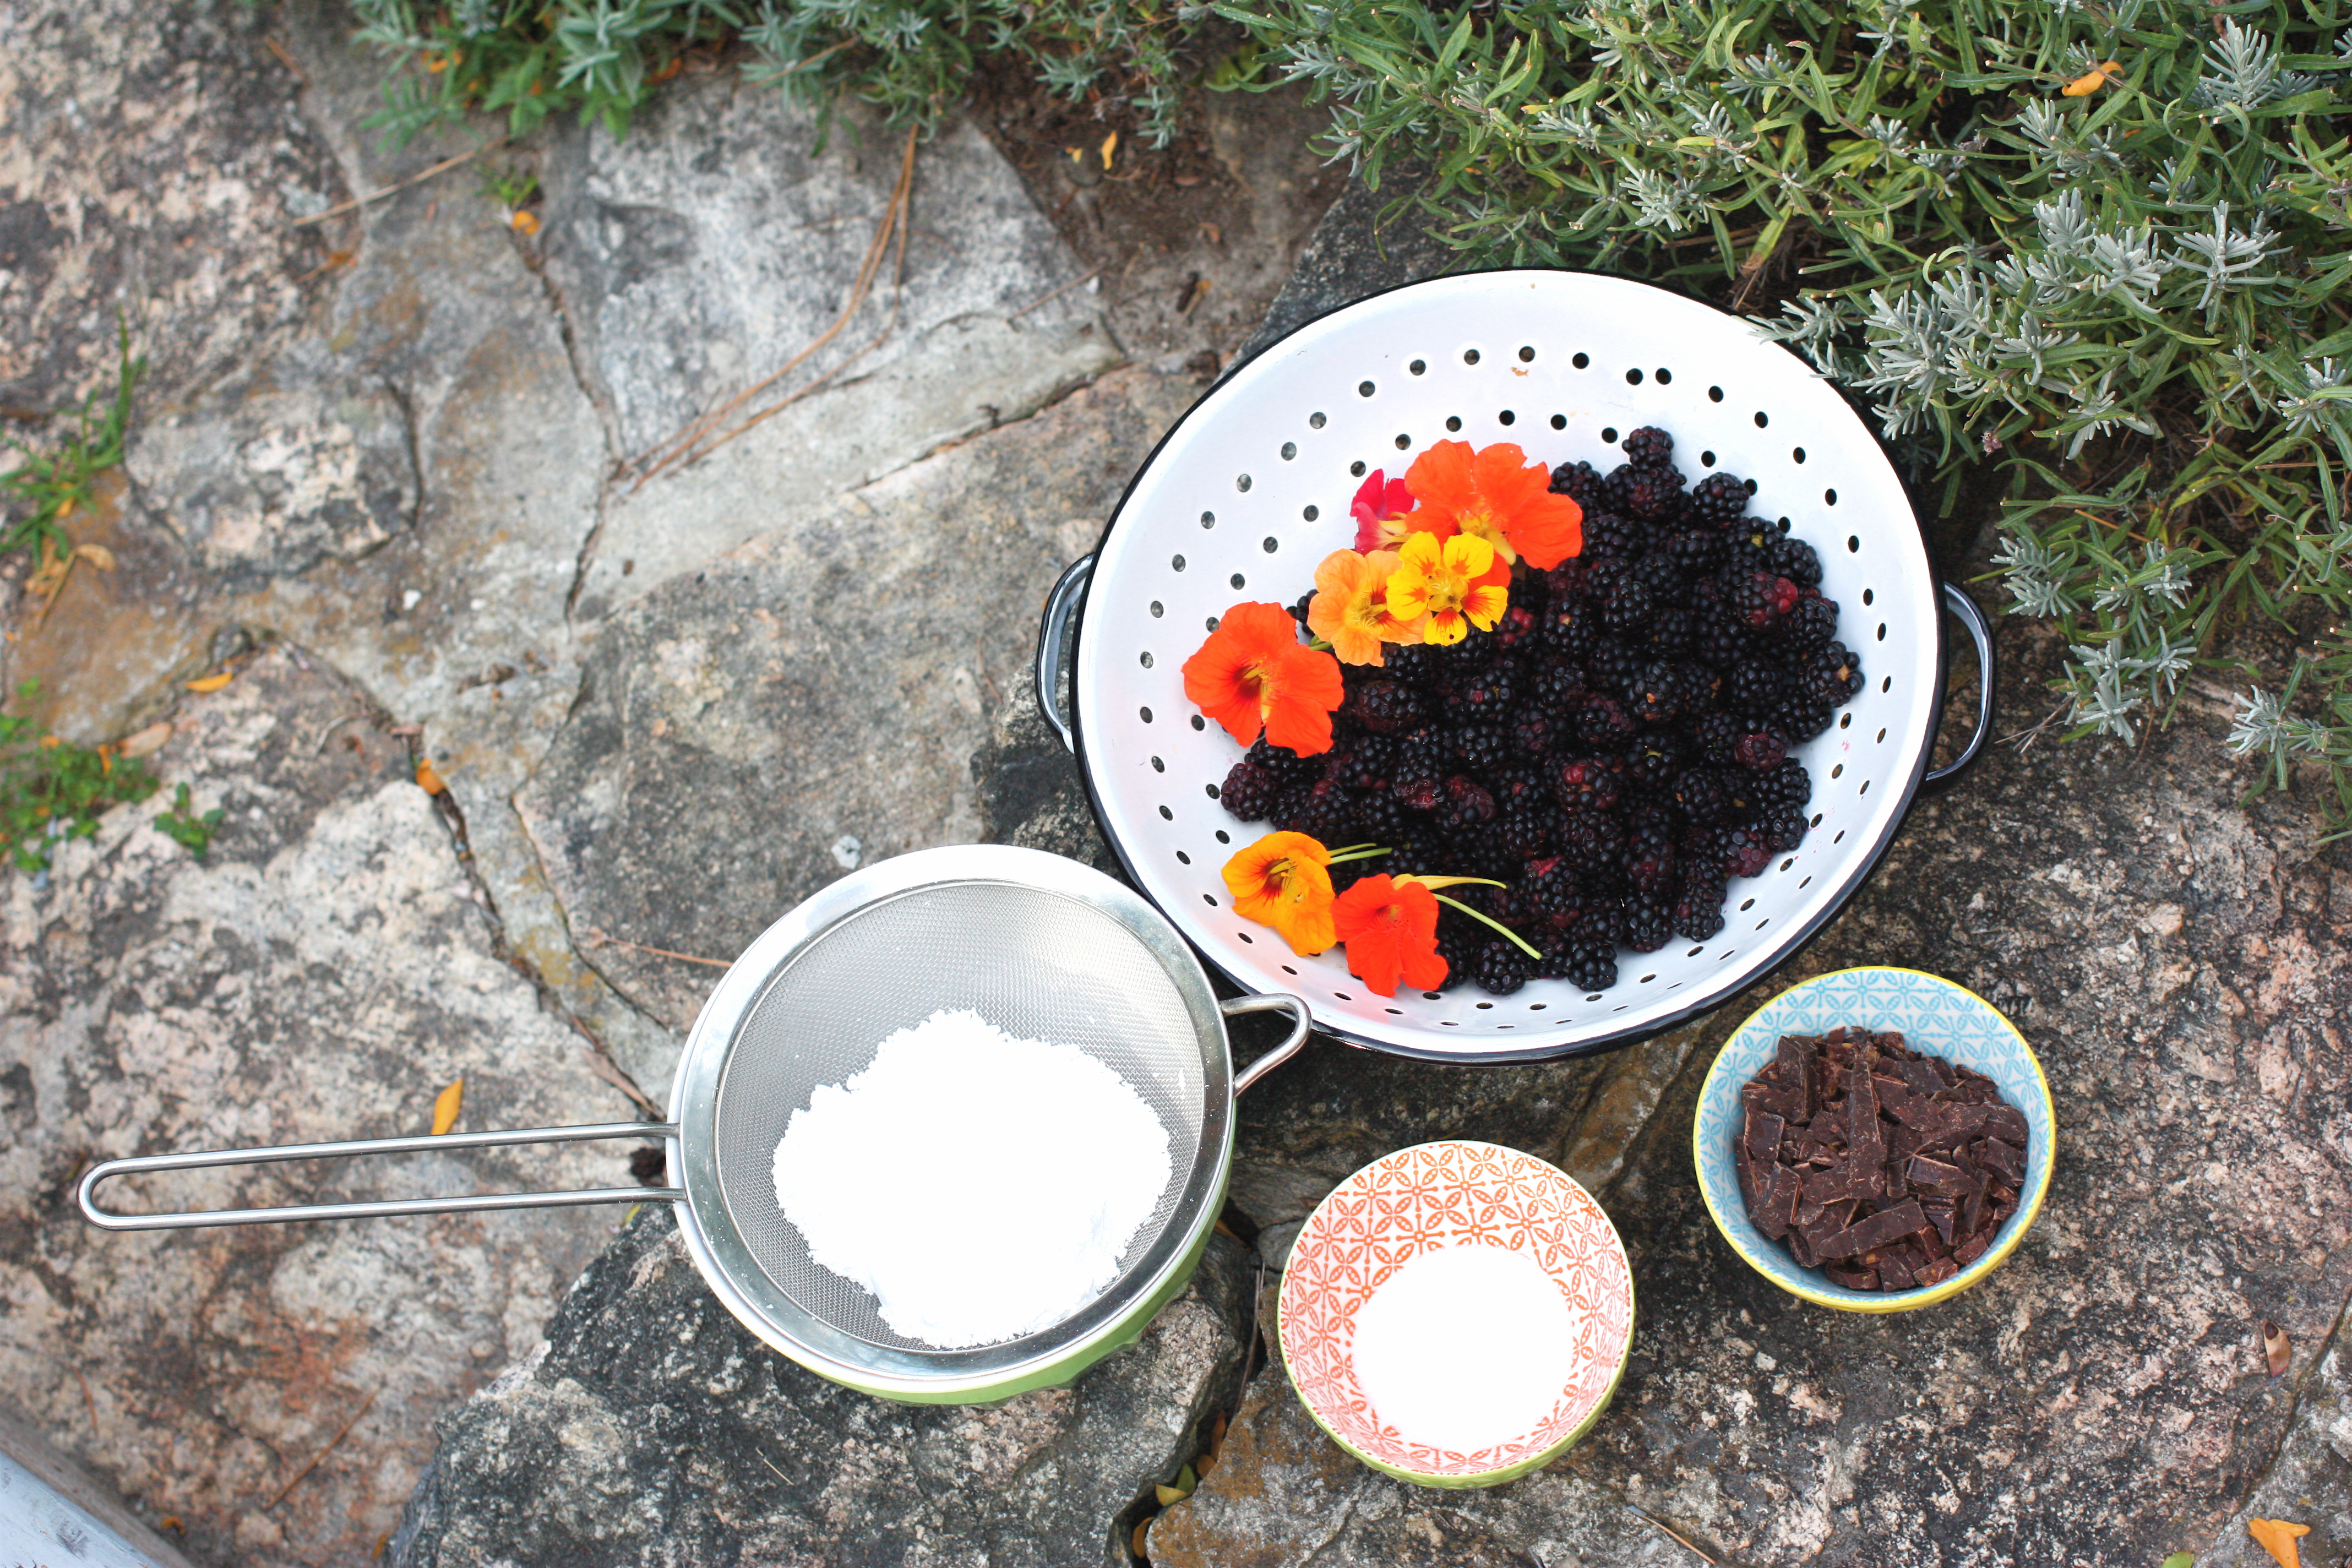
Juicy blackberries from our berry farm, red wine and chocolate give this cake a rich flavour punch.
The blackberries are the last of our berry crops and one of the most beautiful. Their size and juiciness is a marvel enjoyed by us and our bear visitors so picking as soon as they are ripe is important. This very Naramata cake recipe combines our berries with red wine and was a perfect late summer cake for my good pal Janet’s birthday.
Succulent blackberries before picking.
Mis en place for the red wine cake with my new antique cupboard from Arundel, England in the background.
Lips that touch wine will never touch mine. Come on, who wrote that nonsense. I suppose they don’t like cake or chocolate either.
I sent The Handyman off to the Naramata store for a bottle of red with a good price point for it’s cake ingredient fate and he came back with a $10 bottle which I was worried was too good to be true…even for a cake. Surprisingly, Bodacious was pretty darn good in the cake and in the chef’s glass.
This recipe makes one three-layer 6-inch cakes that served our party of 10 perfectly with no left-overs.
Red wine cake
1 1/2 all purpose flour
1/2 cup plus 1 tbsp unsweetened cocoa powder (I like Droste, amazing chocolate…)
3/4 tsp baking soda
1/2 tsp baking powder
1/2 tsp salt
3/4 cup unsalted butter at room temperature (never skip the room temperature step…if you don’t have time…put the butter in a bowl in a warm water bath in your sink to soften it up)
1 1/2 cups granulated sugar
1 tsp pure vanilla extract
2 large eggs
1 large egg yolk
1 cup full-bodied red wine
Pre-heat the oven to 350F and grease and flour three 6-inch cake pans and set aside. I did it the hard way and used my one and only 6-inch pan and made the cake in three batches.
Sift together the flour, cocoa powder, baking soda, baking powder and salt and set aside.
In the bowl of a stand mixer fitted with the paddle attachment, beat the butter on medium until smooth. Add the sugar and mix on medium-high until the butter is light and fluffy, 3 to 5 minutes. Stop the mixer and scrape the bowl.
Turn the mixer to low and add the flour mixture in three batches, alternating with the red wine, while taking sips from your wine glass in between, beginning and ending with the flour mixture. Mix on medium for no more than 30 seconds.
Evenly divide the batter among the prepared pans and bake for 23 to 25 minutes or until a toothpick inserted into the centre of the cakes comes out clean. Cool on a wire rack for 10 to 15 minutes before removing the cakes from their pans.
Blackberry ganache ingredients.
Blackberry ganache
3 cups whole fresh blackberries
2 tbs granulated sugar
1 cup chopped good quality bittersweet chocolate
3/4 cup confectioners’ sugar, sifted
Place the blackberries and granulated sugar in a saucepan. Heat over medium-high until the berries start to break down and expel their juices, about 10 minutes. Remove the pan from the heat and strain the juice through a fine-mesh sieve set over a bowl. Discard the solids.
Place the chocolate in a heat-safe bowl and set aside. Reheat 6 tablespoons of the blackberry juice in the saucepan until it begins to simmer (reserve the remaining blackberry juice for finishing the cake). The simmering juice smells amazing p.s. Pour the hot juice over the chocolate. Let sit for 30 seconds, then whisk until combined. Set aside until the ganache cools to room temperature but is still spreadable.
Once the ganache has cooled, whisk to loosen it and stir in the confectioners’ sugar until smooth.
A Naramata evening walk while the cake cools. This view of the lake is on our regular walking route. Never gets old.
Some assembly required
Once the cakes have cooled completely, level them and choose which layer will at the bottom. Generously brush the layers with the remaining blackberry juice. Place the bottom layer on a cake plate or serving dish. Spread about 1/3 cup of the blackberry ganache with an offset spatula. Top with the next layer of cake and repeat with the ganache, finishing with the final layer. Frost the top and sides of the cake with remaining ganache and top with the whole blackberries.
Review
This is an excellent cake from a few standpoints. It’s relatively easy to make as the filling between the layers and the icing is one recipe. It looks great with the blackberry topping and doesn’t involve mad piping skills. Verdict on the taste was a 10 at the party it was served at…”rich, moist, earthy and chocolatey”. I will make this one again.
This recipe comes from fellow Canadian’s Tessa Huff’s amazing book, Layered. Every cake I’ve made from this book has been stellar. Her easy to follow instructions will make you a better baker. As Tessa says, “layer cakes are the ideal vehicle for both creative expression and deliciousness…And let’s fact it — everyone loves a layer cake…It’s time to toss the cake mix and canned frosting and reach the height of your cake-baking potential!” Cheers to that.


 This rich and satisfying little chocolate cake has a secret sauce that makes it unforgettable. The salty component of this beauty comes from tamari (Japanese) soy sauce and it’s in the cake batter and the crunchy almond topper. Easy to make, this six-inch cake is perfect for eight small slices or four huge ones.
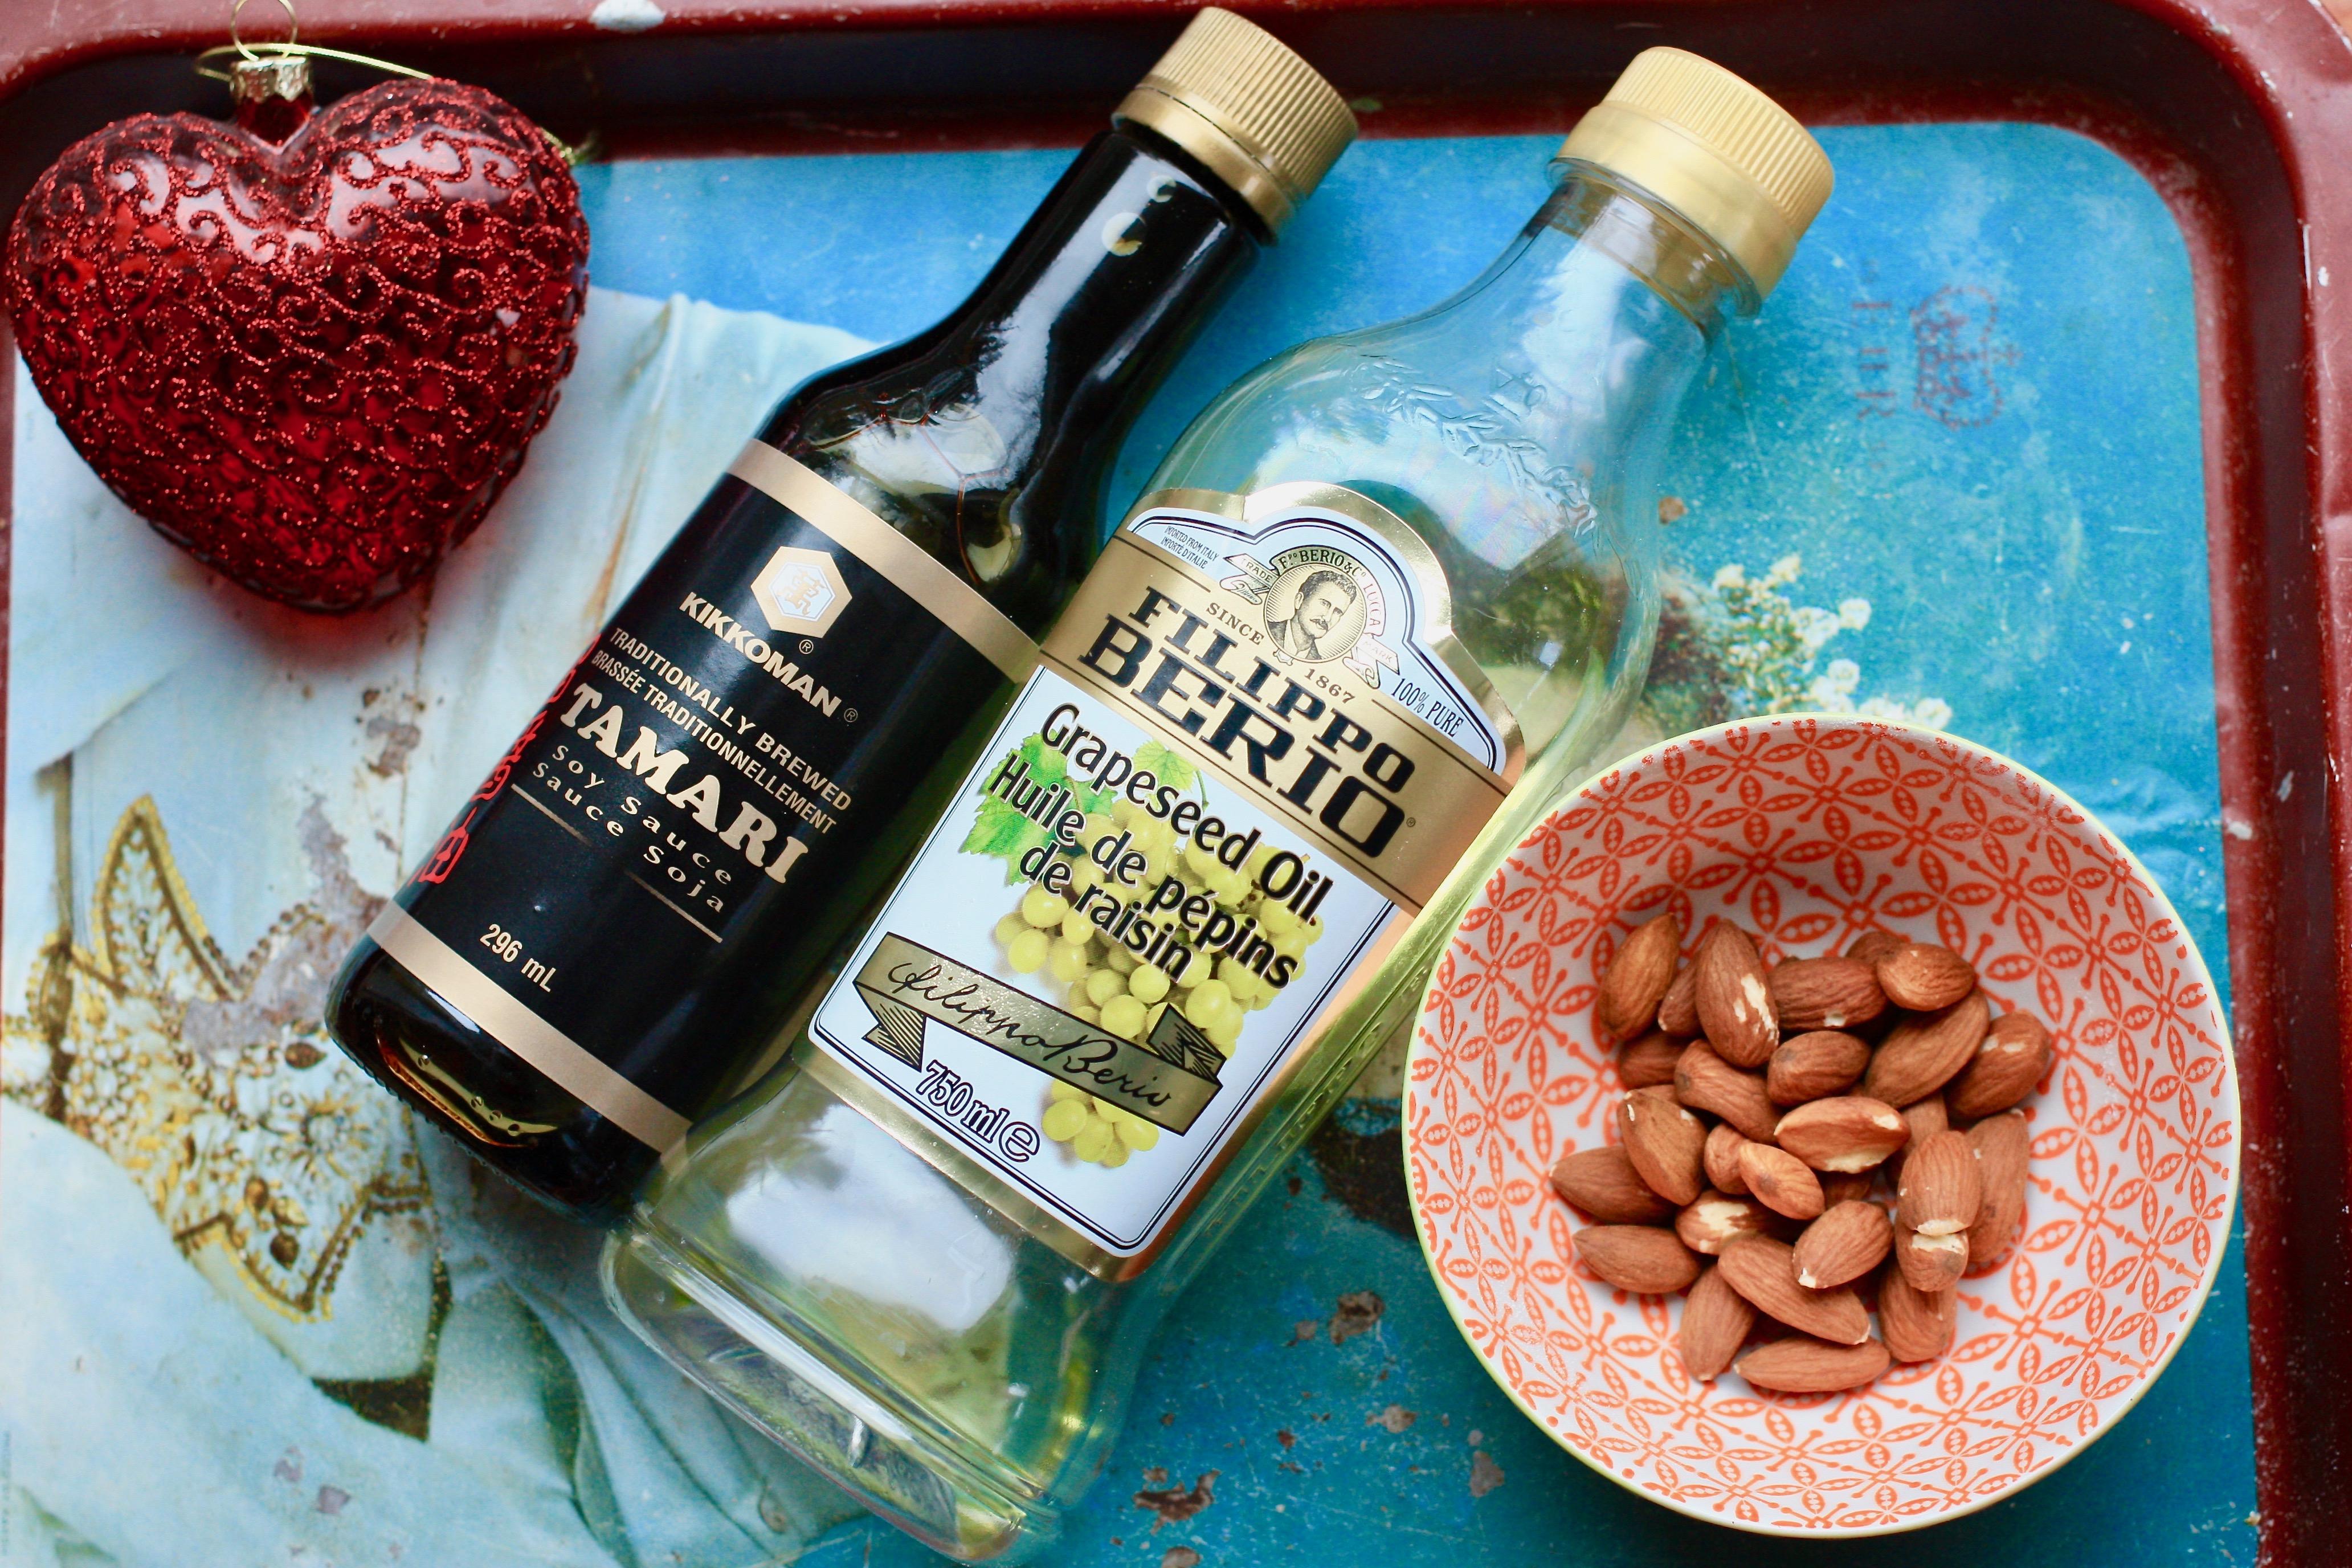


 Bake for 35 minutes or until a toothpick inserted into the centre of the cake comes out clean. Let cool for 15 minutes. Unmould and let cool completely on a wire rack. Clean the ring or springform ring.


 When you have a raspberry farm you seek out raspberry recipes. This one is a gem. The thyme and orange flavours add a lovely sharp counterpoint to the rich brown sugar buttermilk cake with raspberry filling. The only downside, it only uses a scant half cup of berries!
 Some assembly required